When you click on links to various merchants on this site and make a purchase, this can result in this site earning a commission. Affiliate programs and affiliations include, but are not limited to, the eBay Partner Network.
I have recently gone through the process of upgrading the speakers on my B9 A4 Avant, and which has been done with the assistance of Bruce_Miranda.
The first step was to upgrade the 3 dash speakers, which instantly lifted the vocals from your feet to the dash, and started to put the vocals where they should be. I then changed the rear tweeters; this on its own didn't change much, as the rear doors still had the stock speakers.
From here, I then moved on to changing the front and rear door speakers. Given what Bruce has done to his A5, and the similarities between the two models, I opted to go through Bruce for the remainder of the speaker replacement. This is what I received from him as a package:
The speakers were Audison Prima 6.5:
As part of what Bruce was supplying to me, he built the front speaker mount, as it needed an extra spacer on the front; he had also drilled the hole and routed the cable:
This shows the difference between the front mount with the spacer, and the rear mount:
Here is the cable that Bruce also makes and supplies:
For the rear mount, I used the sticky-backed foam on the rear of the mount (where it sits against the door frame). I also drilled through the mount to install the cable:
I then started the build of the rear speaker. The baffle was first placed into the mount:
Then lining the baffle holes up, the speaker was then screwed into the mount using the supplied speaker screws:
And all four speakers completed:
The next step is to install them into the car.
To install the speakers, you will need to remove the door cards. Having recently done this for the rear tweeters, I decided to start with the rear speakers. To remove the door cards, I would recommend that you use trim removal tools; these can be picked up for a few pounds, and are a worthwhile investment.
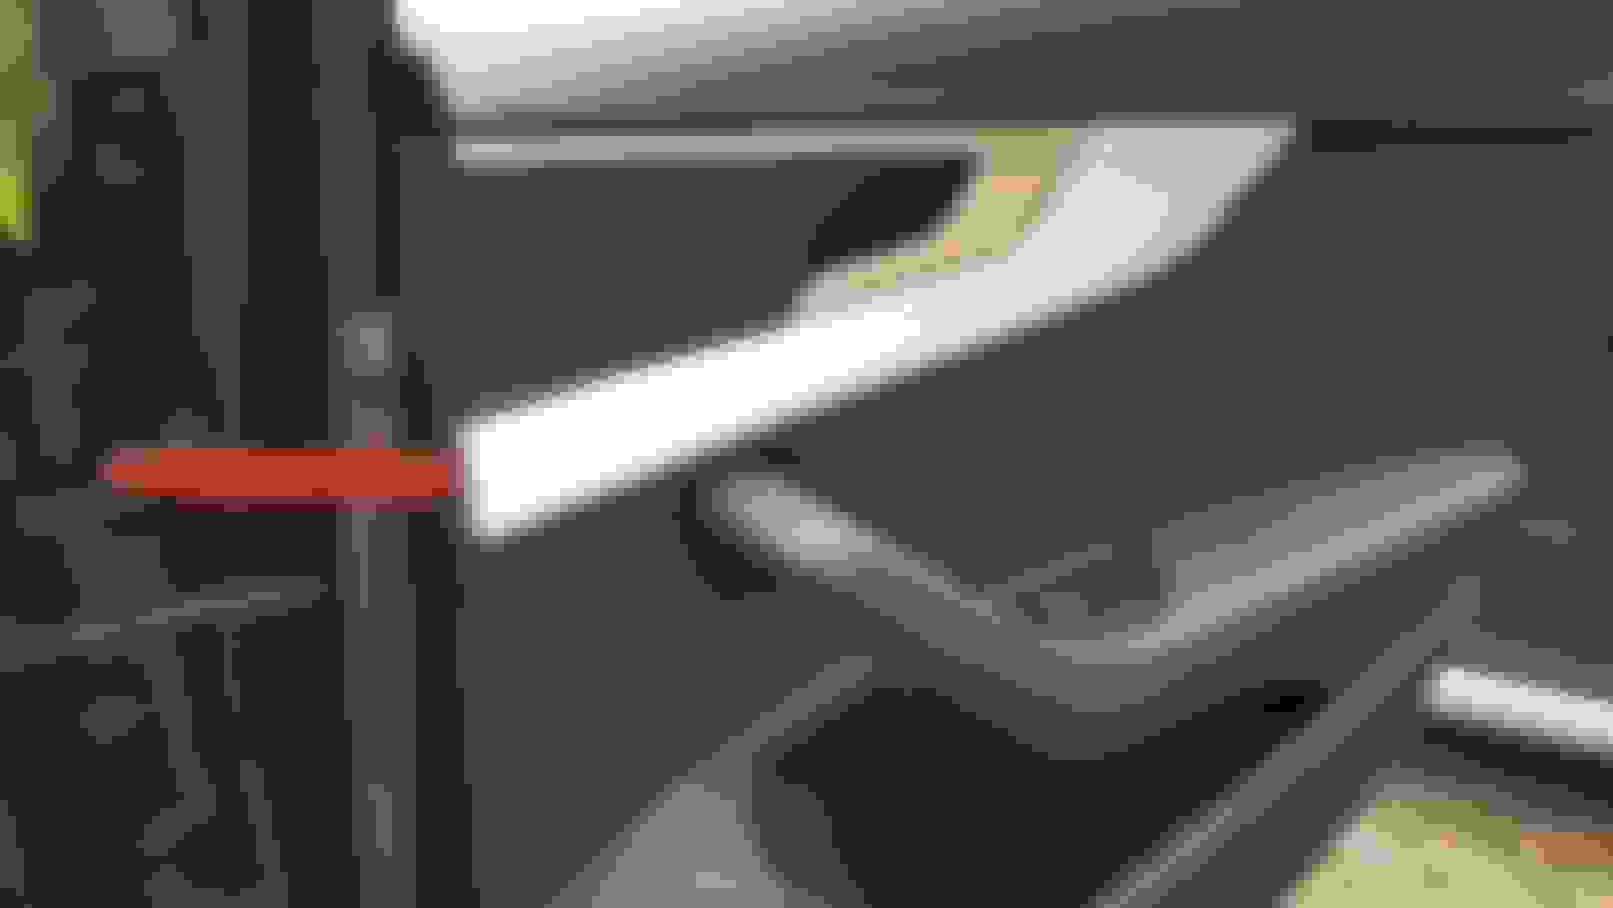
To start with, remove the aluminium trim below the door handle. Start at the end as shown, and work your way back:
Continuing back:
The tool will help you to pry the trim away from the door:
Once all the clips are released, the trim needs to slide along (ie toward the rear of the car), before it comes away.
You can then remove the T20 Torx screws, 2 behind the panel just removed, and 1 under the door handle:
Next, start to remove the door card. Insert the trim tool by the speaker, and lever so that the first clip pops off. Continue to work anti-clockwise from here; you may need to use your fingers to help prise the card off. Once you reach the window, come back to your start point (at the speaker), and then work up clockwise.
Once all clips have been released, you will need to remove the outer door handle cable (when replacing, ensure that the yellow guide tab is seated correctly), the rear tweeter connection, and the cable to the control module:
The door card can now be safely stored out of the way. With the door card removed, the old speaker can be removed using an 8mm socket on 3 fixings:
With the speaker removed, the speaker (that has been previously prepared!) can be attached using the same fixings; no drilling is required, as the holes in the mount line-up with the existing holes. Ensure the speaker is connected, and secure any excess cable:
The card replacement is the exact reverse of the removal. Replace the tweeter cable, control module cable and the door handle cable, ensuring the yellow tab is seated. Hook the card on the door at the window, and gently press against the card to ensure the clips engage, starting from the window and working clockwise. Before I replaced the door card, I took the grill off. This allows you to make sure that the baffle is not getting trapped:
Replace the Torx screws, speaker grill and door handle trim; now repeat for the other rear door.
The process for the front doors is very similar. Using the trim removal tool, start as shown:
Moving along as before:
Once the clips are released, the trim rotates away from the door:
Remove the two torx screws from behind the trim (next to top-right of the handle, and far-left in the photo), and 1 under the door handle:
Starting from the same position by the speaker, insert the trim tool between the door frame and the door card, and work anti-clockwise upto the window. Come back to where you started, and work clockwise upto the window:
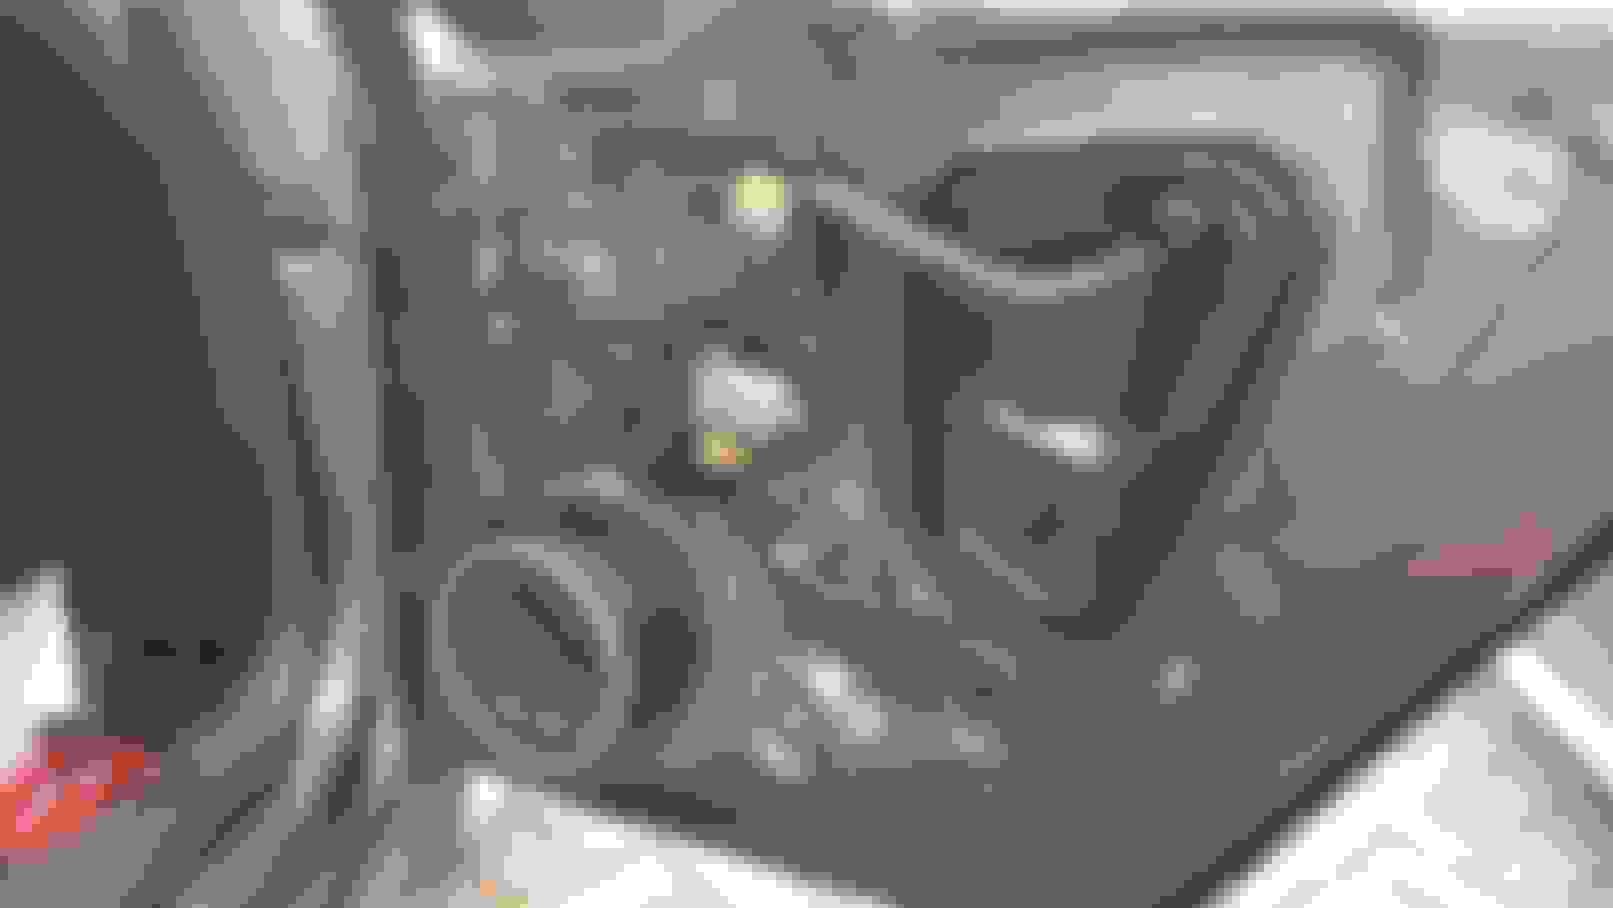
Once all clips are released, there is just the outer door handle cable (again, taking note of the tab), and a cable to the control module to be removed. Once done, store the door card safely. This is the front door with the door card removed:
The old speaker is removed using an 8mm socket, to remove 4 fixings. Install the previously prepared speaker, using the same fixings; again, no drilling is required, as the mount holes line-up with the holes in the door. Connect the speaker, and secure any excess cable.
Replace the door card, ensuring the control module cable and the outer door handle cable are connected. Hook the door card onto the door at the window, and working clockwise, gently press until the clips are seated. Again, the speaker grill has been removed to ensure the baffle has not been caught:
Replace the Torx screws, and the speaker grill, and finally the door handle trim. Repeat for the other front door.
All of the speakers have now been replaced, apart from the sub. Simply put, the transformation of the stock HU, with decent speakers, and a reasonable outlay, has been outstanding. The cabin is now filled with music; the vocals can be heard, and the separation of the sounds around the car is superb. This is a worthwhile investment to anyone who has the Audi Sound System, as it will totally transform your listening experience.
My thanks to Bruce for all his help during this; I would recommend anyone thinking of doing this to contact Bruce, if just to benefit from his experience in doing this.
I was wondering if anyone had looked into datasets and parameters for the MIB2 unit used in the B9 platform?
Doing some reading this evening, it appears you can significantly change the sound profile of the unit by adapting the datasets. Someone has already done this on an A3 to enable the subwoofer control. This has been achieved not by coding or tricking the MIB unit into thinking it is another car.
You can adjust things such as equalisation, loudness, individual channel crossover points, speed sensitivity etc. in other words, the holy grail of sound adaptations for external amplification or DSPs.
See below for the threads and posts I�ve looked at:
Here i wroted a detailed guide to do it, using the info that Oleksii provided with his deep research. I thought that VCP or ODIS would be mandatory, but we will have to try it with CarScanner: Enabling Subwoofer Control ( MHS2 - MHI2 )
Here i wroted a detailed guide to do it, using the info that Oleksii provided with his deep research. I thought that VCP or ODIS would be mandatory, but we will have to try it with CarScanner: Enabling Subwoofer Control ( MHS2 - MHI2 )
So you wrote a guide but you have not actually performed this on your own car?
So you wrote a guide but you have not actually performed this on your own car?
This guide is supervised and tested by the person who has researched the DataSets. The problem is that I couldn't test it personally in my car, but other people have. ( resignation, not everybody has active VCP or ODIS subscription ). U can use the images in the guide to complete the discrete other guide posted in the other forum.
I hesitate to put such instructions, not because I want to sell this but because they have the potential to seriously damage people's cars. Not everyone is blessed with your knowledge of IT.
If you had done these yourself you would realise that some of those instructions don't directly apply to the B9 cars. But good work on documenting the procedure, all I can say that it is a great help and will get most people on the right track.
I have done this on my car myself. I didn't need VCDS, ODBEleven, VCP or ODIS to do this. I didn't need an SD card or even some special coding dongle.
However the way I did this is quite unorthodox and hence why I hesitate even more to tell people how its done.
"If you had done these yourself you would realise that some of those instructions don't directly apply to the B9 cars."
I understand you perfectly and you are right, the instructions are not specific to A4 B9, but to MHI2Q ( not nvidia ) units equipped in A3, A4, A5, Q2, Q5... ( and I see in the previous posted link that it is also applicable to MHS2 ). Please, if you think there is some kind of error, i would love to be corrected because i only want to help.
"I have done this on my car myself. I didn't need VCDS, ODBEleven, VCP or ODIS to do this. I didn't need an SD card or even some special coding dongle.
However the way I did this is quite unorthodox and hence why I hesitate even more to tell people how its done."
Why not? Writing your experience helps us all to understand and have another way of doing things. If you managed to enable this option without VCDS/OBDELEVEN/VCP/ODIS... that's great and very interesting! We all risk destroying the MMI if we do these things, but it's something we know before we start...
 02-21-2021, 12:12 PM