When you click on links to various merchants on this site and make a purchase, this can result in this site earning a commission. Affiliate programs and affiliations include, but are not limited to, the eBay Partner Network.
Air Suspension strut removal pretty fast. Pic heavy
I have a slow leak on one of the front air spring bladders on my 2006 A8L at 119K miles.
I watched Louis’ video, read many threads and prepared for the job.
I got the 41mm socket and a set of VW wire terminal tools.
I found a fairly fast way to remove the strut without removing the pinch bolts, or the 13mm support bolts.
1) Just disassemble the connector (or cut and resolder the wire like I did) and tuck it into the top nut.
2) With both front wheels off the ground, remove the two 16mm bolts from the end of the sway bar.
3) Remove the air inlet line with a 10mm wrench.
4) Loosen but don’t remove the 41mm nut.
5) Remove the lower 18mm nut and bolt from the strut.
6) Remove the 41mm nut completely from above.
7) Press down on the brake rotor and lift the lower section of the strut over the control arm and it will be free from the car.
I purchased a set of terminal removal tools from Amazon for $6 or so.
The tool is inserted into the connector to release the wires.
As carefully as I did it, one wire came out but I felt too much resistance taking the other one out, I felt better cutting and soldering the wires on the strut side of the connector, since I could always replace the strut and restore the wiring.
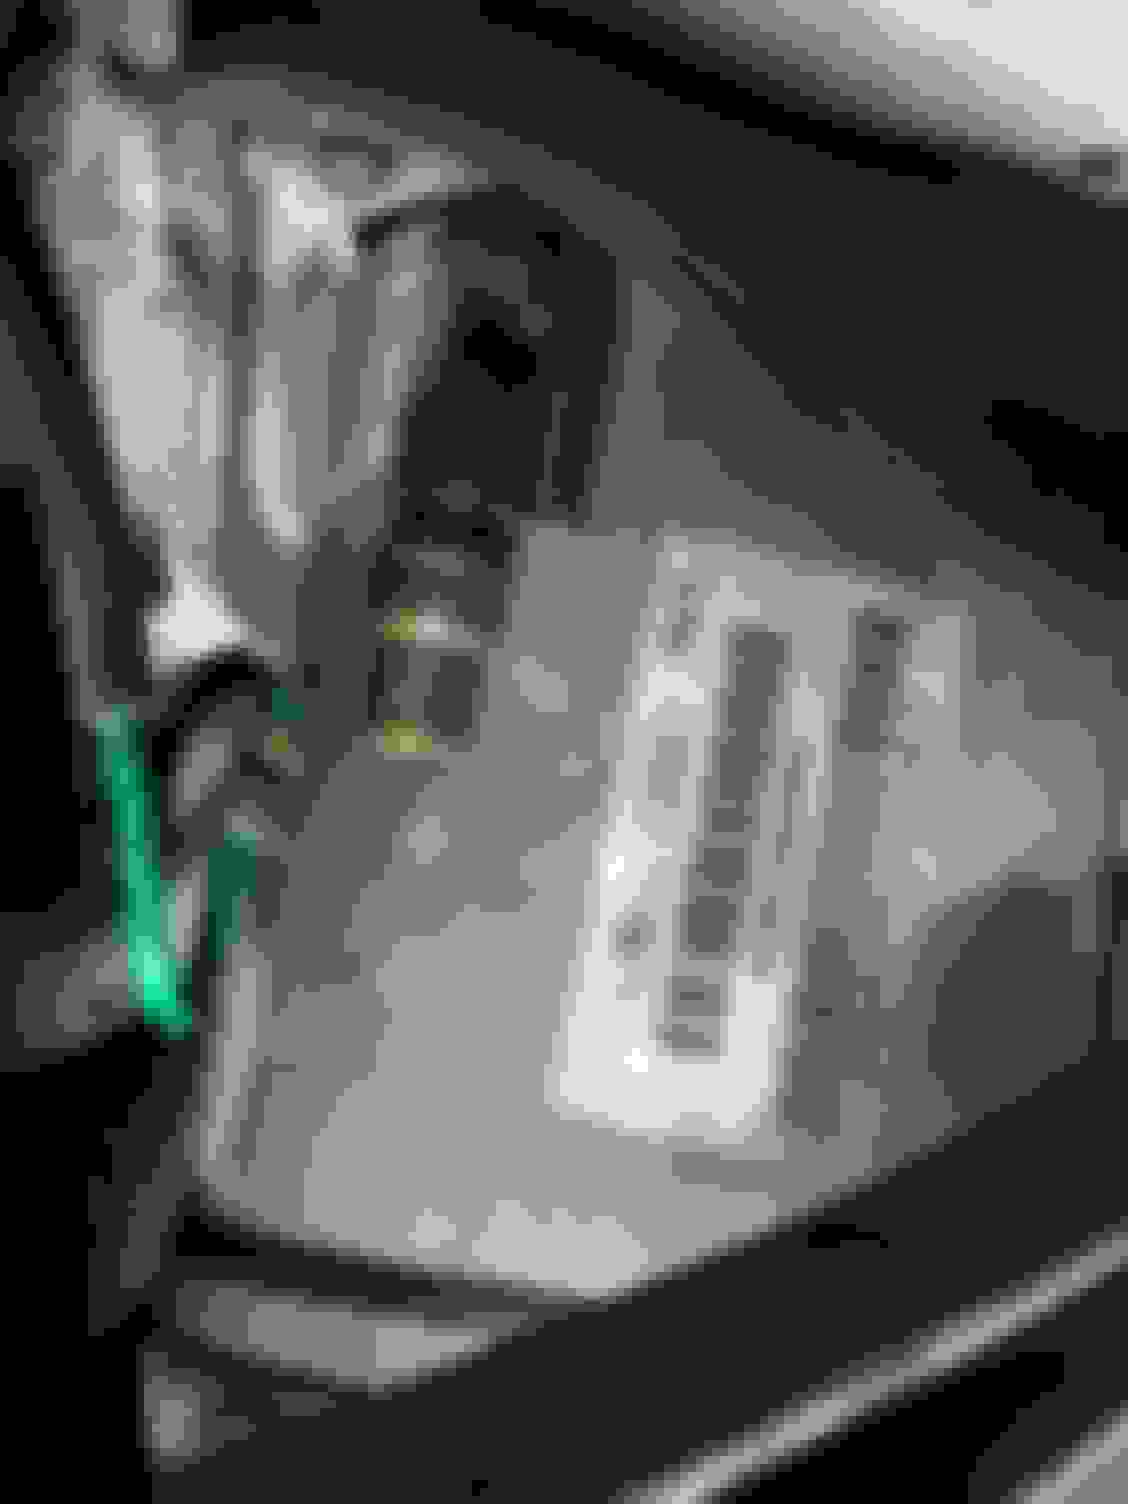
After removing plastic trim near washer fluid and removing wires from strut connector, I folded them back into the center of the 41mm nut to allow the large socket to fit without damaging the wires.
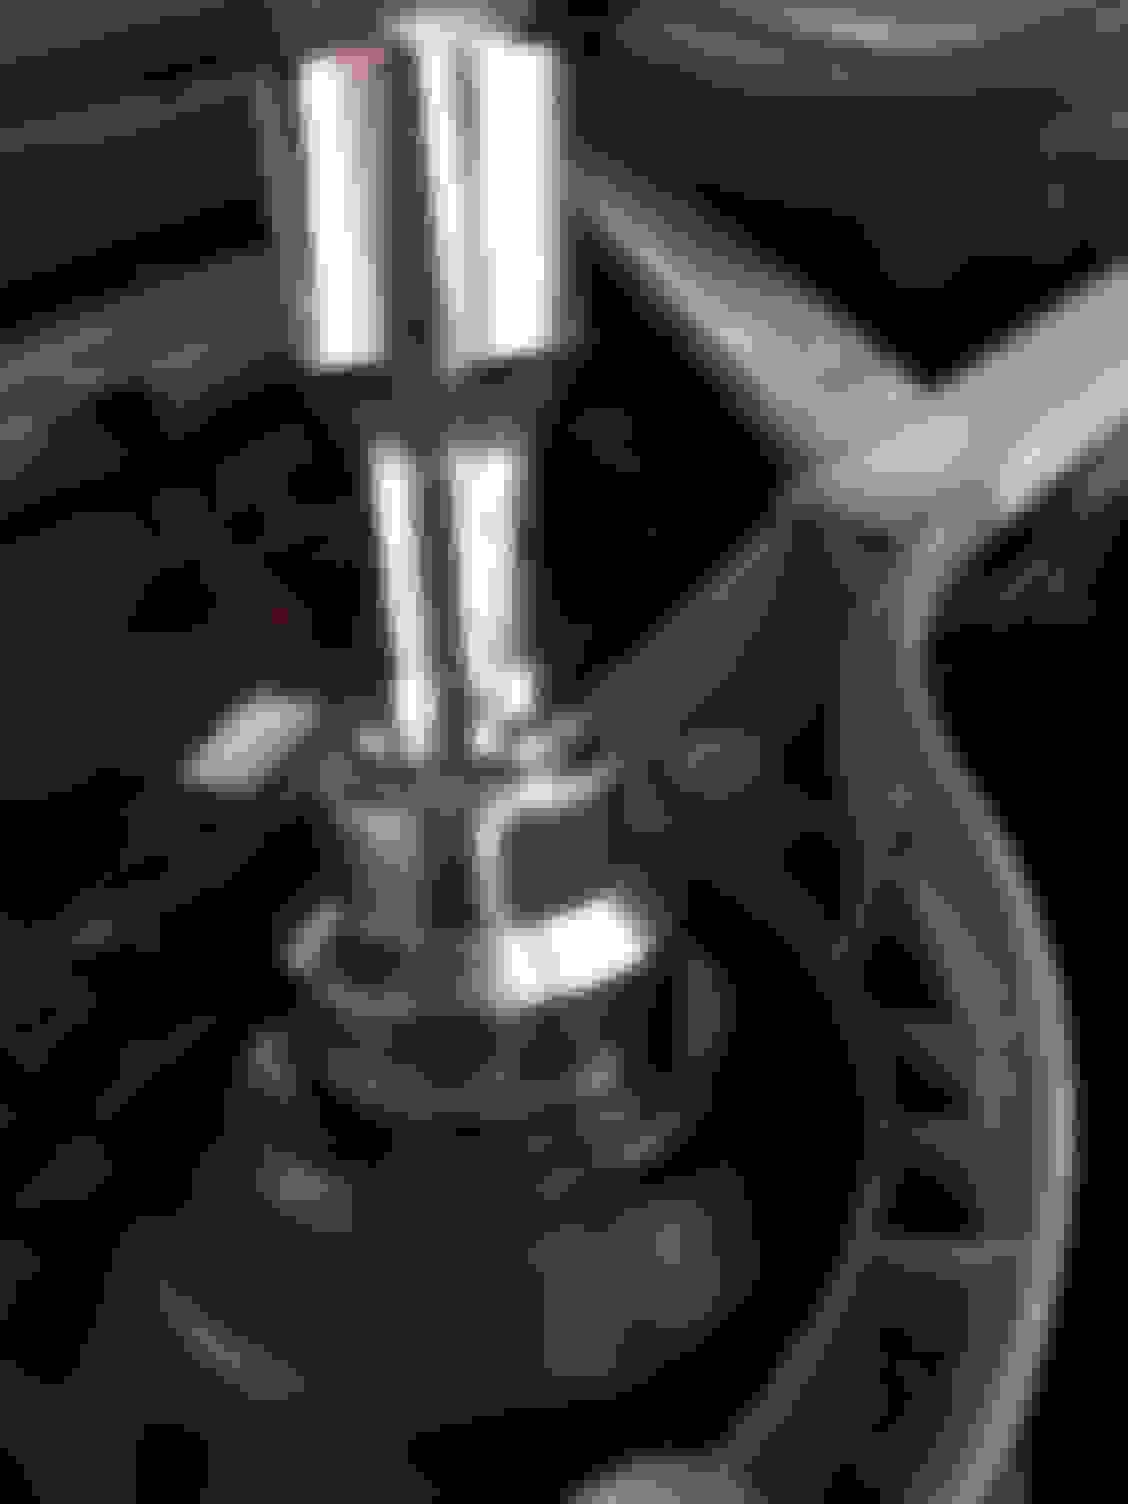
41mm nut removed from top of strut assembly
Removing 18mm nut and bolt from lower section of strut.
Press down on rotor and lift strut over the control arm and it will be free from the vehicle.
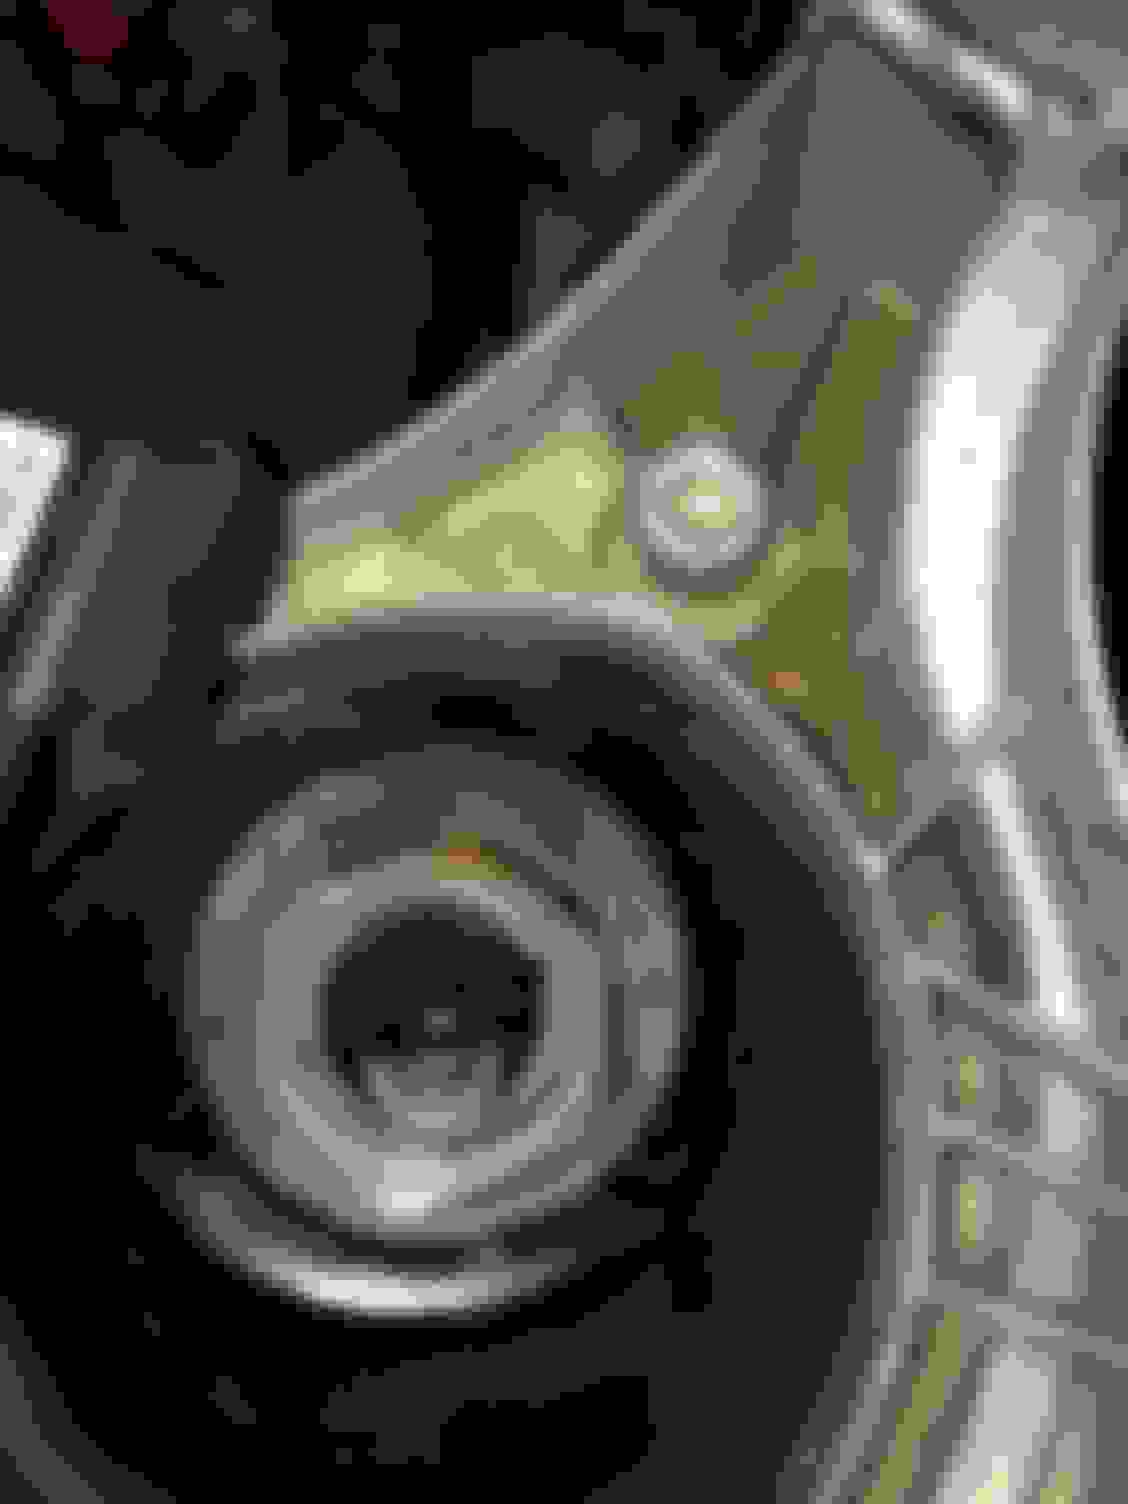
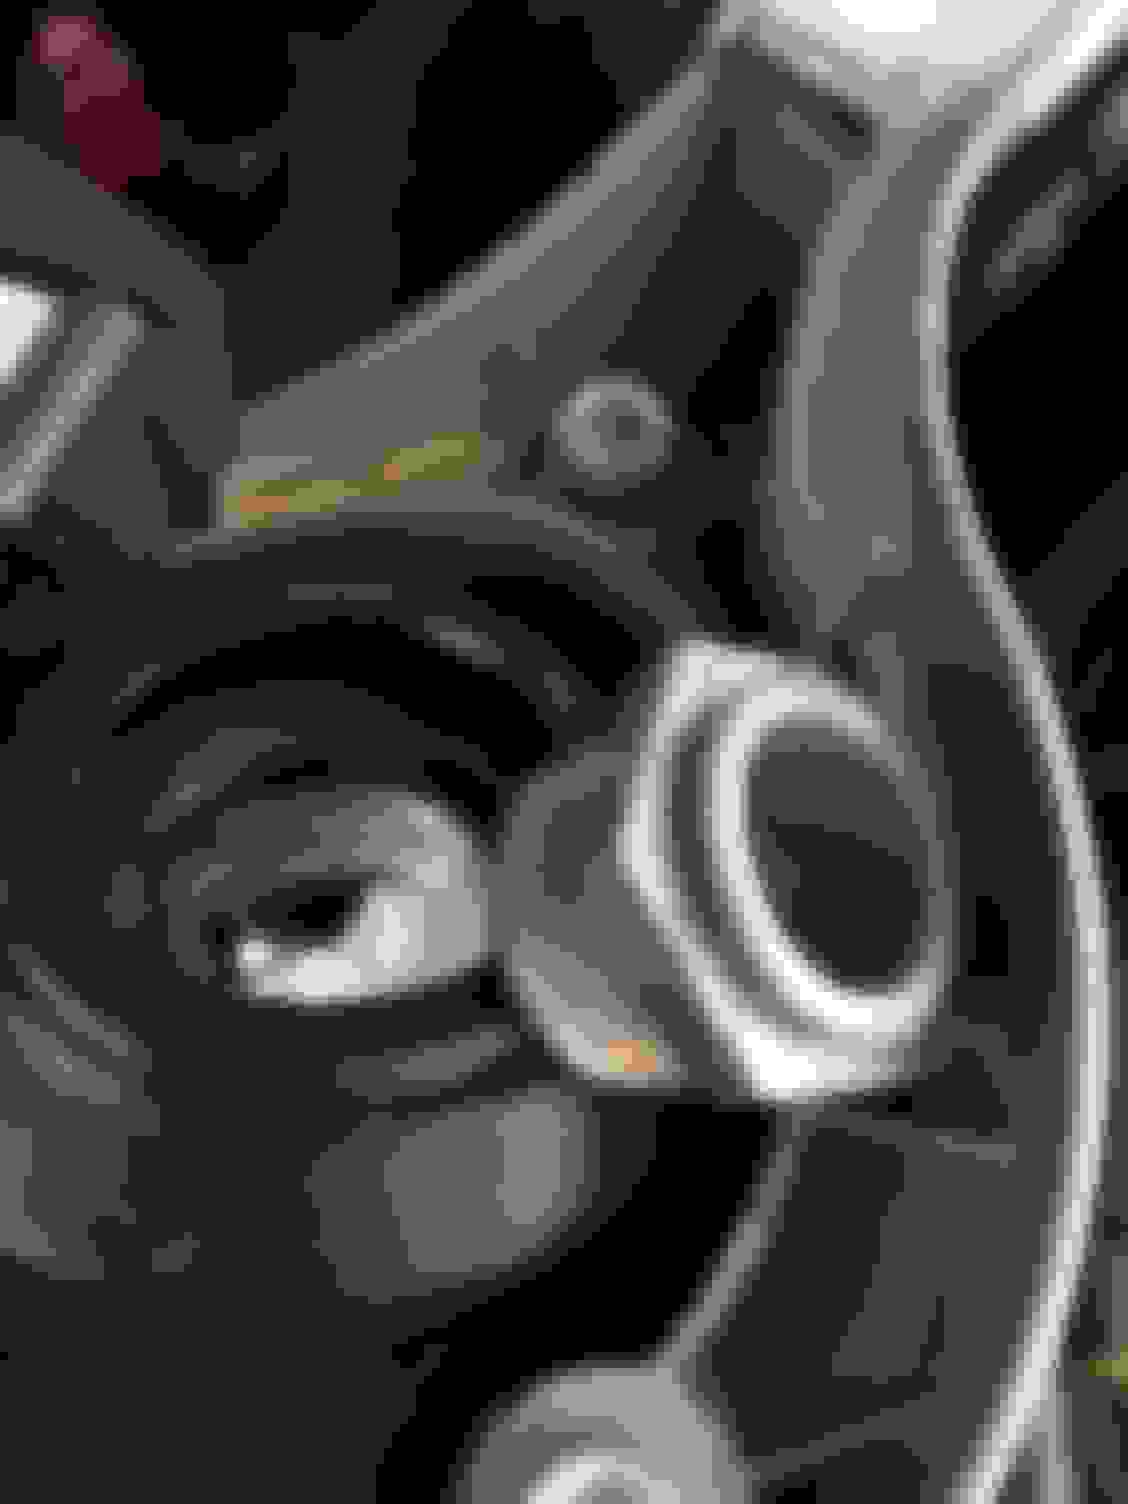
The Harbor Freight socket fits exactly in the hole for the 41mm nut at the top of the strut.
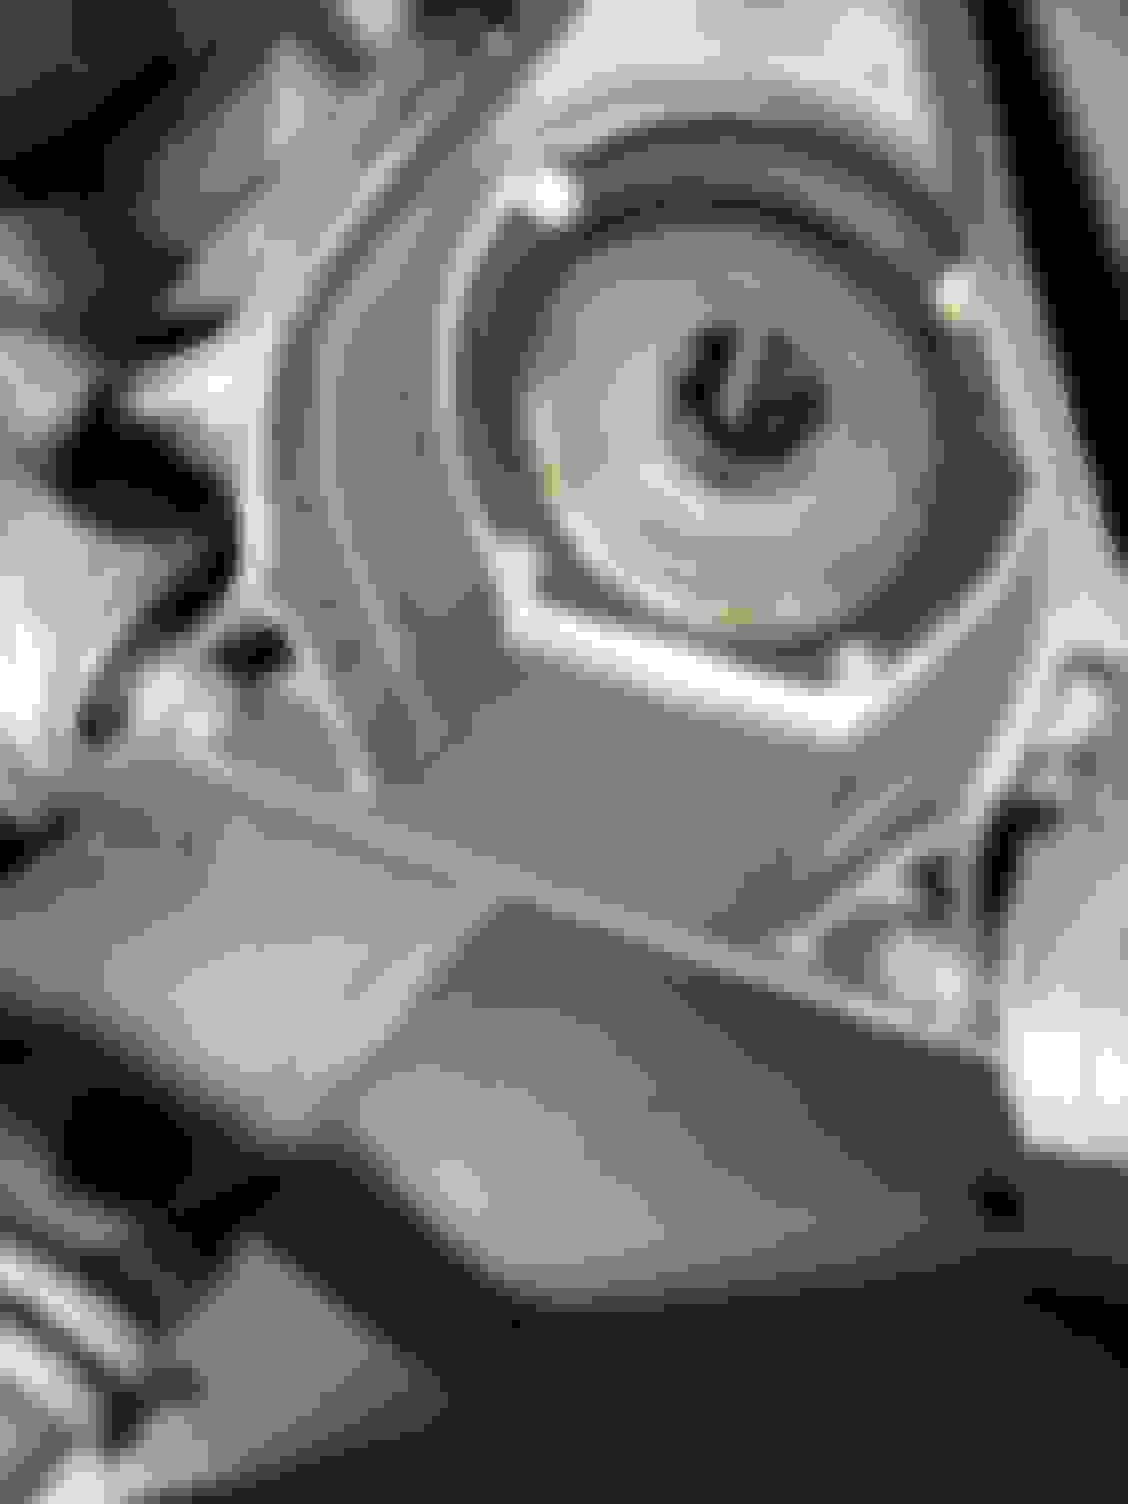
View from underside of the strut top mount.
Method for removal of the top nut of the strut with a 18mm offset wrench and a 9mm.
Before I did this I used a deep 18mm and an electric impact gun to loosen the nut until it started to spin the strut shaft.
This nut cannot be tightened or loosened on the car.
Once the 18mm nut is removed from the top of the strut, the air spring bladder can be pulled up from over the strut.
Here I am pulling up the air spring bladder.
Once the air spring bladder rubber bellows is lifted to expose the section of metal tube covering the lower air spring bladder seal, you will need some prying to expose the o-ring
First I put the strut in a vice, and grabbed the tube to spin it, then I used a lever the pry up the tube more
Here you can see the lower o-ring
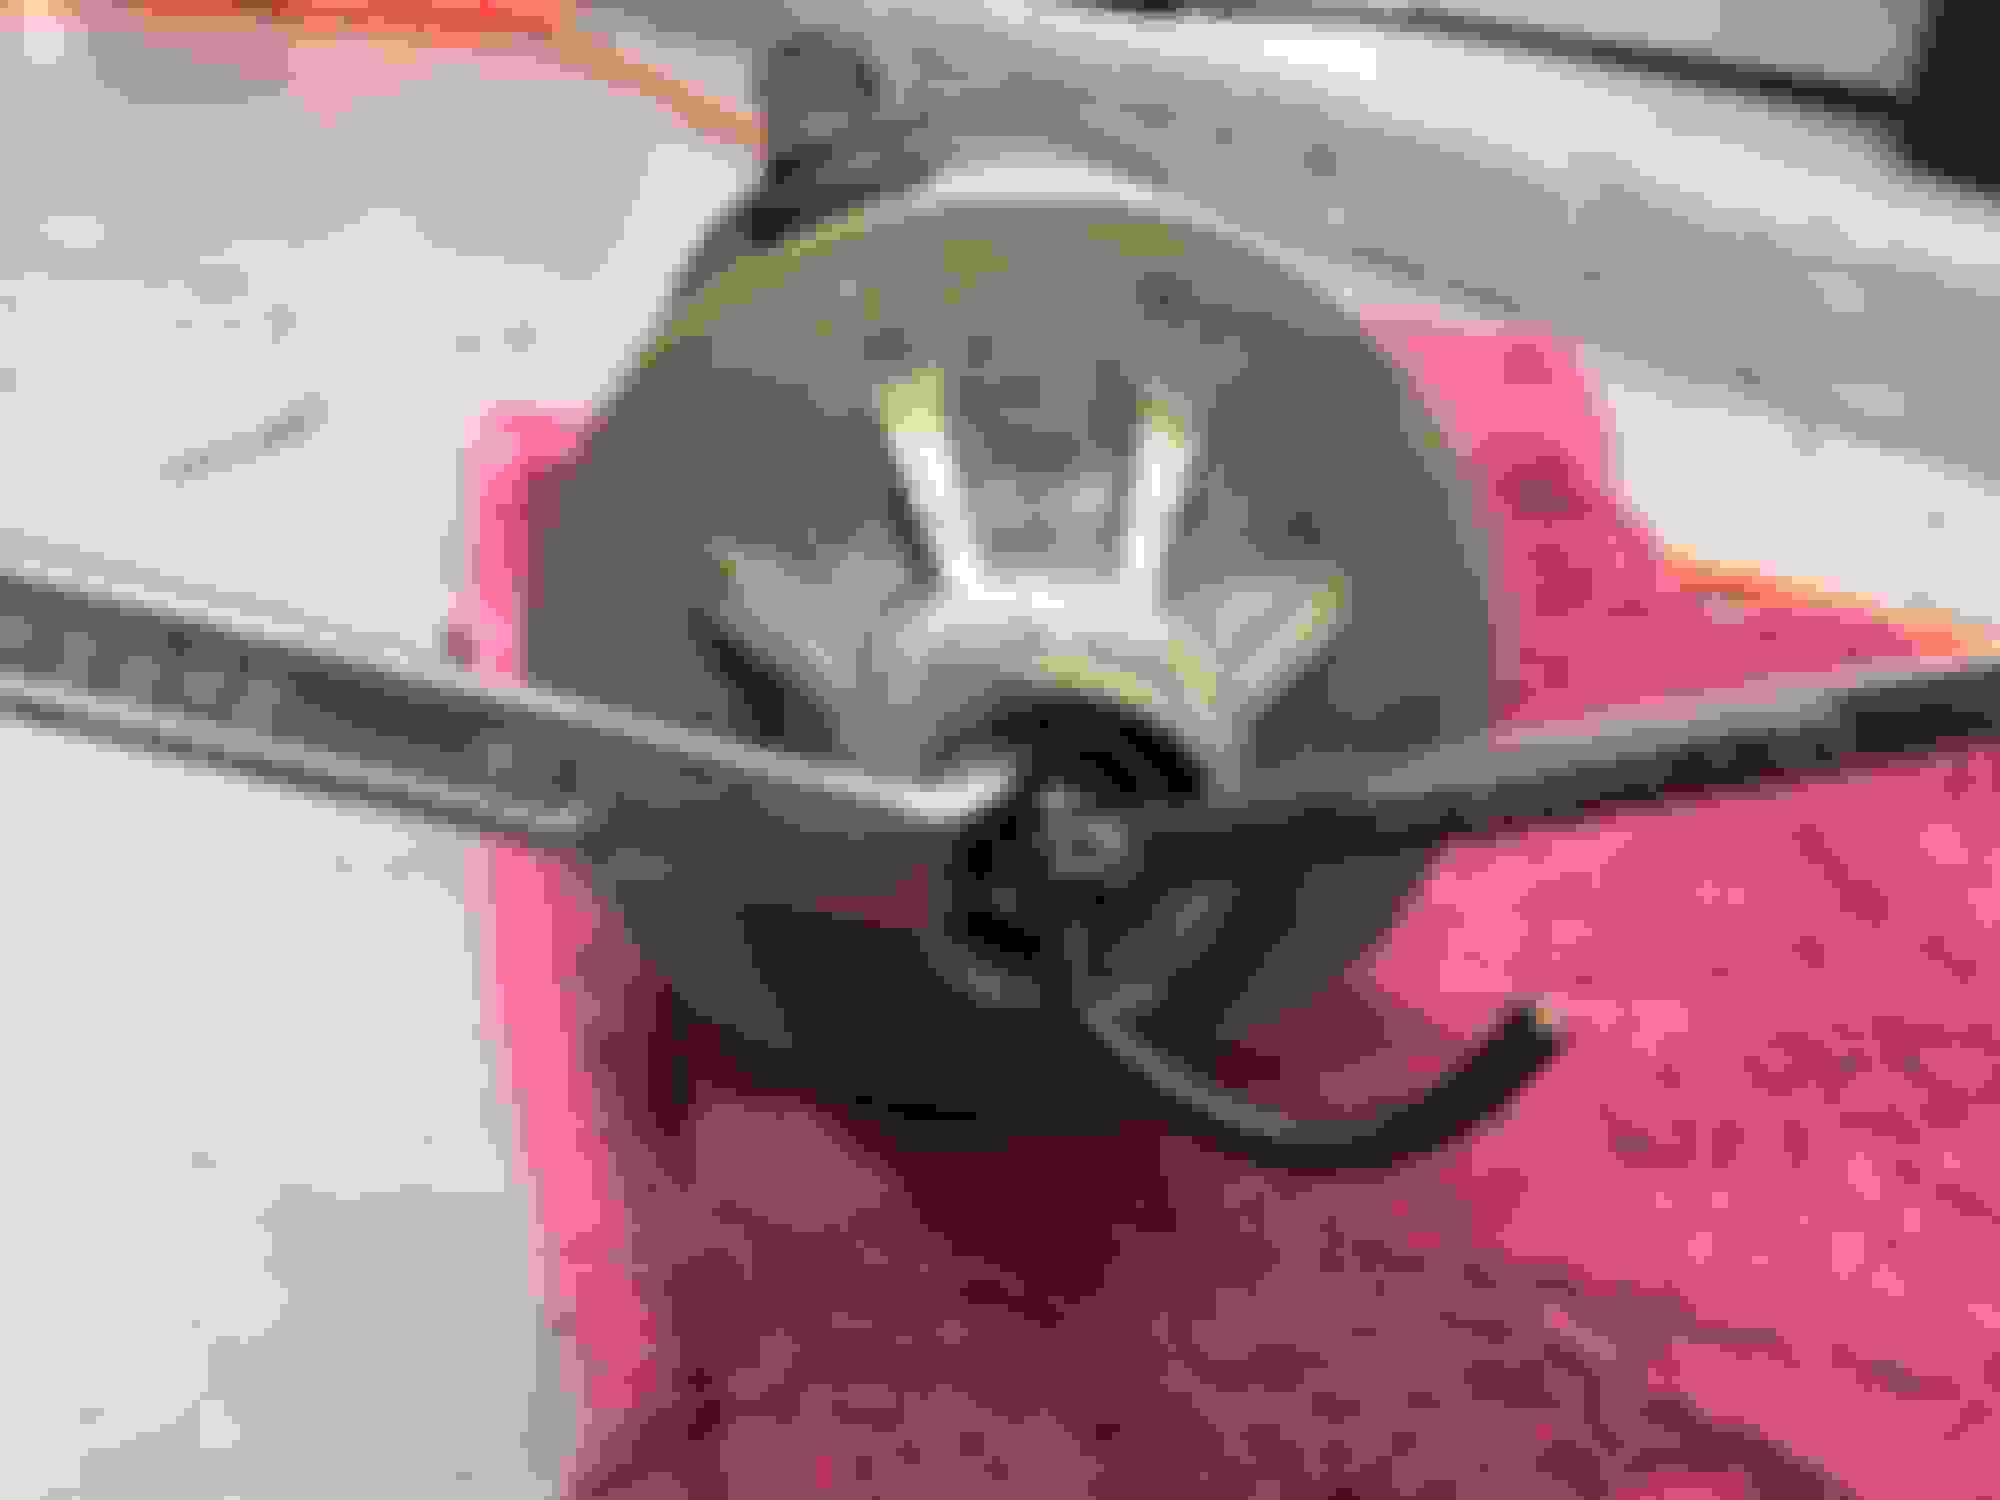
The part number printed on a label on the gas strut
15.1450-0184.3 Sachs 46 2400 000 411
05347 / VD328KL Made in Germany
Bar code: 0184305347
Sliding the tube upwards
Looking into the air spring bladder I could see the orange bump stop crumbling away
View of the top smaller o-ring
View of the air spring bladder lower seal for the old air spring bladder.
Manually pushing or retracting the tube into the air spring bladder to see how the bladder folds and creases with no air in it.
Side by side of old and new air spring bladder
Side by side of old and new air spring bladder lower o-ring sealing surface
Side by side of old and new air spring bladder lower bladder seal (old bladder on the left, new one on the right is thicker)
Removing lower O-ring.
Removing upper O-ring.
Old orings on left, new on right.
I had to use a set of ViceGrips to remove this what seems to be an air pressure regulator. It has to be put back on the new inlet
Installing the air inlet parts.
When I installed the air regulator unto the new inlet fitting, it did not feel like the o-ring was being compressed. I ended up using a new o-ring from a package of o-rings that I had around. The original o-ring on the regulator was brittle and damaged anyway. The numbers on the air regulator are
49/05 13.2-3.71 on the LEFT side air spring bladder air regulator
47/05 13.2-3.71 on the RIGHT side air spring bladder air regulator
This pic I am just checking to make sure the air spring bladder is folded correctly to reduce wrinkling when expanded. This may be not an issue as air is added, but I am just being cautious.
I used a wire hanger to fish the strut damping wire through the top of the air spring bladder hole.
The large band clamp provided with the kit to clamp in the protective boot.
I hooked the ends together before sliding over the strut assembly, worked it all the way up to the rubber ridge, and used a pick to slide it into place
Then I used a special band clamp tool (I have used a wire cutter on smaller clamps before) to pinch the clamp tighter unto the boot.
Finished assembly ready to install. I cleaned and carefully removed the bar code sticker from the old air spring bladder and put it on the new one.
Last edited by Dville; 08-01-2018 at 04:36 AM.
Reason: described and re-ordered images
Very smart way of doing it. You didn't buy the bag with the dust cover? How does it come out? Where did you buy the bag?
Cheers,
Louis
I bought the same air bladder assembly that you bought from Direct-Auto on Ebay.
It came with air bladder, dust cover, large band clamp, and a bag of fittings for the air inlet, but when included parts were assembled the air bag leaked at the fitting.
It appears an o-ring was missing.
I had fix it myself and am trying to see how I can get a replacement or some return for my troubles.
Will post lots more pics after work or during lunch
no.
I was pretty upset about that. Having to assemble that critical part.
Turns out it leaked like crazy because something was not included.
Will post more pics.
Easy way to troubleshoot too.
I ended up removing the strut 3 times on one side and twice on the other.
That is why my fast method became necessary.
Great way of pulling the strut. Almost too simple!
I wonder if the rears would be as easy? Not sure what internal access to the top of the strut towers is like?
I left the sway bar unbolted off until I was ready to drive the car.
So in removing the struts so many times, I only had to remove the top and bottom nuts and the air line.
when I got tired of that I figured out how to bench test for leaks so I did not have to keep taking it in and out of the car.
no.
I was pretty upset about that. Having to assemble that critical part.
Turns out it leaked like crazy because something was not included.
Will post more pics.
Easy way to troubleshoot too.
I ended up removing the strut 3 times on one side and twice on the other.
That is why my fast method became necessary.
You should return and asked for the assembled one as soon as you received them that way.
Cheers,
Louis
 07-29-2018, 07:43 PM