When you click on links to various merchants on this site and make a purchase, this can result in this site earning a commission. Affiliate programs and affiliations include, but are not limited to, the eBay Partner Network.
Thanks for the info. In my case this fault only appeared after retrofit of RSE and it exists in both 5F and 7F. However, I did not manually change anything in 5F when fitting RSE. So that made me think it�s due to coding mismatch between 5F and 7F. The only thing missing in the Rear MMI is SIM card slot and Audi Connect. So I suspect that I bought an older RSE unit that is not fully compatible with the front MMI.
Well RSE is something I've long wished for in my 2014 A8L 4.2TDi which has the Q2J seat package in the rear but was looking for a sanity check before attempting what looks to be a huge job...all credit to Lonewolf95 & macmann amongst others for blazing the trail!
I have the following parts;
1. 7F DVD/SD 4H0 035 776 S
2. 7F DVD Mounting Sleeve 4H0 885 227
3. 7F Ski Hatch Trim 4H0 886 828 D 6PS
4. MMI Control Unit 4H0 919 709 C
5. Monitors 4H0 919 607 x2
6. Monitor Brackets 4H0 885 153 x2
7. Monitor Rear Trim 4H0 919 739
8. Monitor Bottom Trim 4H0 882 311 comprised of 3 pieces each side?
So apart from the wiring harness, rear armrest wood trim to accommodate MMI control unit, rear seat trim to accommodate monitors and relevant bolts etc. is there anything else I might need to obtain before getting started?
I am always paranoid removing trim especially in the A8 (I have been fitting Android Auto/Apple CarPlay headunits and touchscreen HVAC panels in Range Rovers where the trim is much easier to remove) and so I am looking for advice on removing the following;
Seat wood trim & seat back. And do I need new wooden trim pieces or can I get by with modifying/cutting/dremelling the existing?
Rear armrest wood trim & HVAC panel will have to be removed to fit the MMI control unit. What is the best way to remove this and again do I have to purchase a new trim or can I modify the existing to take the new panel. I would imagine it would be difficult to get a good finish around the chrome edge of the control unit.
The wood in my car is Audi Exclusive Poplar Brown/Silver and so probably uncommon and comparing the price for just the wooden (plastic?) gear **** trim at �284/$388 gives me some idea of the prices I might be quoted for the rear trim!
Finally I have removed the panel in the boot behind the rear seats to expose the electronics and rear ski hatch. As I need to replace the top of the ski hatch trim to accommodate the 7F unit in its sleeve how do I remove that top part of the ski hatch? I can see what looks like two bolts but they appear to be secured from inside the car as there are no hex nuts boot-side but what appears to be the end of threaded bolts secured by riv-nuts(?) of some description as can be seen in the photos taken by macmann. Thing is I can't see the head of the bolts from inside the car!
Of course any other hints/tips/gotchas (of which there could be quite a list) would be much appreciated.
Well I’ve answered a couple of my own questions with regard to removing the top part of the ski hatch and the 'wood' trim in the rear armrest.
For the ski hatch it is simply a matter of using a trim tool or hooking your fingers in between the alcantara parcel shelf and the plastic trim itself and pulling forward to release the usual two plastic standoffs from the captive speedclips although in most cases the clips come away still attached to the standoffs.
Care must be taken when pulling any trim not to break anything and the A8 in particular has little margin between release & breaking something as I can see from the replacement trim with the sliding door for access to the 7F where only a single plastic standoff is still attached.
I’ve just Dremelled one of the standoffs from my original trim to glue into the replacement trim so hopefully it will be a good fit.
And it turns out the 'wood' panel in the rear armrest isn't wood or even plastic at all! It's an aluminium casting with a wood finish applied to the top - part number 4H0 886 745 NV4 CZ. This means it can't be easily modified and will have to be replaced along with both left & right hand side cheeks and that's not going to be cheap even if I can obtain them in Audi Exclusive Poplar Brown/Silver with cut-outs for RSE MMI Console.
Still need to figure out how to remove the seat backs though...
And since the 7F has gone in I see another issue that I haven�t seen mentioned before.
Because of the 7F impacting into the top centre of the boot space the rear boot panel that covers the electrics won�t fit back.
I can see an outline traced into the rear boot panel and so I�m wondering whether I should cut around it so it slips over the back of the 7F but am wondering what form the factory solution follows?
I can�t see Audi leaving the rear panel just protruding into the boot space with the harness plugged in and just hanging there and I haven�t seen a factory RSE to know what it should look like.
What did you RSE retrofit guys do with regard to this issue?
To Lonewolf, there was never a SIM slot for the rear control head, only dual SD slots. The only thing standing in the way of having Audi Connect on the RSE is the software update.
And to Glyn, there is a plastic cover that attaches to the ceiling of the trunk that I assume creates the coverage that you�re looking for. I�ll run to storage and get you part numbers and pics in the next couple hours. I retrofitted the champagne cooler to my W12 so I have yet another different rear cover to my trunk for that, but I still have all the OEM RSE trunk bits.
I�ve seen some exclusive brown/silver trims for sale around. (Suffix FS1) I�ll keep my eyes out for you. I know the seat trims are available new for about $500 a piece, I�m not sure about the MMI piece. I also have exclusive trim so I feel your pain, I had to get a couple pieces as well
That'll be a great help for me and any others who stumble across this thread by Lonewolf95 either weighing up or looking to fit RSE in a D4.
I have waited @4 years looking at many RSE bundles come & go and most of them were in the �1600-2500 price range for electronics only usually minus various trim pieces & almost always minus wiring harness also.
I thought I had a bargain @�600 including some trim not usually advertised including the sleeve the 7F slots into and the top ski hatch trim that includes the roller shutter door that hides the 7F itself and although I knew I would have to purchase the wiring harness from Kufatec for @360 Euros I didn't bank on the trim being so expensive.
Had I realised the seat trim alone would be @�350-500 per side and I had to replace the wooden side cheeks on the rear console (I figured I would have to replace the top plate but thought it was wood/plastic not a substantial aluminium casting in an Audi Exclusive finish) I might have curbed my desire for RSE years ago and not ventured so far down this road!
But I've come this far so I'll be ploughing ahead regardless so any other hints/tips/gotcha's would be very welcome.
I feel like I've hijacked Lonewolf95's thread to a degree although it was him and also macmann blazing the trail who pushed me over the edge with forging ahead so I'm not going to feel too bad about it...just wish they would rock up and chime again in having successfully completed this particular retrofit...
They�re good guys, I�m sure they�re happy that more pertinent info is being gathered in one spot
Here are your pictures, as you can see the rear wall trim piece is modified from the original. Indeed if you look at parts diagrams it says �no replacement part number, modify in workshop. Hopefully this is a good indicator of whether or not your pane shows what needs to be cut out. If you would like to modify yours but do not have enough to go from on your panel I can create a template from mine and mail it to you. The part number label is also a sticker and not part of the mold as is the case with most parts and it indicates both the ski pass through and RSE.
As for the cover you can see how it fits onto both the real wall trim and in the trunk image how it sits on the ceiling of the trunk. There is a fastener that holds it to the ceiling but merely a channel on the bottom of the cover and clips molded to the sides of the cover that holds it to the rear wall. I would have to remove my cooler to be able to show the standard rear wall piece in place but I think you get the idea here already.
Here are part numbers. I would offer to send my bits to you or bring them to you (do I remember right that you�re in Northern MI?) but I�m not sure if I�ll ever sell the car and keep the cooler and they�re a bit scratched up from being carelessly stored with old Ferrari exhaust bits.
cover: 4H0 863 688 A
cover fastener: 447857909
rear �wall�: 4H0 863 721 AF 9X7
You�re so close and it will be worth it in the end. If anything you can always get trim that doesn�t match for cheap for the time-being and replace it down the road when you either find or decide to buy the correct stuff. If I remember correctly the trim on the rear of the seat is piano black as standard and the premium package (I think) makes it match whatever wood trim you have so it wouldn�t be TOO out of place for those pieces to be piano black. The center armrest trim could be piano black too and look okay, but I think you could have a shop cut that to size without too much fuss. There are router bits that eat aluminum for breakfast.
By the way, did you find a pair of Audi headphones to go with your RSE? I see sets come up for sale fairly often in my searches, if you�re still in need I can send them your way.
That's really helpful...thanks very much for that 2T4R. Gives me much more to go on.
I really need to edit my profile and put my location where it can be seen...I visited Northern MI once @40 or so years ago! I was born and bred here in the UK but sure go ahead and bring those bits to me. You can stay for free as long as you like!
I'll have a look around now as thanks to you I know what I am looking for and already see the cover available on eBay.co.uk although supplied from Latvia/Lithuania. I should have some of those rivet fastenings kicking around somewhere as I think I have used them before? Maybe to hold on arch liners or something.
The RSE back wall could be a little more difficult to get hold of so I'll take another look and see exactly what that trace outline looks like and if it has got those two little tabs first.
.
.
.
Just taken a closer look and the trace outline does indeed have both left & right tabs marked so as long as I have the nerve, a steady hand and a suitable Dremel cutter/Router bit theoretically it should be possible if my skill set allows it. I have ordered a new cover for �20 so will wait until it arrives before attempting to cut anything.
Ironically Magna has a manufacturing/assembly facility in my hometown not that it does me any good but your offer of mailing me a template would be of more use to me I suspect. I'll drop you a PM if I bottle out of using the Dremel freehand!
Then there's the trim. Still the biggest hurdle. The wood in my car is Poplar Brown Silver everywhere in the back. Rear console, doors, seat backs, armrest top & sides. No piano black anywhere in the rear. I do have a little bit in the front around the gear lever/engine start & handbrake switches, cup holder and a little on the two lower steering wheel spokes however.
My OCD wouldn't let me live with a different colour wood for any length of time but I may have to have a stiff conversation with myself for the greater good methinks.
Plan is still to try and cut the seat wood trim as getting a good finish doesn't seem that important as the lower LCD panel trim looks like it should cover any rough edges. Might need a template along with ***** of steel for that though!
Not so on the rear armrest where the MMI Control Unit is located. Achieving a smooth, good-fitting finish in the right place with the right shape is critical as the aperture would butt flush up to the chrome trim around the control unit - there is no overhang that might hide a rough cut edge - which IMHO would not be possible no matter how good the router bit so the correct, unmodified trim is really important here I feel. A possible compromise with piano black maybe an option as both the HVAC & MMI Control units are glossy black so it shouldn't look too much out of place.
I hadn't really thought about headphones although I do see them bundled with RSE at times. I was giving some thought to wondering if it might be possible to pair non-Audi BT headphones to the factory unit or if not then integrate something along the lines of a Sennheiser BT T100 Bluetooth transmitter or similar along with suitable headphones such as my Bose 700 but its not high on my priority list at the moment. I don't relish using someone else's used headphones but I'll cross that bridge when I come to it so might even take you up on your offer of keeping an eye out for me at a later date.
I do see new Audi headphones advertised for �100-120 a set occasionally though.
Thanks again for your insight not only on this subject but on many other threads here where your knowledge & passion shines through.
Ha! I should have drawn the connection as soon as I read you using GPB instead of USD.. my brain must be fried. I might take you up on that, I�ve never been to the UK
Very good, I stand by my offer to send a template if you wish!
I have only seen a few cars with piano black on the back of the seats since that means no premium package, which is probably the most common option of them all
Happy to be of any more help if I can, just give a shout
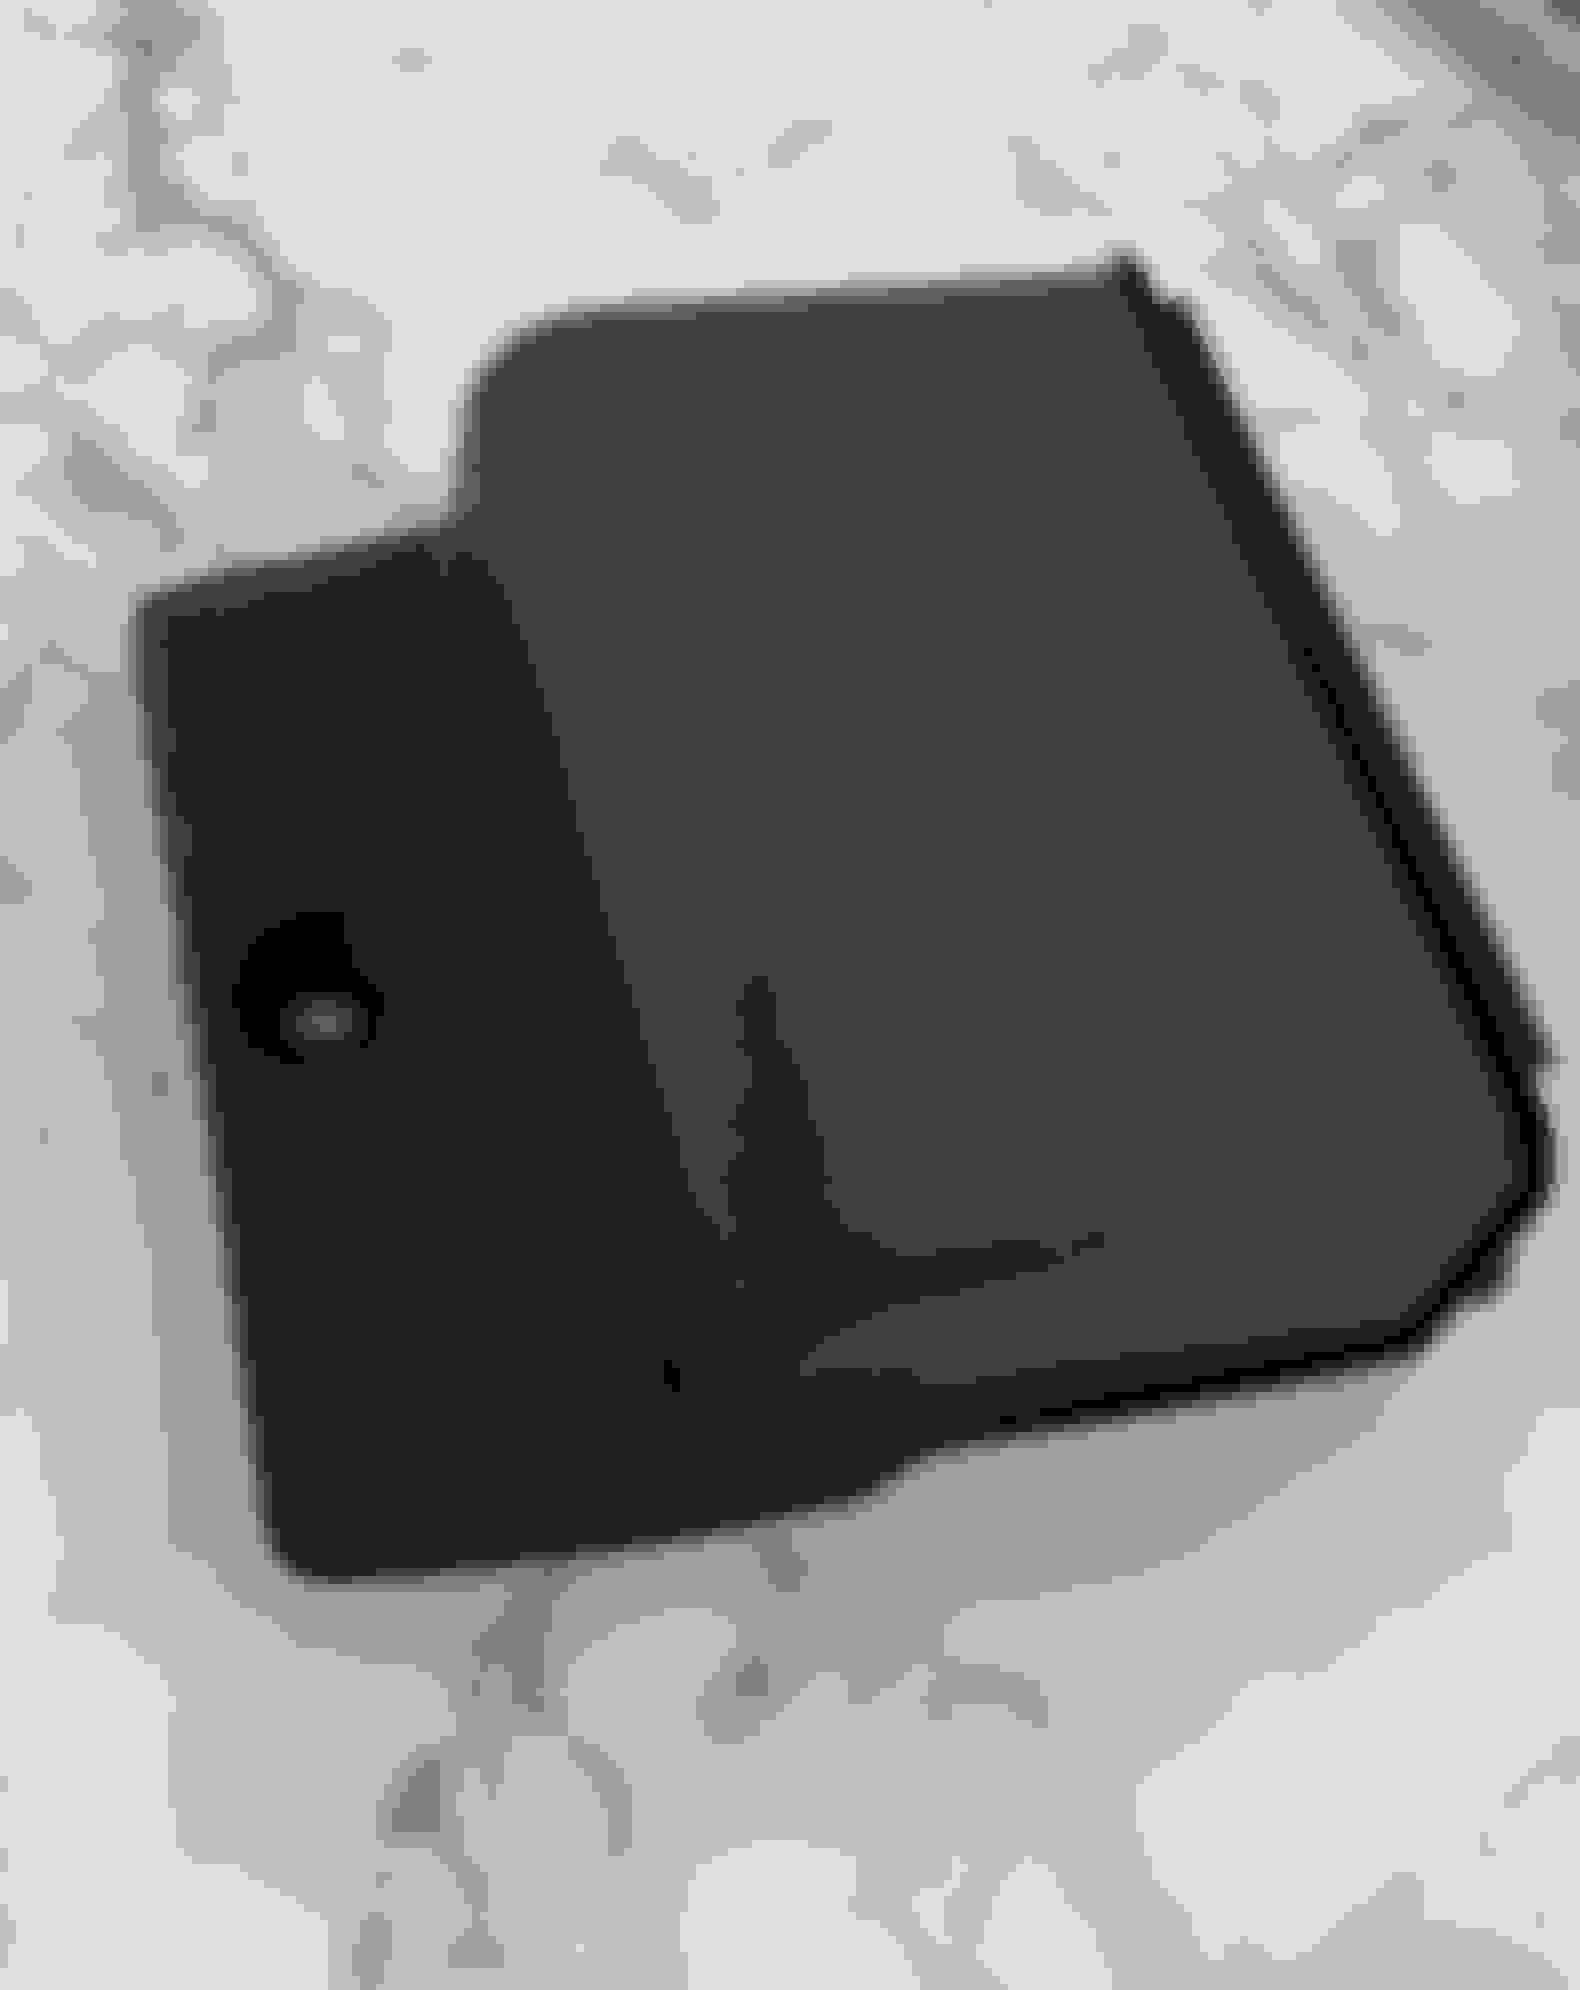
First up was fitting the 7F. I have ordered a brand new cover for the rear of the unit @�20 and awaiting its arrival from Latvia. Now you see me...
Now you don't! Shame its missing the chrome trim along the bottom though...
Next up was the LCD monitors. I found out how to remove the trim by inserting a trim removal tool between the seat back and the wood trim itself and levered up along its width in 5 places and it popped off a treat.
Using masking tape and a pen I marked the width of the slot needed in the trim to clear the monitor bracket. I was wondering how I was going to cut a straight line along the trim but I needn't have worried as there is a chrome strip that runs along the width of the trim and so I just followed the inside edge of that with the Dremel. I started to cut down the two edges with the Dremel but found it easier, quicker & cleaner to use a hacksaw. I usually undercut everything and end up filing for hours in the interest of getting good fit but luck was on my side today as the cut was a good clean cut of exactly the right size.
First notch cut in the seat trim This was a photo I grabbed from eBay and I was wondering why a simple notch wouldn't do until I came to fit the monitor lower trim only to find a couple of plastic legs preventing me from fitting the cover into place.
Used the Dremel again but with a small round grinding attachment to open up the corners.
Inside view showing those plastic legs through the opened out holes in the corners of the notch. The thought of just cutting the legs off to save extra cutting did cross my mind!
You don't have to sweat making a really neat job of cutting as it will be well covered by the monitor lower shroud shown here offered up in position before fitting.
Monitors finished apart from taking most of it apart again when the wiring harness arrives!
The biggest problem I face will be fitting the MMI Control unit in the armrest as IMHO I will not be able to make clean enough cuts in the right places with a good fit & finish and so will probably end up obtaining another set of trim. It looks like they come in a 4-set of the thin top transition piece that sits between the existing HVAC panel and the MMI Control unit, the other top piece with the curve in it that sits in front of the MMI unit and both side cheeks although I do not see any that is an exact match for my trim.
Buying new would likely double the price of the retrofit so I might have to get a little creative here.
I'm in no desperate rush to get it finished so I'm gonna regroup and check out my options but to the untrained eye it looks like I have factory fitted RSE already!
 04-01-2021, 12:26 PM