When you click on links to various merchants on this site and make a purchase, this can result in this site earning a commission. Affiliate programs and affiliations include, but are not limited to, the eBay Partner Network.
Okay...after some time around the forums and seeing a bit of repeat traffic and passage of info regarding those wishing to black out their RS5s and S5s I figured I'd document the final step in my black out process so others could benefit. Thanks to all the prior links out there that gave me either part numbers and/or advice on how to accomplish this. These should help anyone out who is looking to undertake this project.
THE PARTS
Black RS5 Side Badges were ordered from Audi New Orleans Parts Online. This I found offered the best pricng available vs what others offer (TAG, Europrice, etc). Beware and shop around as there are many Audi online parts sales that offer good discounts and shipping vs some of the more known vendors on the forums. Some in particular I found marked up their parts between 50-200% if shipping is included and I can say that I avoided that (will defer from naming anyone but do your homework guys/gals!)
8W6853601DT94 RS5 Nameplate Fender BLACK $100.31
8W6853602DT94 RS5 Nameplate fender BLACK $100.31
8W6853603DT94 Door trim BLACK- $ 59.80
8W6853604DT94 Door Trim BLACK $59.80.
8W6853736CT94 RS5 Grille Emblem BLACK - $55.21
8W6853740T94 RS5 Nameplate REAR.BLACK - $58.71
Black Rings set BOTH front/back for 2019 Audi Sportback were ordered from Europrice ($165.00)
THE PROCESS
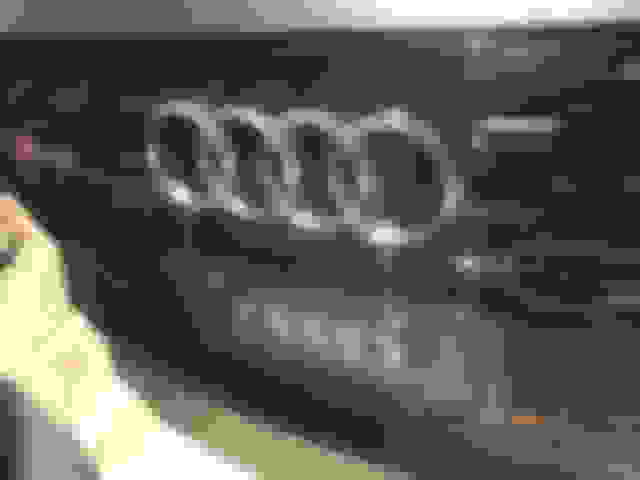
Front chrome rings were a PITA to remove. Yes there are clips behind them multiple ones which you can use a small flathead or pry too to release but that is IF you can get behind the grille to get them without breaking anything. That proved to be too difficult on my end and after multiple attempts at a flawless removal preserving my OEM chrome grille I went with plan B. Forced removal. This resulted in prying out the OEM front Chrome Rings piece by piece [see attached pics] much to my sadness...but since I was not planning on retrofitting it back into the grille after swapping out the Black Gloss rings...I was okay with that and poured out a little beer for our deceased removed chrome rings when done. New Black grille snapped easily into place and other than my pride nothing else was injured in this update!
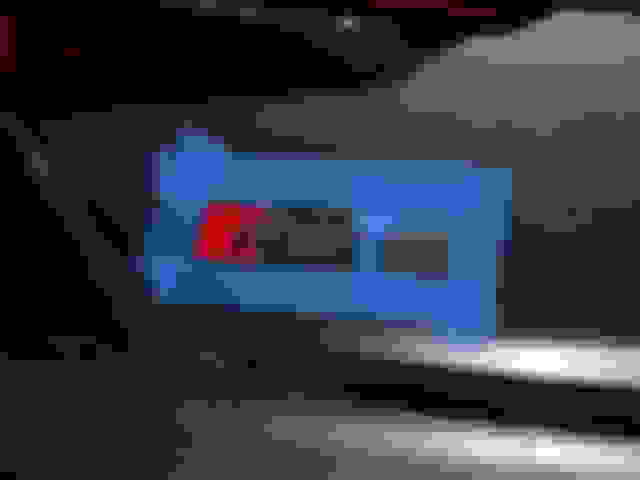
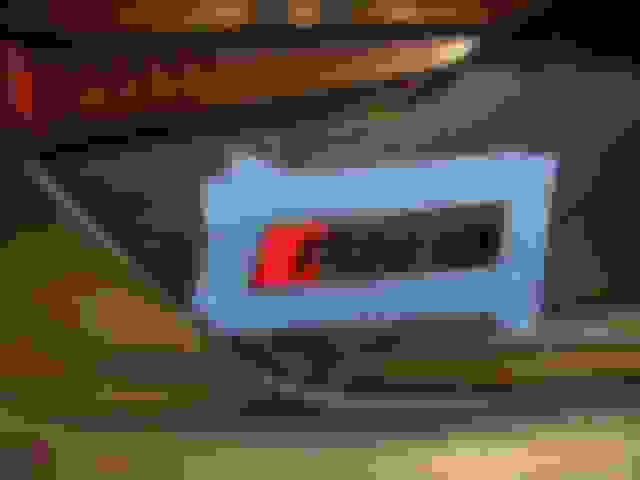
Rear Audi rings are pretty easy to remove. Dental floss and a pry tool and microfiber are all that are needed. Start with an edge (either side will do) and gently raise an edge then slip floss underneath and back and forth to remove. This will leave a bit of adhesive residue left where the rings formerly were. Now comes the adhesive removal step...many options there from 3M adhesive remover and such...I use Goo Gone and multiple applications to the area and gentle rubbing with your thumb and some work with your blunt pry tool will get it all gone/removed. Next step is removal of all residual adhesive remover using Nail polish removal/rubbing alcohol (anything that will remove any residual remover from the paint surface will do); this allows a fresh adhesive surface for the new emblem. Placement is simple just place in same position as old chrome rings removed. For the rear emblems in particular where there is NO trim recesses or placement holes I used blue tape to outline the factory OEM orientation and positioning and then was careful not to remove the same tape in my attempts to remove the residual adhesive from the old badges. Special note here: Sportback and Coupe editions use different parts and are slightly different in size. Mine above are for the Sportback as you can see in the pics attached.
Rear RS5 badge was simple and handled much in the same fashion as the black audi rear rings swap out above. Pry tool, dental floss and blue tape to outline and easily removed. Goo Gone to remove residual adhesive and then prep to old surface to allow clean foundation for new Black RS5 emblem to be applied. Simple.
Front RS5 badge was also pretty straight forward. It is a two piece setup and once you get your fingers behind it and look at the replacement badge you can see how it attaches. I actually put my new one together a few times without the grille to practice how to release the OEM one with a pry tool or flat head. For this one depending on your hands and dexerity either a small flat head or pry tool works okay. I used a small flat head the type you use on say small remote controls and such. Easy release starting outside clip and then inside...biggest thing here is to make sure you have a FIRM grip on the rear back piece/clip otherwise you will loose it inside the grille and will end up having to remove the bumper or the front part of the hood release cover while you bend it forward enough to go fishing for it! Remember there are other numerous connections up there (Parking sensors, cameras) so its not something you want to do NOR I did thank god. Biggest issue on re-installation of the new Black RS5 grille was that one I forgot the placement of the old RS5 badge so I had to look at a few pics again of my car and count honeycombs to figure out where to place the new one in the old position AND also like I said makings sure the thing clips securely on the back side. Take your time as at least 2 times I thought it was in the right place and secure and it was not...however you will know it if you check as it will just feel loose...thus the importance of feeling around the OEM badge install and getting a good feel as to what is right as its mostly a blind install. Good part is YES you do NOT have to remove the bumper to do either of these (Front Rings + Front Badge) unlike some suggestions in the forums I can across. Was NOT going to go that route if I didn't have too.
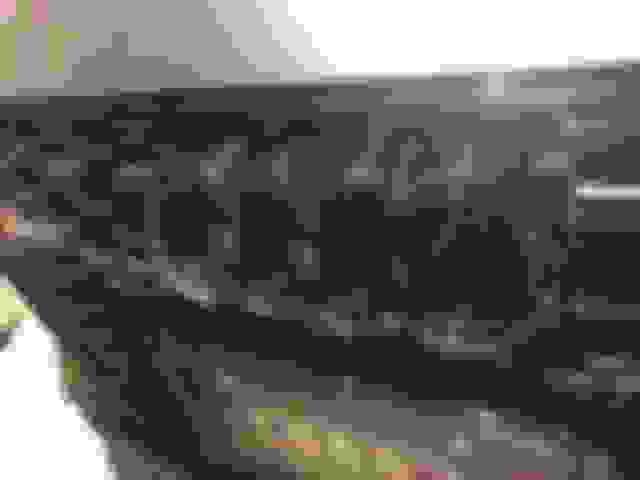
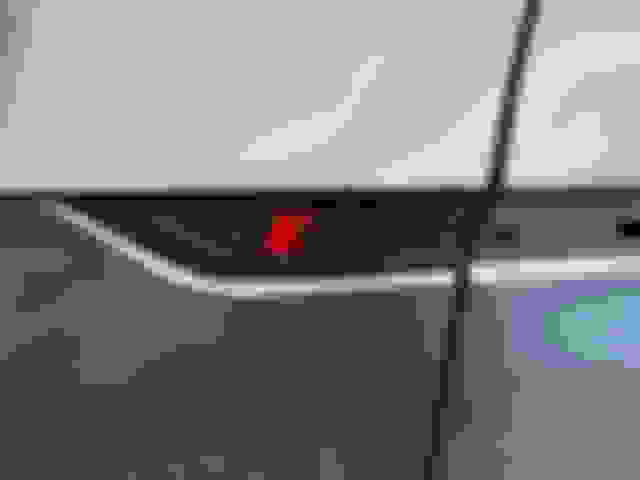
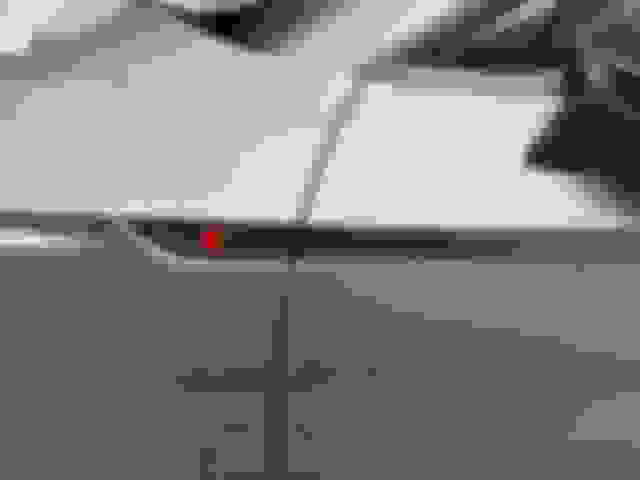
Finally the GREAT side fender/door embem swap..yes I saved the best for last! Actually its pretty straight forward but one of the least commented one on the forum from my search as to details of what to do or how some have done it. Quite a few have either had their shop or dealer do it but ALL have commented that it is a PITA to do AND preserve your emblems. That my friends unfortunately is true or at least was my experience x2. Both Left and Right side RS5 emblems and trim are attached with both double sided tape and clips. While its easy to see where the clips can be manipulated with a pry tool to get pressure to release them the double sided tape makes this almost impossible as its very difficult to get enough leverage and force to release them AND pry them away from the body using your pry tool due to the strength of the tape. By the time you get to clip unless you have a very very thin pry tool you've probably already broken at least one tab or maybe two. I often broke off the outter tab on both sides on the RS5 badges and also one on the door trim also! You can see where they are easily enough on your new BLACK trim pieces but getting to them as said is difficult and made more so due to the tape. I used a hair dryer to heat the adhesive and it helped but even so without a blowtorch to melt the adhesive and the plastic it was just no way to get them to just POP out with pressing on the tabs to release each piece as you often had already exceeded the threshold to break the trim tab waay before you got there due to the force of the adhesive. So...what I did was use my trim tool on the lateral edges and work below and use a rocking prying motion to get the trim pieces to release from the adhesive while using a hair dryer to apply heat during the process. Also did a bit of prying from the top and viola each piece will release and in this manner I DID get each trim piece off entirely intact! One thing that helps also on the RS5 side piece is that the gray lower "swoosh" like piece does easily detach and by doing do it does allow you a bit more access to the locking tabs and glue and provides a good start point to prying. See pics attached where you can see how I've removed mine and am prying from that point. Rest once removed is more of the same. Goo Gone and heat and patience and you will remove all of the residual adhesive from the OEM Chrome vents in due time. Entire process took me about 20-25 mins to fully clear the residue and let Goo Gone removal dry and then again prep and clean surface for re-installation of BLACK RS5 Side emblems and trim. These pieces pop right back into old recessed fender holes and alignment is easy given the trim holes are exposed. Double sided tape is peeled off and I added a bit of 3M Trim Adhesive to ensure a firm fit and some additional strength and then placed both sides holding each in place for 60 secs or so to allow everything to settle and set. Results...just like factory...and two trim pieces I can use as collectibles next to my old F80 M3 Chrome fender vent trim pieces in my office shelf.
Hope this detailed write up of my experiences helps someone.as I had to search a bunch of forums and YouTube to try to figure this out. While the cost of the above savings may be minimal to some ;given the cost of some vendors and retrofit by the dealer (quoted me $800 full emblems plus $150 labor - 2 hours quoted); I personally found that I not only saved a bit of coin but also it was relaxing to just sit outside with a nice podcast on the BT speaker in the garage and work on trim pieces with a beverage (thanks daughter of mine for the chocolate shake too you brought me midway thru this project today) and oh yes the new Griot Garage detailer's seat I got for Christmas made this even better and easier to do. Very relaxing! Tomorrow...power wash and waxing and new wheels will be mounted to my Michelin PS4 tires and if I have time to the car also!
OEM Chrome Rings OEM Chrome and Gloss Black Front Audi Rings Front OEM Rings removed. Gloss Black Front Rings installed Rear OEM Rings Taped out - helps with placement/alignment of new rings Gloss Black Rear Rings installed. Rear RS5 badge Taped outline RS5 Rear badge prior to removal Emblem removed but tape intact allows easy reorientation/placement of new Black emblem once old adhesive removed. New RS5 Rear emblem applied - peel away blue tape and done! Black RS5 rear badge installed. Pry tool set and RS5 front badges OEM Chrome and Black RS5 emblems Front Grille RS5 Badge in place RS5 Side emblems and part numbers OEM RS5 Side Emblems - notice silver flash Silver RS5 Fender emblem lower portion removed. Silver flash removed - easier pry point exposed for flat pry tool used. Start at lateral edge and pry gently - 1st clip is right before RS5 emblem on the rear and covered by adhesive tape on all sides! Add heat to help with removal of trim and glue/adhesive. Back of OEM RS5 fender emblem - notice clips that remained intact. Not all of them. Residual adhesive removal. Notice how adhesive surrounds full rear of emblem and trim orientation and contact holes. This is what makes it almost impossible to remove these intact! Side trim and tool and cloth Glue can be rolled away/off using thumb or towel to get good large portions removed from fender. Good Gone was essential and is a great adhesive removal. Non-chemical based and not persistent and is paint safe! Small plastic razor blade/decal removal tool was also helpful. Goo Gone and towel and plastic razor/removal tool used to work away residual adhesive Clean base prepped for new emblems - no residual adhesive left! Door part showing clips and orientation. Work from lateral side to release as best as can Start here to remove door trims and work inward Pop off silver trim piece fo better leverage to rear clips and adhesive. Remove silver trim helps to gain access/leverage for pry tool. Then gently work and leverage tool working slowly and back forth rocking motions to remove. Here you can see pins and clips and amount of adhesive which prevents easy access and release As noted front clips broke on 100% of the trim pieces when I tried to remove them. note the residual adhesive even on the trim pieces still. Rear of trim pieces post install Liberal use of Goo Gone to remove residual adhesive..cold beverage helps this was the most labor intensive part. Fully clean and prepped and ready for new Black RS5 pieces. Clearly can see mounting/clip attachment holes 3M Trim adhesive helps and added to double sided tape. Also Pic shows how double sided tape covers the entire trim piece area and mounting clips. This makes removal very difficult as the pieces just don't give to allow enough access to press upon clips to release! Front BLACK RS5 piece attached/secured. Old holes make alignment and attachment pretty easy. Full BLACK RS5 side pieces attached Final result done...ready for part two waiting in the background patiently!
Last edited by mdrobc1213; 01-07-2020 at 12:28 AM.
This is awesome! Thanks for taking the time to post such a detailed write up. It's what makes car forums great. I've done all but my side emblems to date. May try it now seeing this.
LMAO I did the same thing int he dark garge last night haha...Looks amazing!
A couple of notes from my install as well.
The front rings are near impossible to remove without breaking them in pieces and just replacing with the new ones so dont waste your time preserving them.
The front RS5 grill badge can be removed and replaced by taking the shroud off the top of the grill and reaching and average sized arm behind
The rear emblems came off easily and without any glue by just warming it enough to feel the glue start to soften and then use a plastic pry tool and it popped off.
The rear rings came off but again the glue was easy to remove by lightly warming and "rolling" off with finger.
The blue tape method is perfect and worked fine for me.
One tip I would recommend in colder months is to clean the surface off and wipe with alcohol to ensure a good sticking surface but also to warm the surface with a heat gun or blow drier to get a better stick of the new emblems. Not hot, just warm.
My question for the door wing emblems is why not open the door and work outward from the door seam instead of prying at the corner?
This is awesome! Thanks for taking the time to post such a detailed write up. It's what makes car forums great. I've done all but my side emblems to date. May try it now seeing this.
By all means feel free to follow what I did and hope it helps. Yes if one really takes the time to research one can truly maximize his/her ownership experience by joining and monitoring these forums. Makes ownership a lot easier I agree and enjoyable most of the time! . Enjoy!
Originally Posted by haha bye
LMAO I did the same thing int he dark garage last night haha...Looks amazing!
A couple of notes from my install as well.
The front rings are near impossible to remove without breaking them in pieces and just replacing with the new ones so dont waste your time preserving them.
The front RS5 grill badge can be removed and replaced by taking the shroud off the top of the grill and reaching and average sized arm behind
The rear emblems came off easily and without any glue by just warming it enough to feel the glue start to soften and then use a plastic pry tool and it popped off.
The rear rings came off but again the glue was easy to remove by lightly warming and "rolling" off with finger.
The blue tape method is perfect and worked fine for me.
One tip I would recommend in colder months is to clean the surface off and wipe with alcohol to ensure a good sticking surface but also to warm the surface with a heat gun or blow drier to get a better stick of the new emblems. Not hot, just warm.
My question for the door wing emblems is why not open the door and work outward from the door seam instead of prying at the corner?
Thanks for the great write-up!
Thanks for the kinds words, glad could help show how to accomplish it for those who are DITY inclined. Dealers and vendors just wanted too much for what should be a simple 1 hr garage/driveway job for any owner.
- Yes I do agree the front silver OEM Audi rings came off in pieces basically...I was afraid I would break the grille otherwise! Didn't care as it was being replaced...so it went to the trash afterwards...in quite a few pieces. Needle nose plier seen in foreground were used after pry tool proved unable to release OEM front rings - the remnants remain!
- Didn't have to mess with the top cover at all on the front grille. Was able to reach behind and release and reinstall. Mind you as I said I studied the opening mechanism carefully and was sure I could do it using a pry tool/flat head in between the honeycombs of the grille 1st before I tried.
- Ha I wish I got all the glue off in one try...that was the most time consuming part. At least 20 mins each side! But I did prep the area with alcohol and nail polish remover before re-installation of the new side grilles and used the 3M adhesive glue added too to be sure of proper adhesion!
- On the door emblems why I didn't work from the door seam outwards is the oreintation of the clips. If you look closely the inner attachment point of each side emblem closest to the doors are just round plugs. They do not clip or do anything but sit in the rounded rear hole in the fender/door. Glue was so tightly affixed that no way to get emblems loose enough to get past/over these round points to get to the middle clips to try to release them thus the outward to inner approach with the pry tool. Look at the close up pics and the orientation of the new replacement trim and the fenders and you can sort of see what I am referring too!
- Blue tape is old learned trick for removal of emblems in situations where one wants to replace them exactly with new ones of a different color/material. If you can believe it Porsche has a template at the dealers for doing similar and charges like $300+ for them to do the same on their cars at the dealership. Blue tape is like $3.00! LOL
Awesome job for being so helpful to the Community. I hate it when other dolts brag about what they did and everyone asks how they do it and they say just Google it. I like mine as is so I won't be doing it but again glad you shared it
Awesome job for being so helpful to the Community. I hate it when other dolts brag about what they did and everyone asks how they do it and they say just Google it. I like mine as is so I won't be doing it but again glad you shared it
Glad that it was helpful. Yes we should share our successes as well as our failures so that others can benefit from these great cars!
I did the same to mine, blacking out gives a great look I think. I actually painted the grill, fog surrounds and the Wingmirrors with rattle cans. They came out pretty good !
The lights are all tinted with tint spray which doesn't effect light function too noticeably... But a little 😂
I'm getting a company to wrap the chrome round the windows in black vinyl. They seem to think they can do it so I'll trust them to do a good job.
Did the badge swap this weekend. Huge thanks to mdrobc1213 for the detailed DIY. I destroyed all the original badges with the sole exception being the front grill and the trunk RS5 badges.
Getting the adhesive off the trunk was a real PITA. I used Goo Gone, a plastic trim tool and a micro fiber cloth to get it done.
The side badges actually were relatively easier. I used a trim tool to wedge under the badges then basically forced them off, breaking them into multiple pieces. The clips all broke off and feel inside the fenders/doors Hopefully they won�t rattle. To getThe remaining adhesive off I used a Dewalt heat gun set to 200 degrees to briefly heat the remaining adhesive, followed by scraping with a plastic razor blade, then a micro fiber cloth and Goo Gone. I had to repeat multiple times to get all the adhesive off. Took less effort than the rear badges though.
I may have put the rear RS5 badge on crooked though. This is a pic. To my eyes it looks like the �5� is mis aligned with the �RS� ever so slightly. I used the painters tape method to frame the badge but still think it�s slightly lower. Are my eyes deceiving me?
Glad that most post helped ya. That was the original intent. But yes man the adhesive is a bit of a PITA to get off man. I used a hair dryer and goo-b-gone and a plastic pry tool/blade and still had a nice time with the side emblems the worse on my car. Also broke tabs...not sure you can do it any other way. Seems like those things are put on to never be removed man. LOL. Looks good though...don;t seem crooked at all. Enjoy.
 01-02-2020, 01:28 AM