When you click on links to various merchants on this site and make a purchase, this can result in this site earning a commission. Affiliate programs and affiliations include, but are not limited to, the eBay Partner Network.
Added a few more bits and bobs to the stereo this week. Thank you so much, Bruce Miranda!
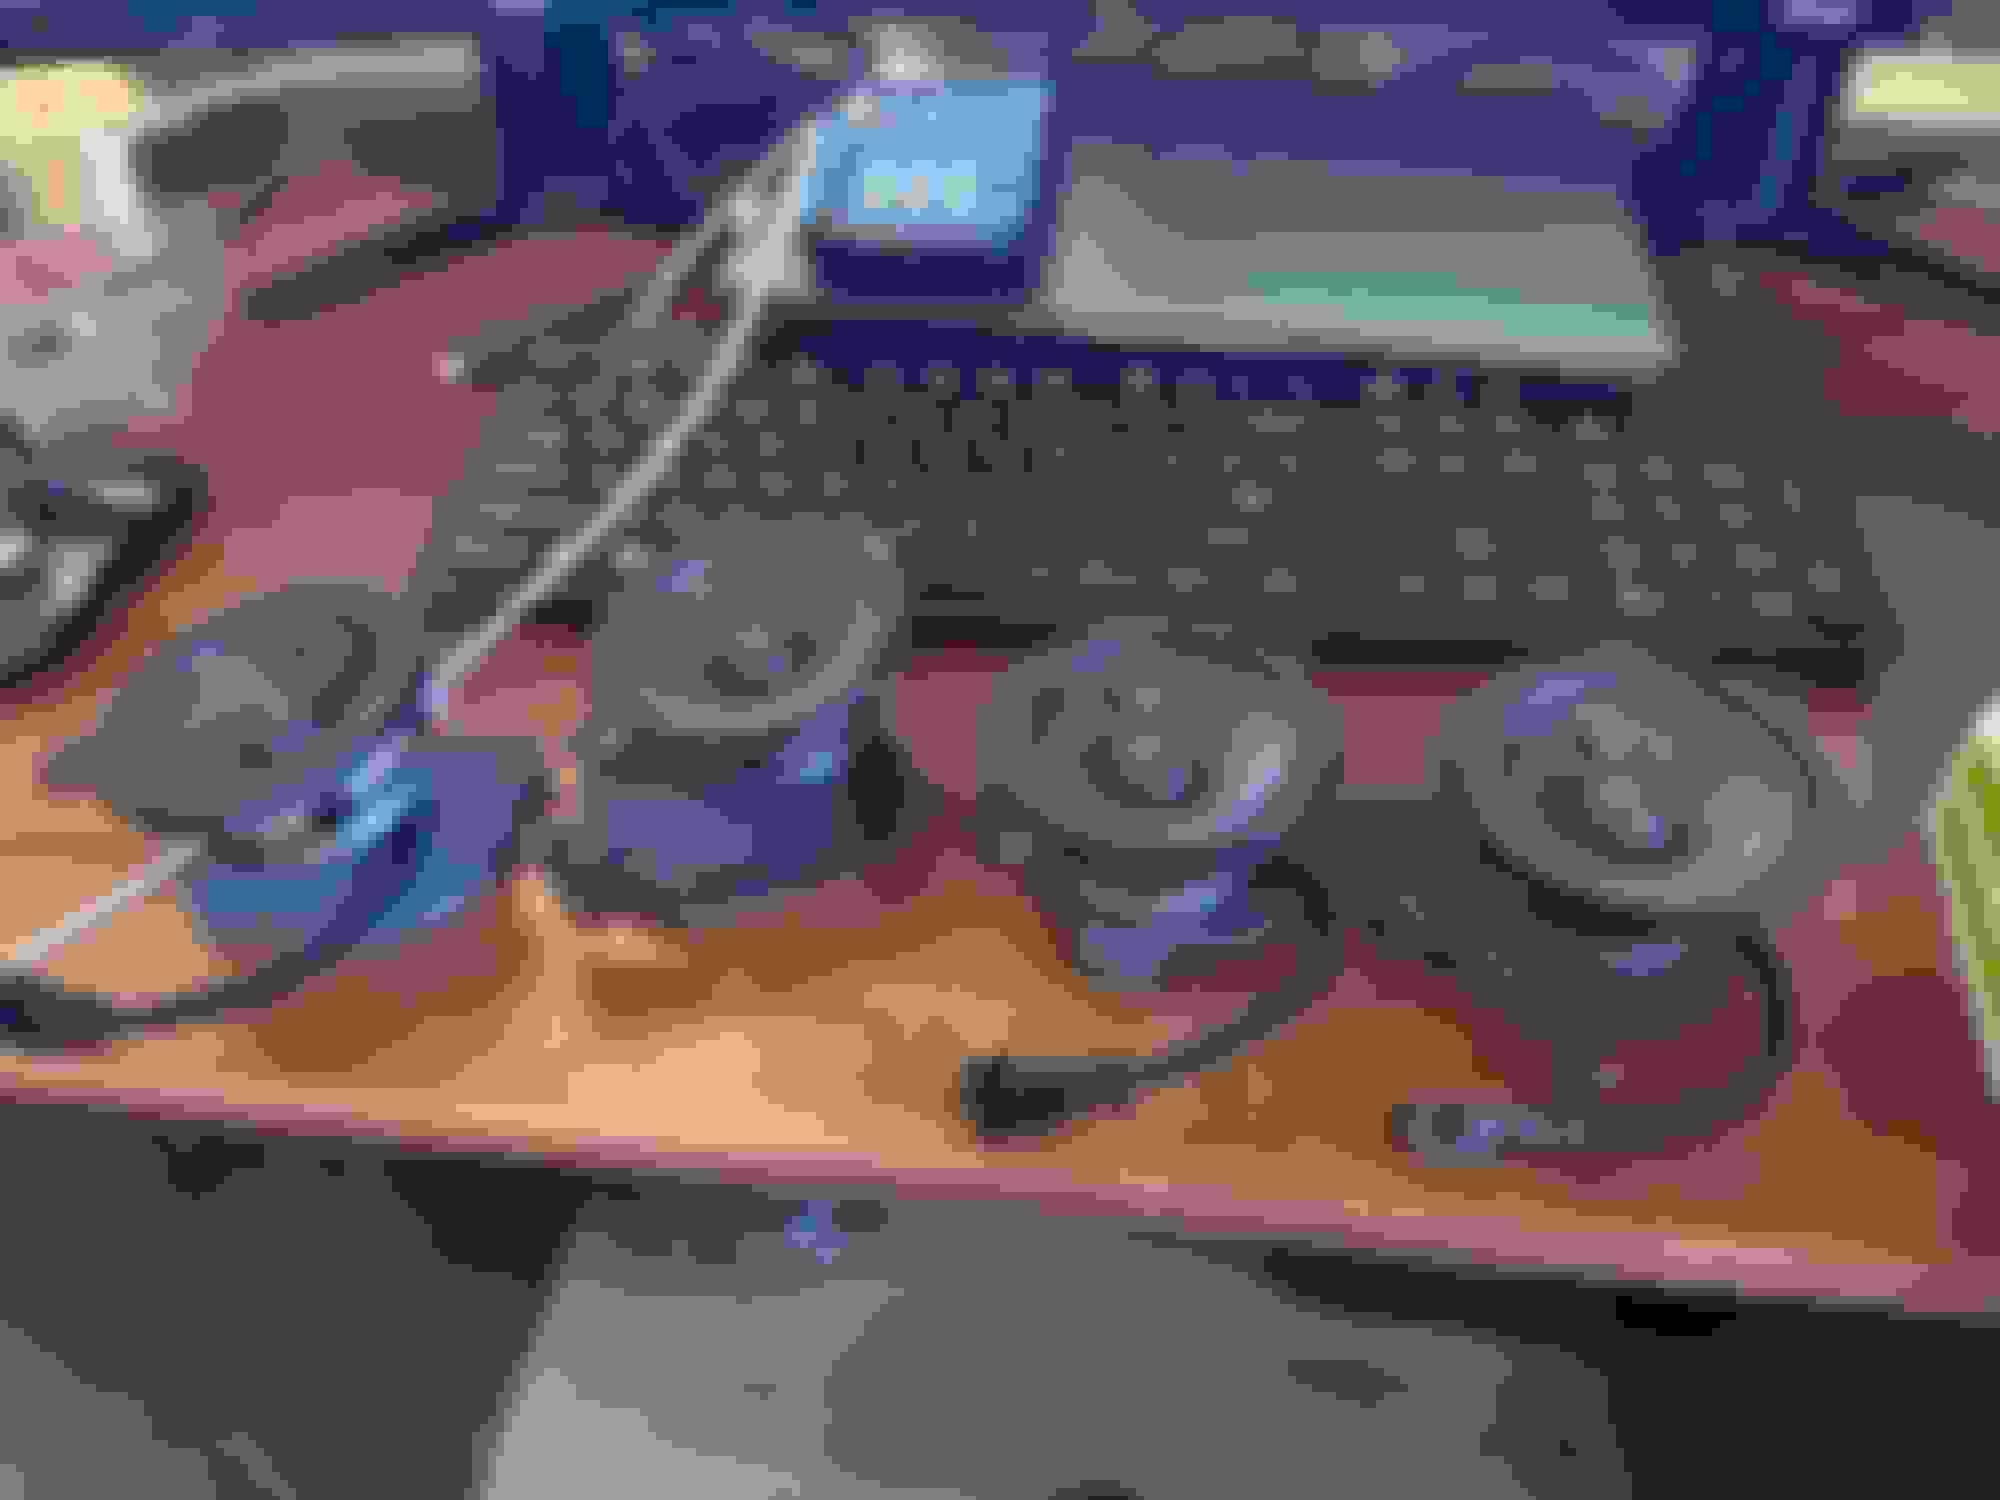
Faital Pro 3FE22 in the dash corners and in the rear 3D surrounds
Dayton Audio AN25F-4 in the a-pillars
First and foremost, *DO NOT* mangle this mushroom clip in the a-pillar. Or, you will have a VERY BAD DAY
Removed the stock tweeters from the a-pillar trim:
Ended up using a combination of retention rings and hot glue to attach the tweeters to the trim. Works well.
I also added a dab of glue to the connectors on the Faital Pros. The wires seemed a bit loose, and I didn't want to have to rip everything back apart should they become disconnected. In hindsight, I probably should have just soldered.
The comparison between the stock B&O and the Faital Pro magnets is pretty remarkable.
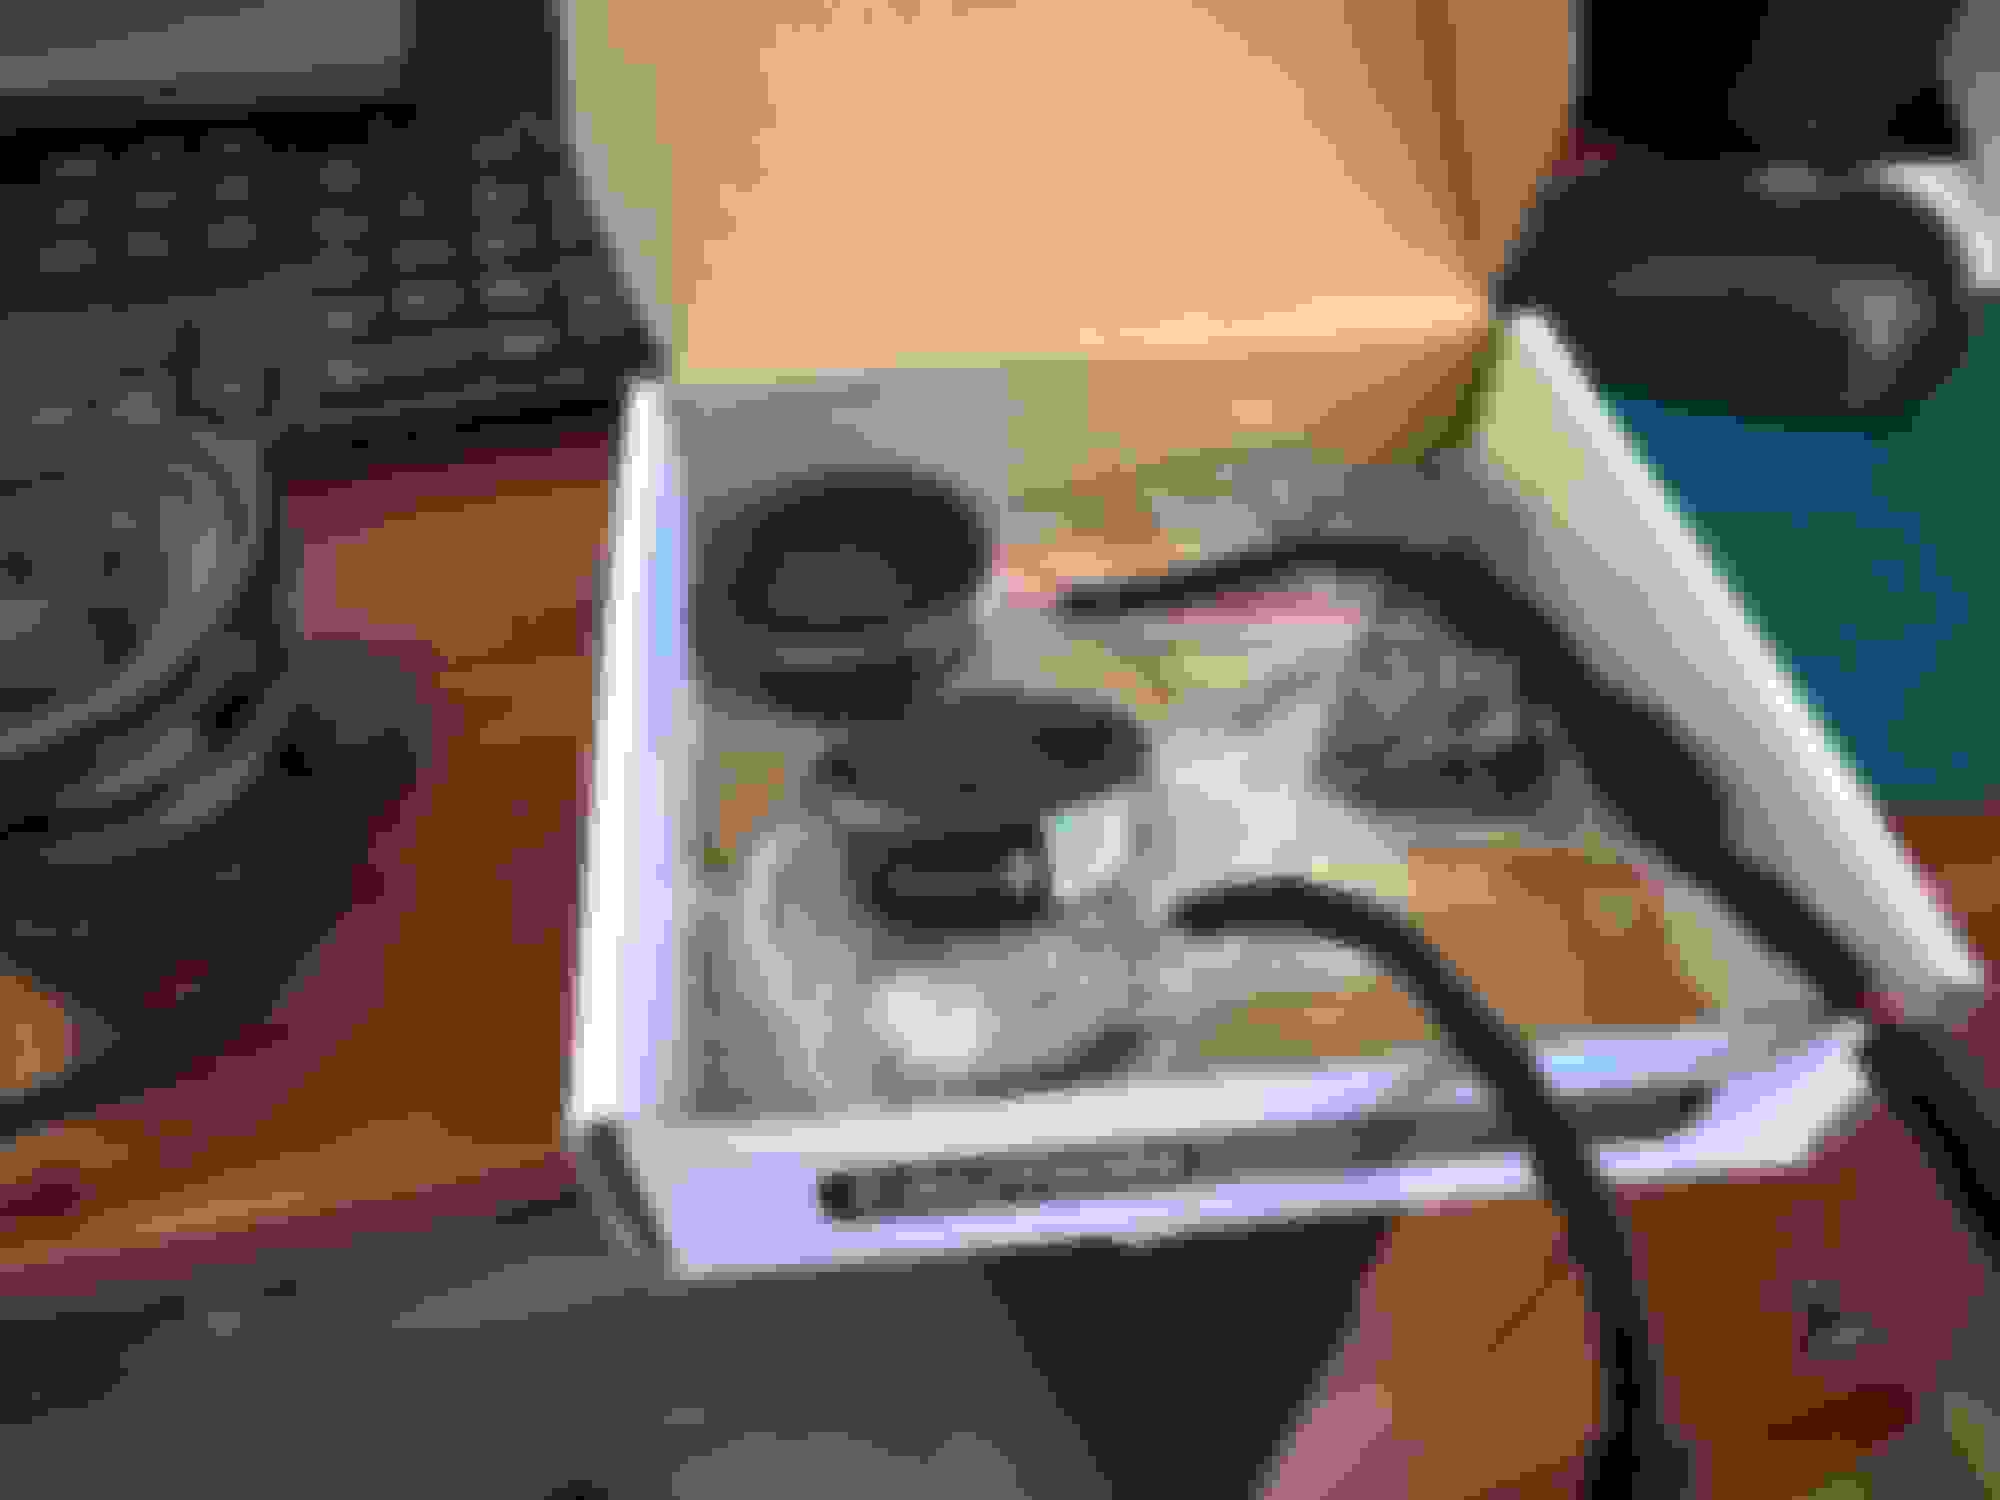
Everything back together:
Onto the next project - I picked up some spare interior components. I'm working with a carbon fiber skinning/laminating shop on the east coast. Seat wingbacks and dash caps are the first round of parts to receive the treatment. Cant wait to get these back!!!
Added a few more bits. Added covers for the center console screw that were deleted on the facelift models. Someone in supply chain finance must had had a "good idea" for a cost saving project on a $90k car LOL.
Before
and
The covers - P/N in view for anyone else that wants to do this "mod."
Afters:
and
I also realized there is a 12V dummy plug in the back seat. Figured I'd replace that with the aluminum ringed one to match the front.
Before
After
Have a few other things done that I'll need to take pictures of tonight. I should have my CF sport bucket wingbacks in the next few weeks as well.
Running through a bottle of this, now. Car just clicked over 7k miles
Still running corn juice
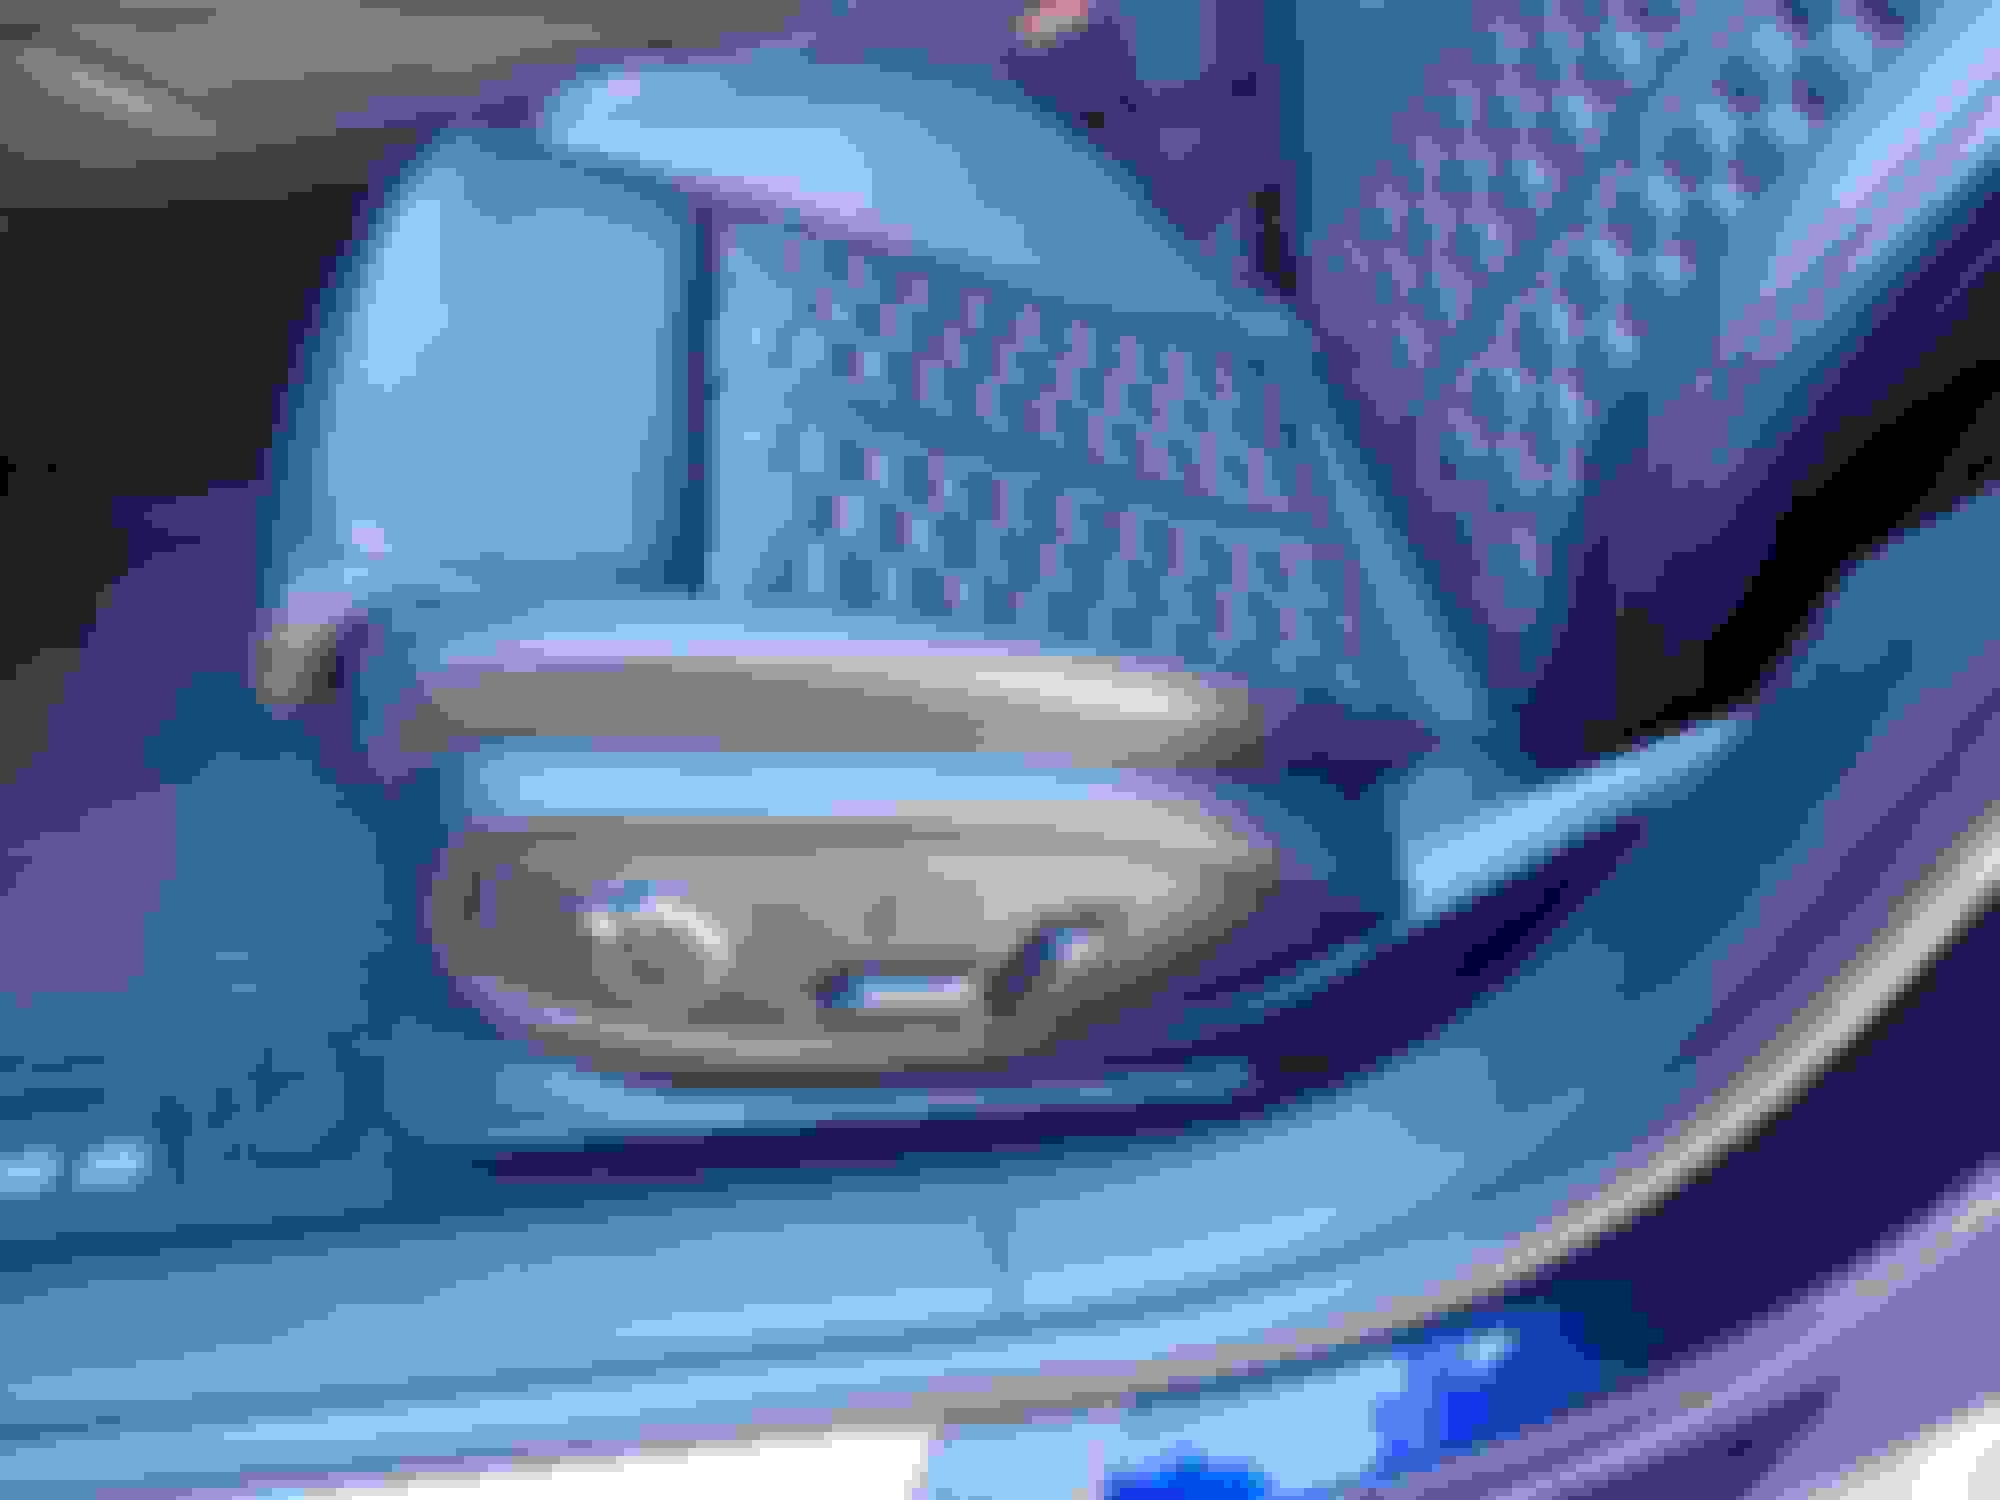
Also added OEM seat adjustment switches from pre-facelift/AluOptik cars. I had to source a majority of these from EU directly as Audi NA only had one of the components in stock with no ETA on re-stock.
Before (factory black plastic)
Before
Comparison between the factory face-lift components and the aluminum-trimmed ones.
Afters
Overall, I like the look significantly better - Not sure why they decided to trim costs out of a $90k car, but hey, someone has to do it. Got an update from my carbon fiber skinning shop - I'll likely have the wingbacks and door caps back by the end of the month.
I finally got the carbon seatbacks and dash caps installed! They were CF skinned/laminated by Exotic Car Gear in PA - Very good work! Thank you for the recommendation, @Mops@Nemisis.
I scooped up a brand new seatback from GenuineAudiParts on a clearance sale, and picked up the other from Ebay for around ~$100. The used seatback had a cut retention strap - Apparently, this is common on used seatbacks as the clip that attaches the retention strip to the seat chassis is a bit of a pain to navigate. Lots of salvage yards will cut the strap for easier removal without understanding the parts' significance. Exotic Car Gear also replaced the cut strap on the used seatback - Good as new, now!
Said retention strap - This strap prevents the seatback from becoming a projectile in the event that the seat airbag deploys - IMPORTANT STUFF!!!
For disassembly/removal of the seatback, I've found it significantly easier to remove the two torx screws that fasten the retention-strap clip to the seat chassis. Remove the two torx screws, then remove the seatback from the vehicle with the clip still attached to the strap. It's significantly easier to remove the clip from the strap once the seatback is removed from the vehicle.
They look great! I did wait a few weeks to install them. Prior to install, I did a quick ISO wipe down, then installed Gtechniq CSL and EVOv4 coatings to keep them fresh. I'd also like to call out that Exotic Car Gear shaved the map-pocket/netting from both seat backs. Body work was flawless (can't even tell where the holes were).
My only concern here in sunny Northern California - My rear seat passengers will need to wear sunglasses due to the glare off of the now glossy seatbacks. Fun fact though, no one ever rides in the backseat of this car!
I scooped up some used dash caps from Ebay for around $50 for the pair. The CF skinner/laminator do have to remove some of the ears/tabs to get the weave to lay flat during the process. However, they reattached them with epoxy after completion of the lamination and they fit perfectly!
Some observations - The factory seatbacks flex quite a bit. This makes them easier to install/remove. When the seatbacks are skinned/laminated with the CF, they are obviously more rigid, which can lend them to becoming a bit more difficult to install. Take your time, and you'll be happy with the results.
 05-23-2024, 01:59 PM