When you click on links to various merchants on this site and make a purchase, this can result in this site earning a commission. Affiliate programs and affiliations include, but are not limited to, the eBay Partner Network.
DIY: 2018-20 Audi Q5/SQ5/A4 Carbon Fiber Wrap Center Console
I leased a new Q5 during Black Friday weekend. Unfortunately, Black Optics package was not available and my car was built with brown walnut inlays. I wasn't a big fan and would have much preferred Dark Gray Oak or piano black inlays.
I did some research and thought about purchasing new inlays. The OEM ones were too pricey for my blood so I elected to put together my project to wrap the existing inlays with carbon fiber.
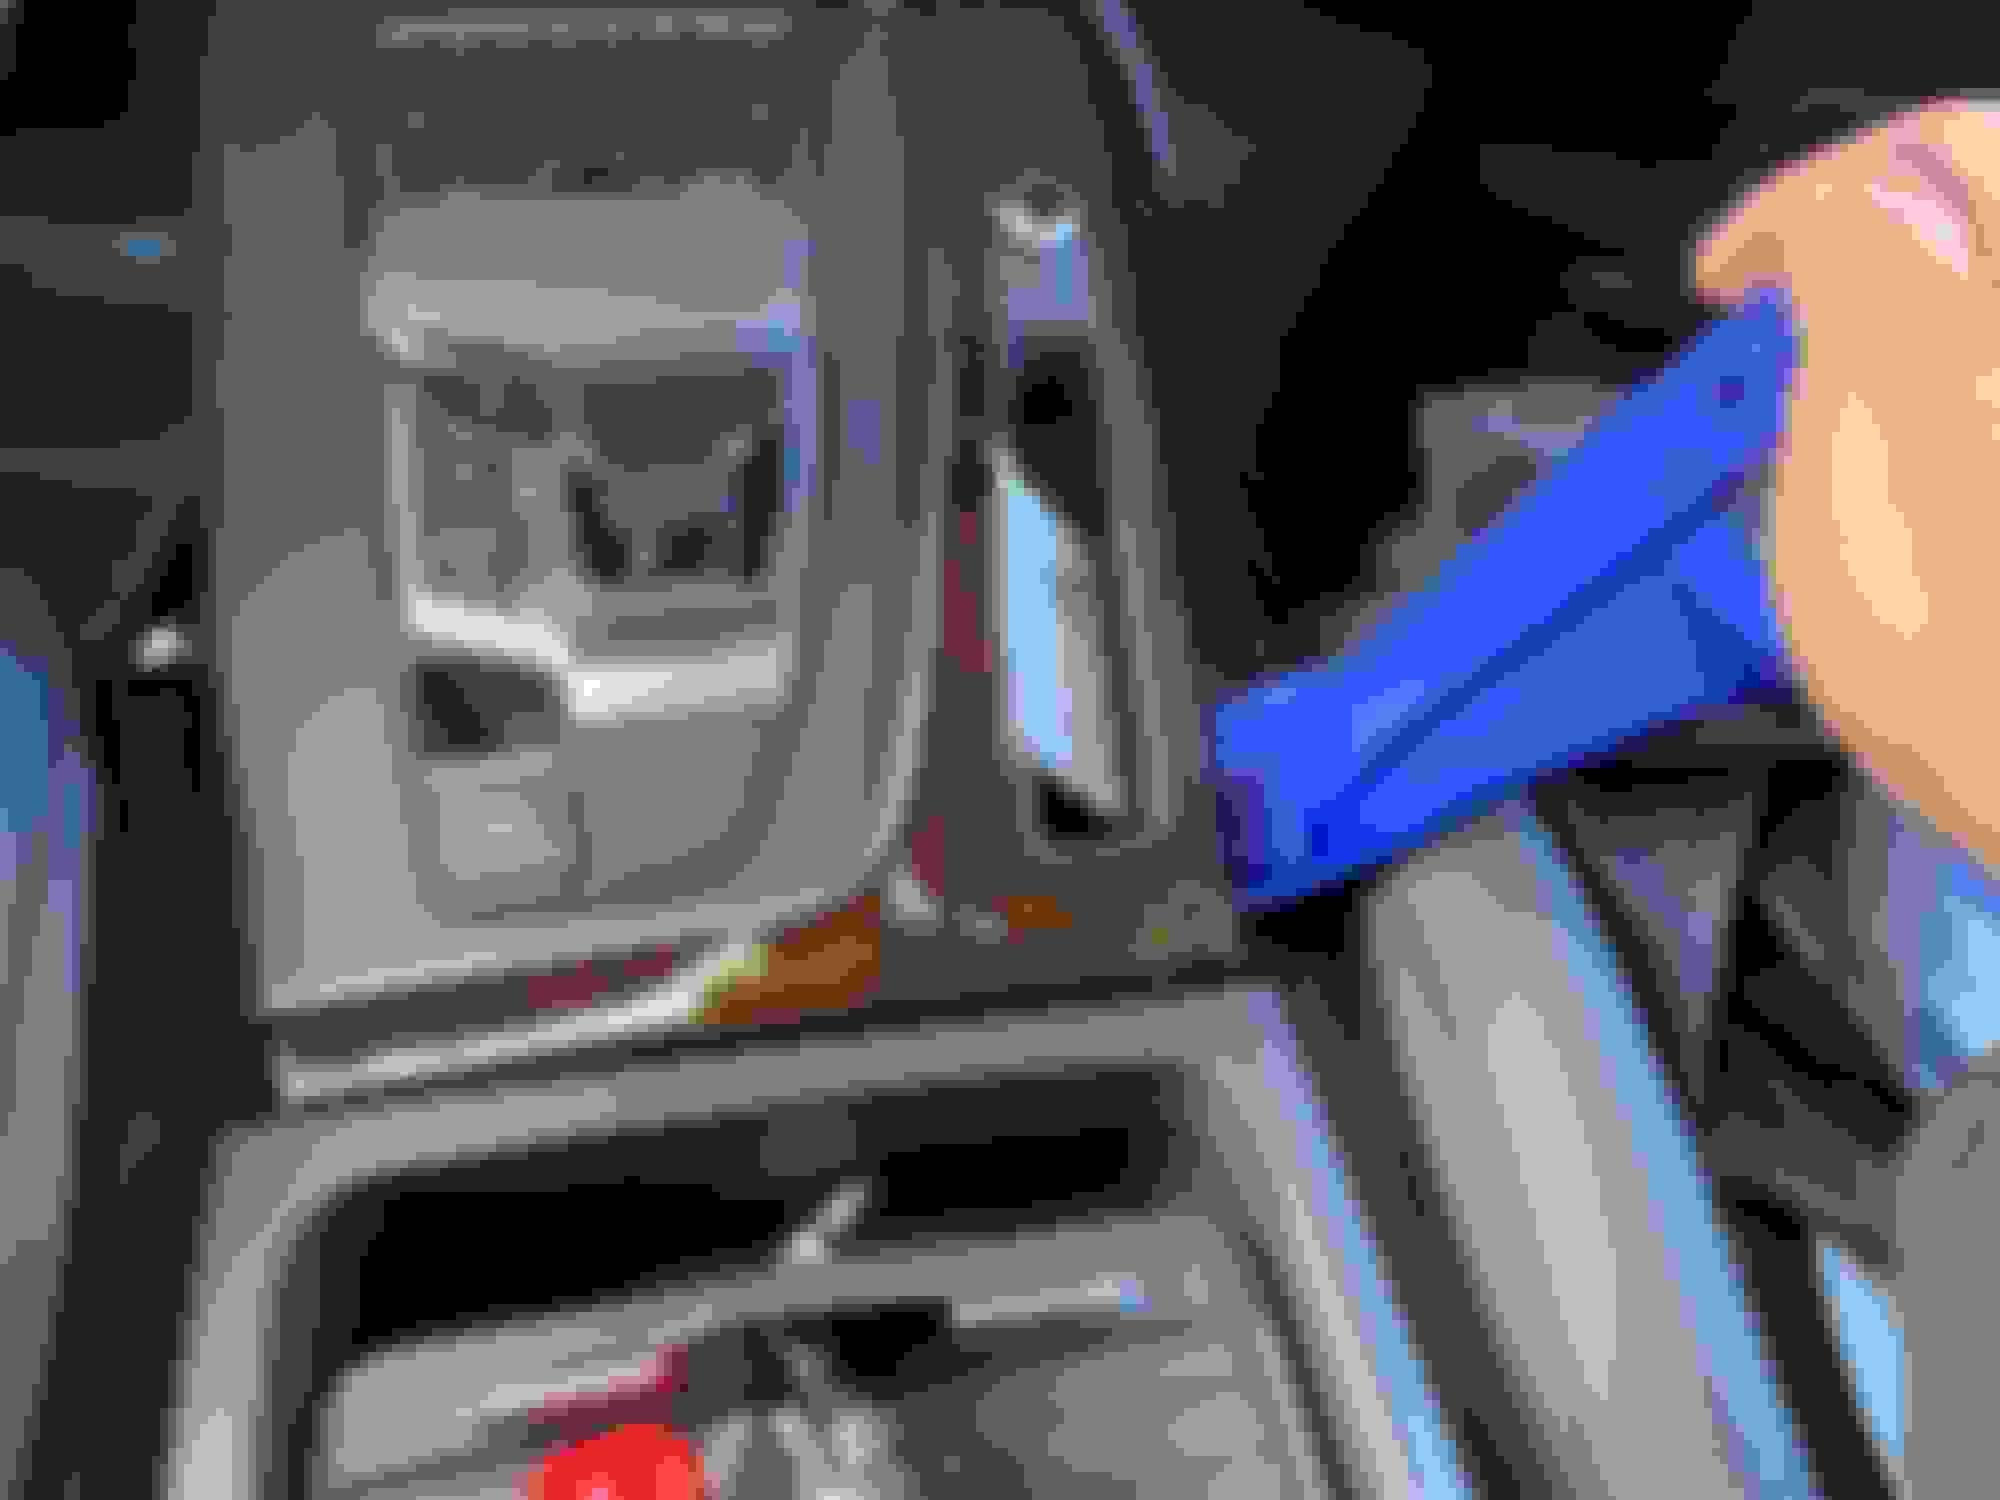
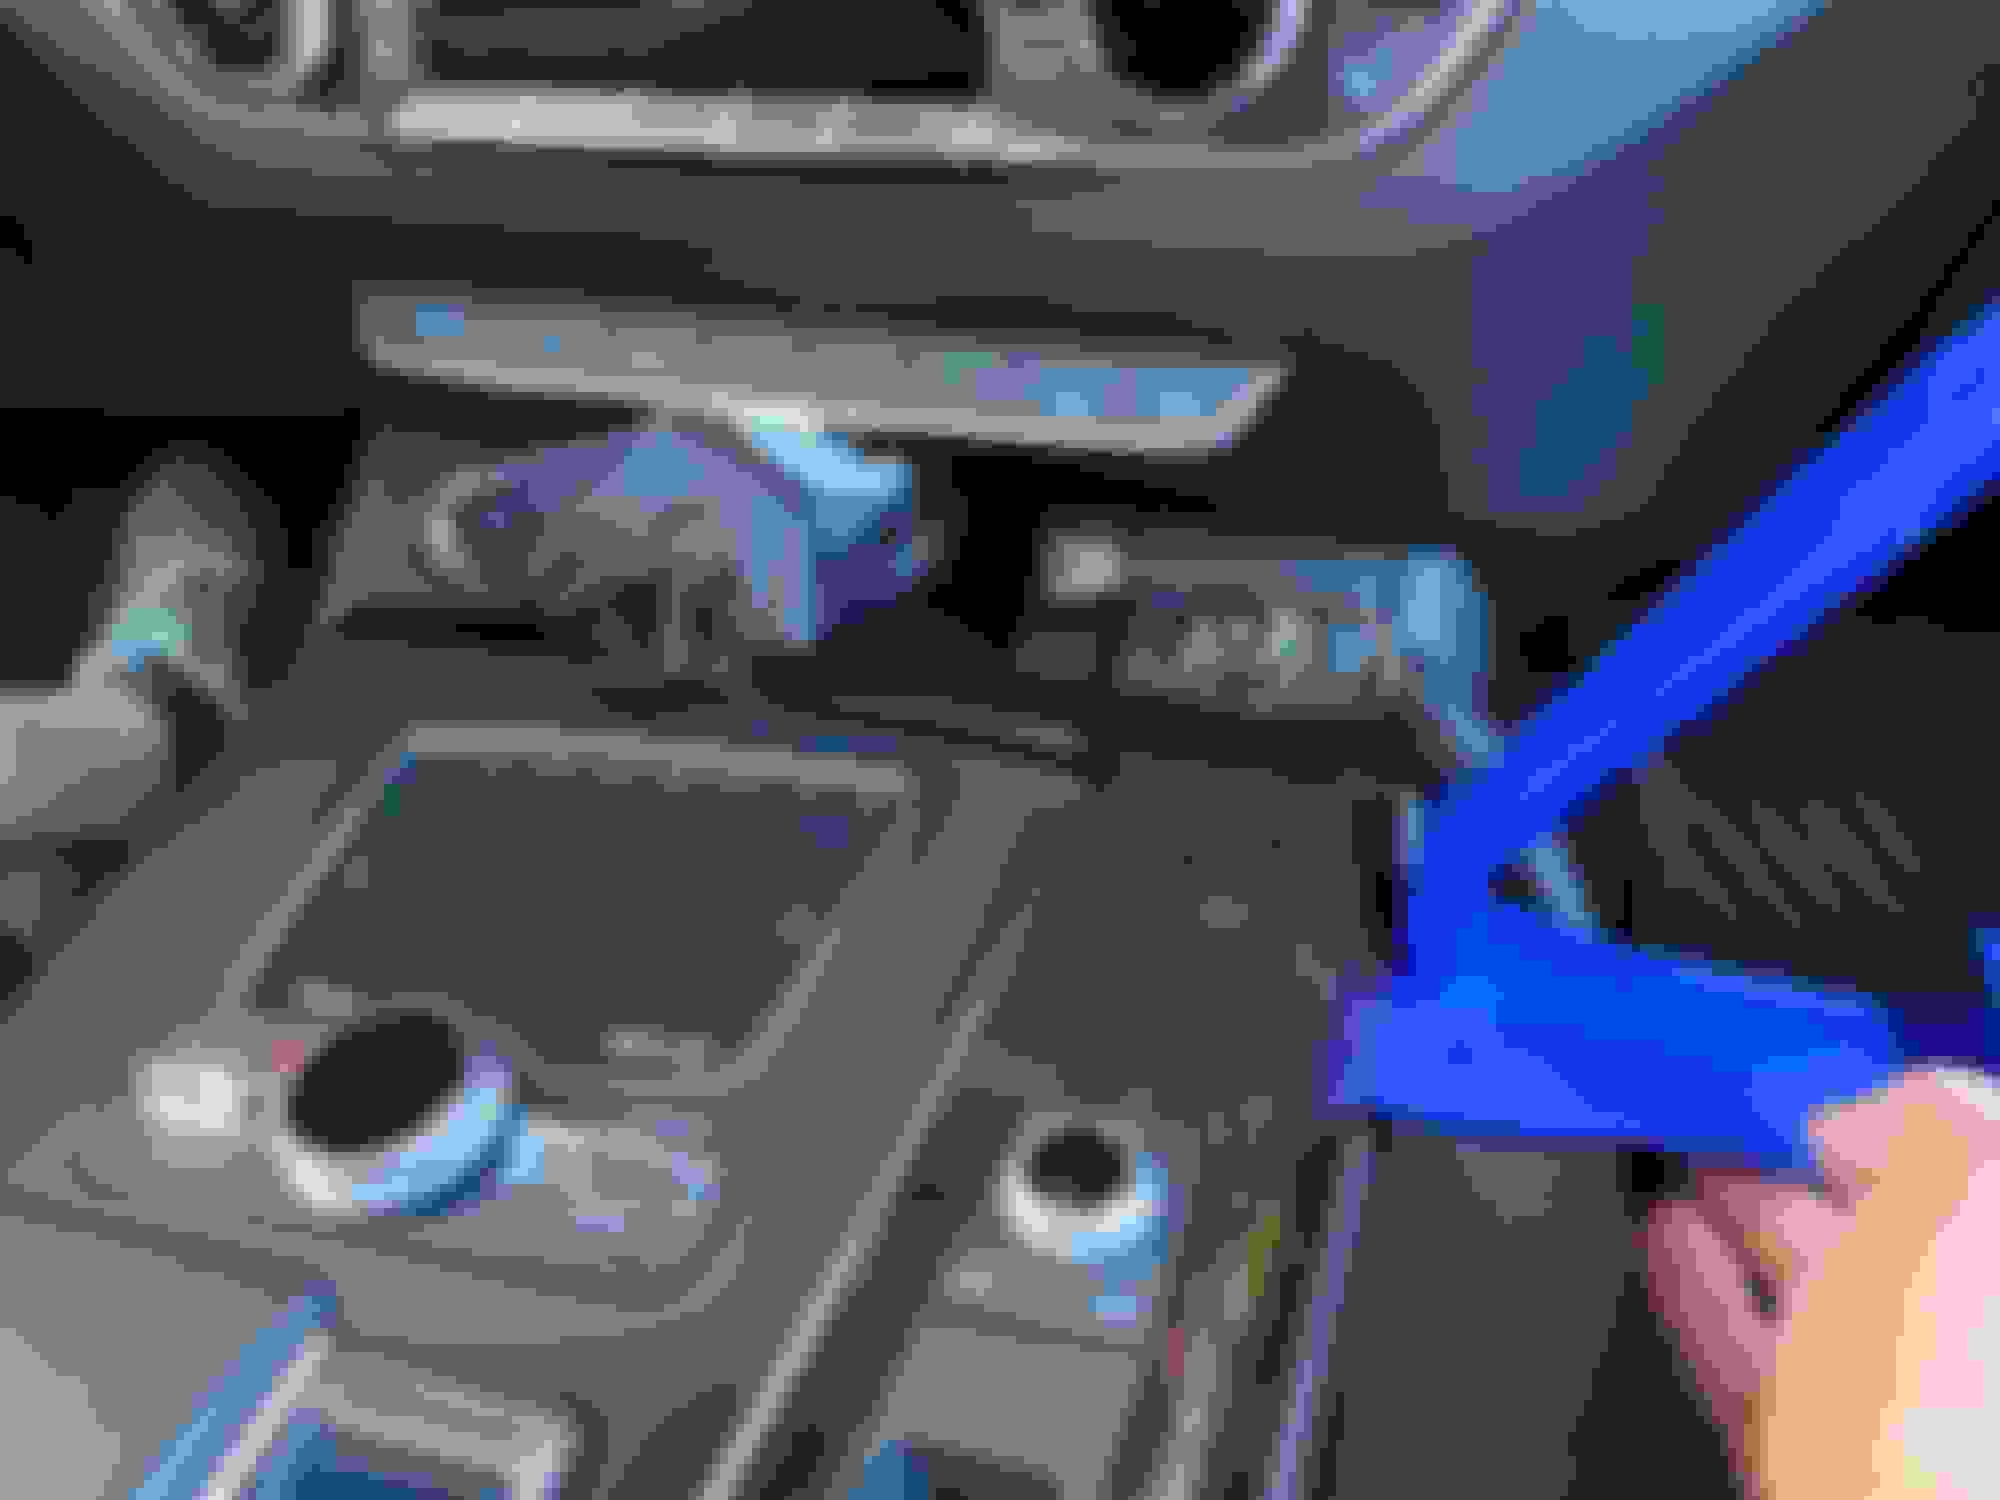
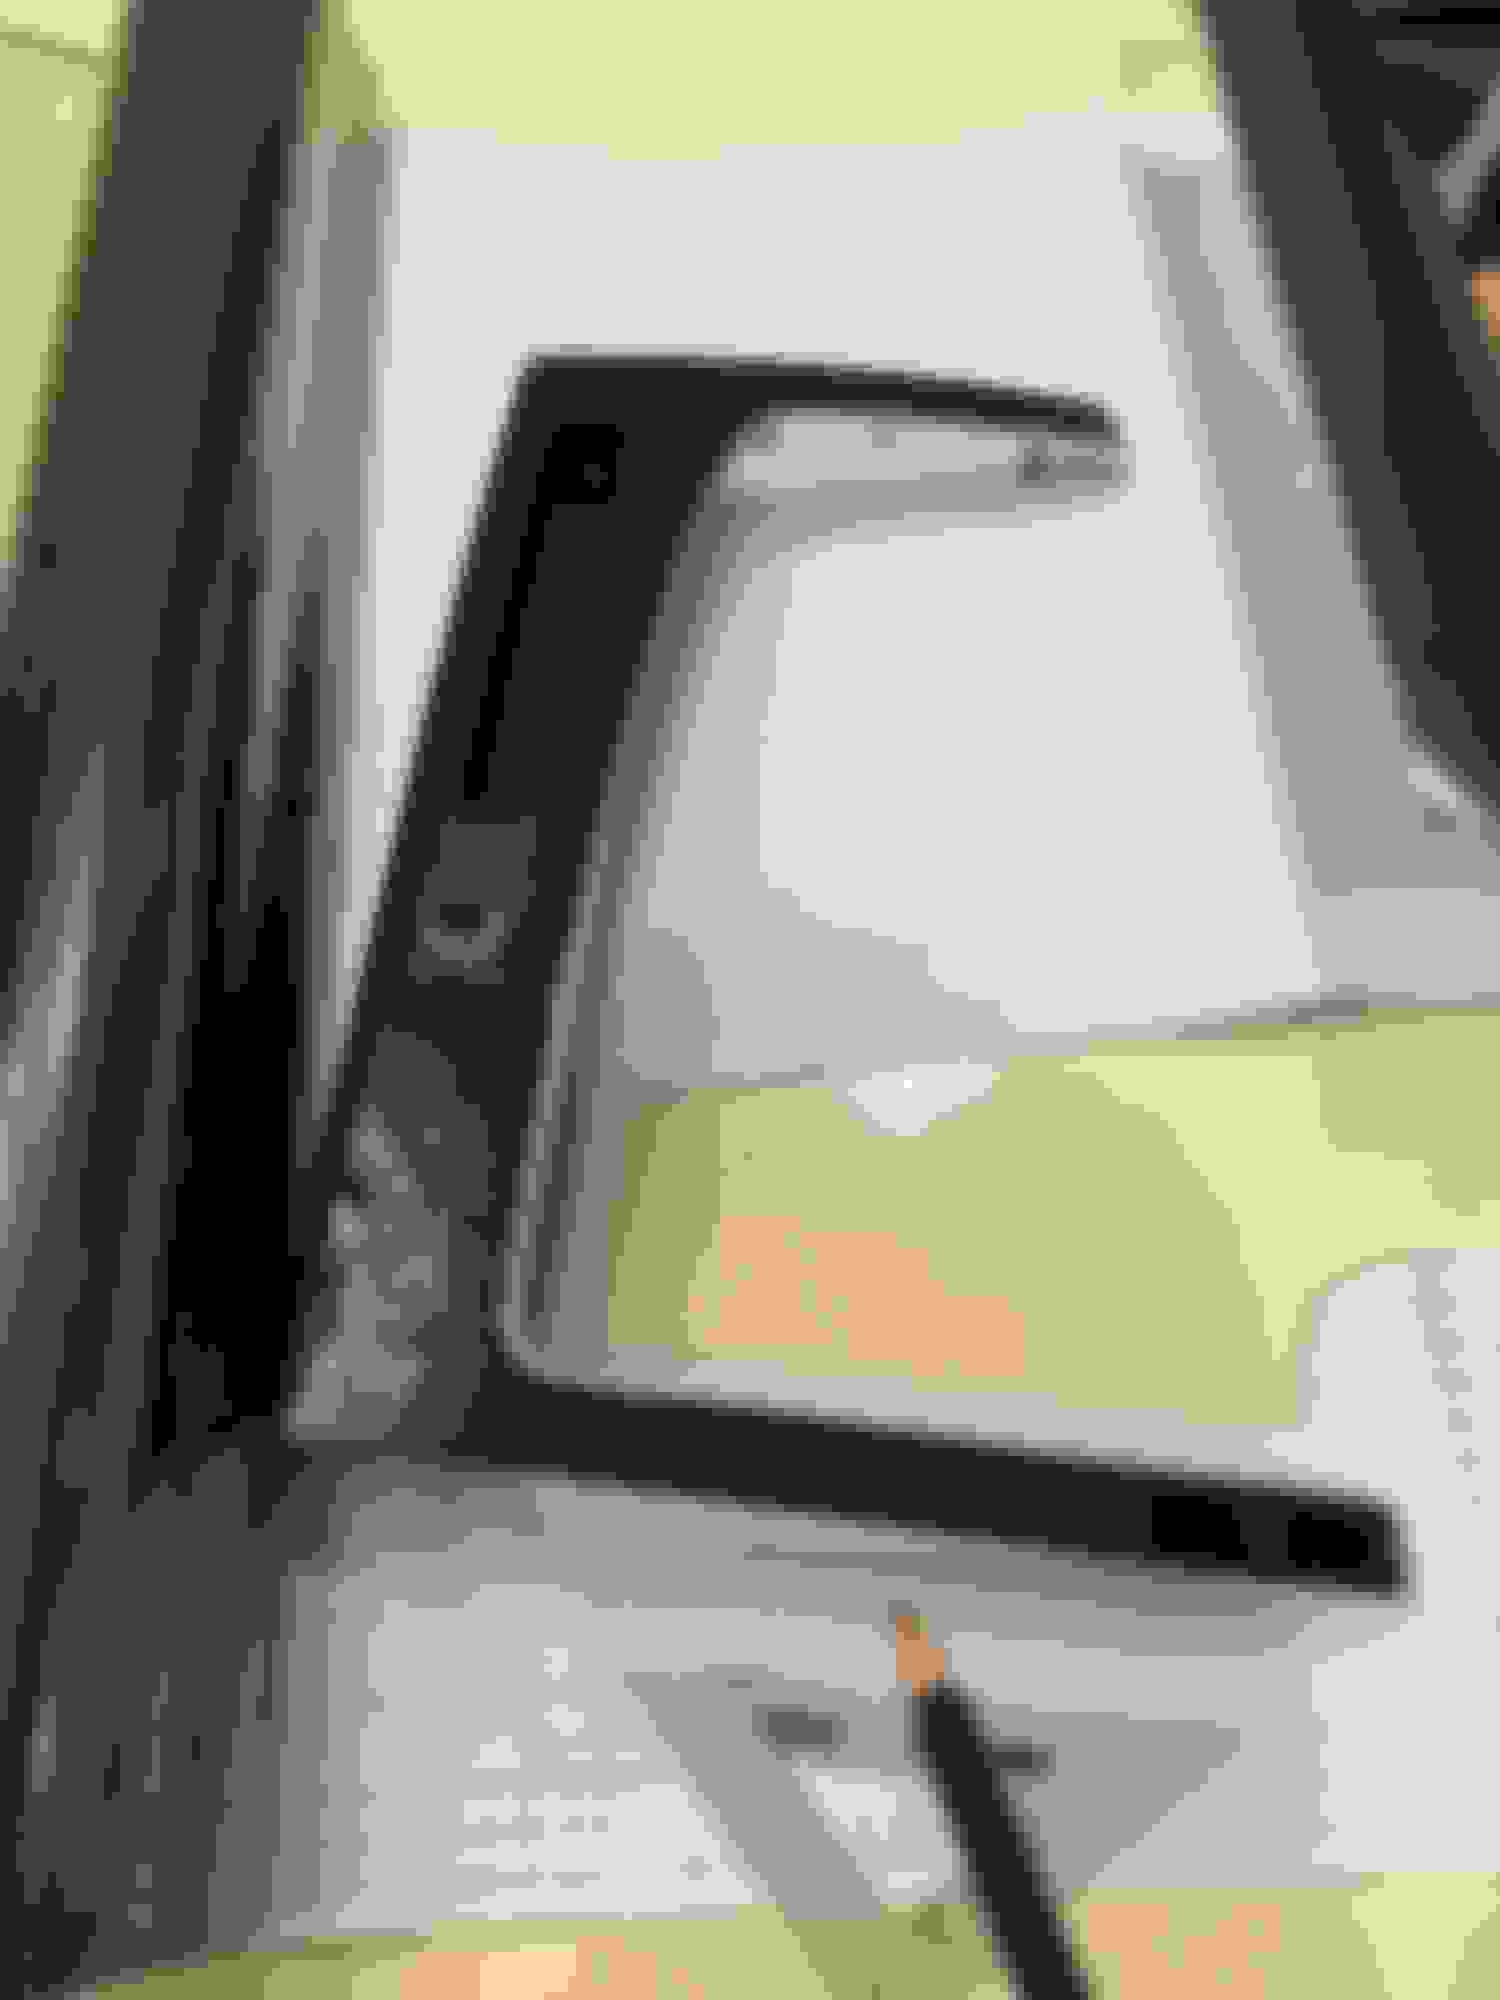
There is a single torx screw under the rubber mat in the slot on the right side of the console. Other than that one, the rest of the console is held in solely by clips. Be careful- there is a wired connector to the volume restat button.
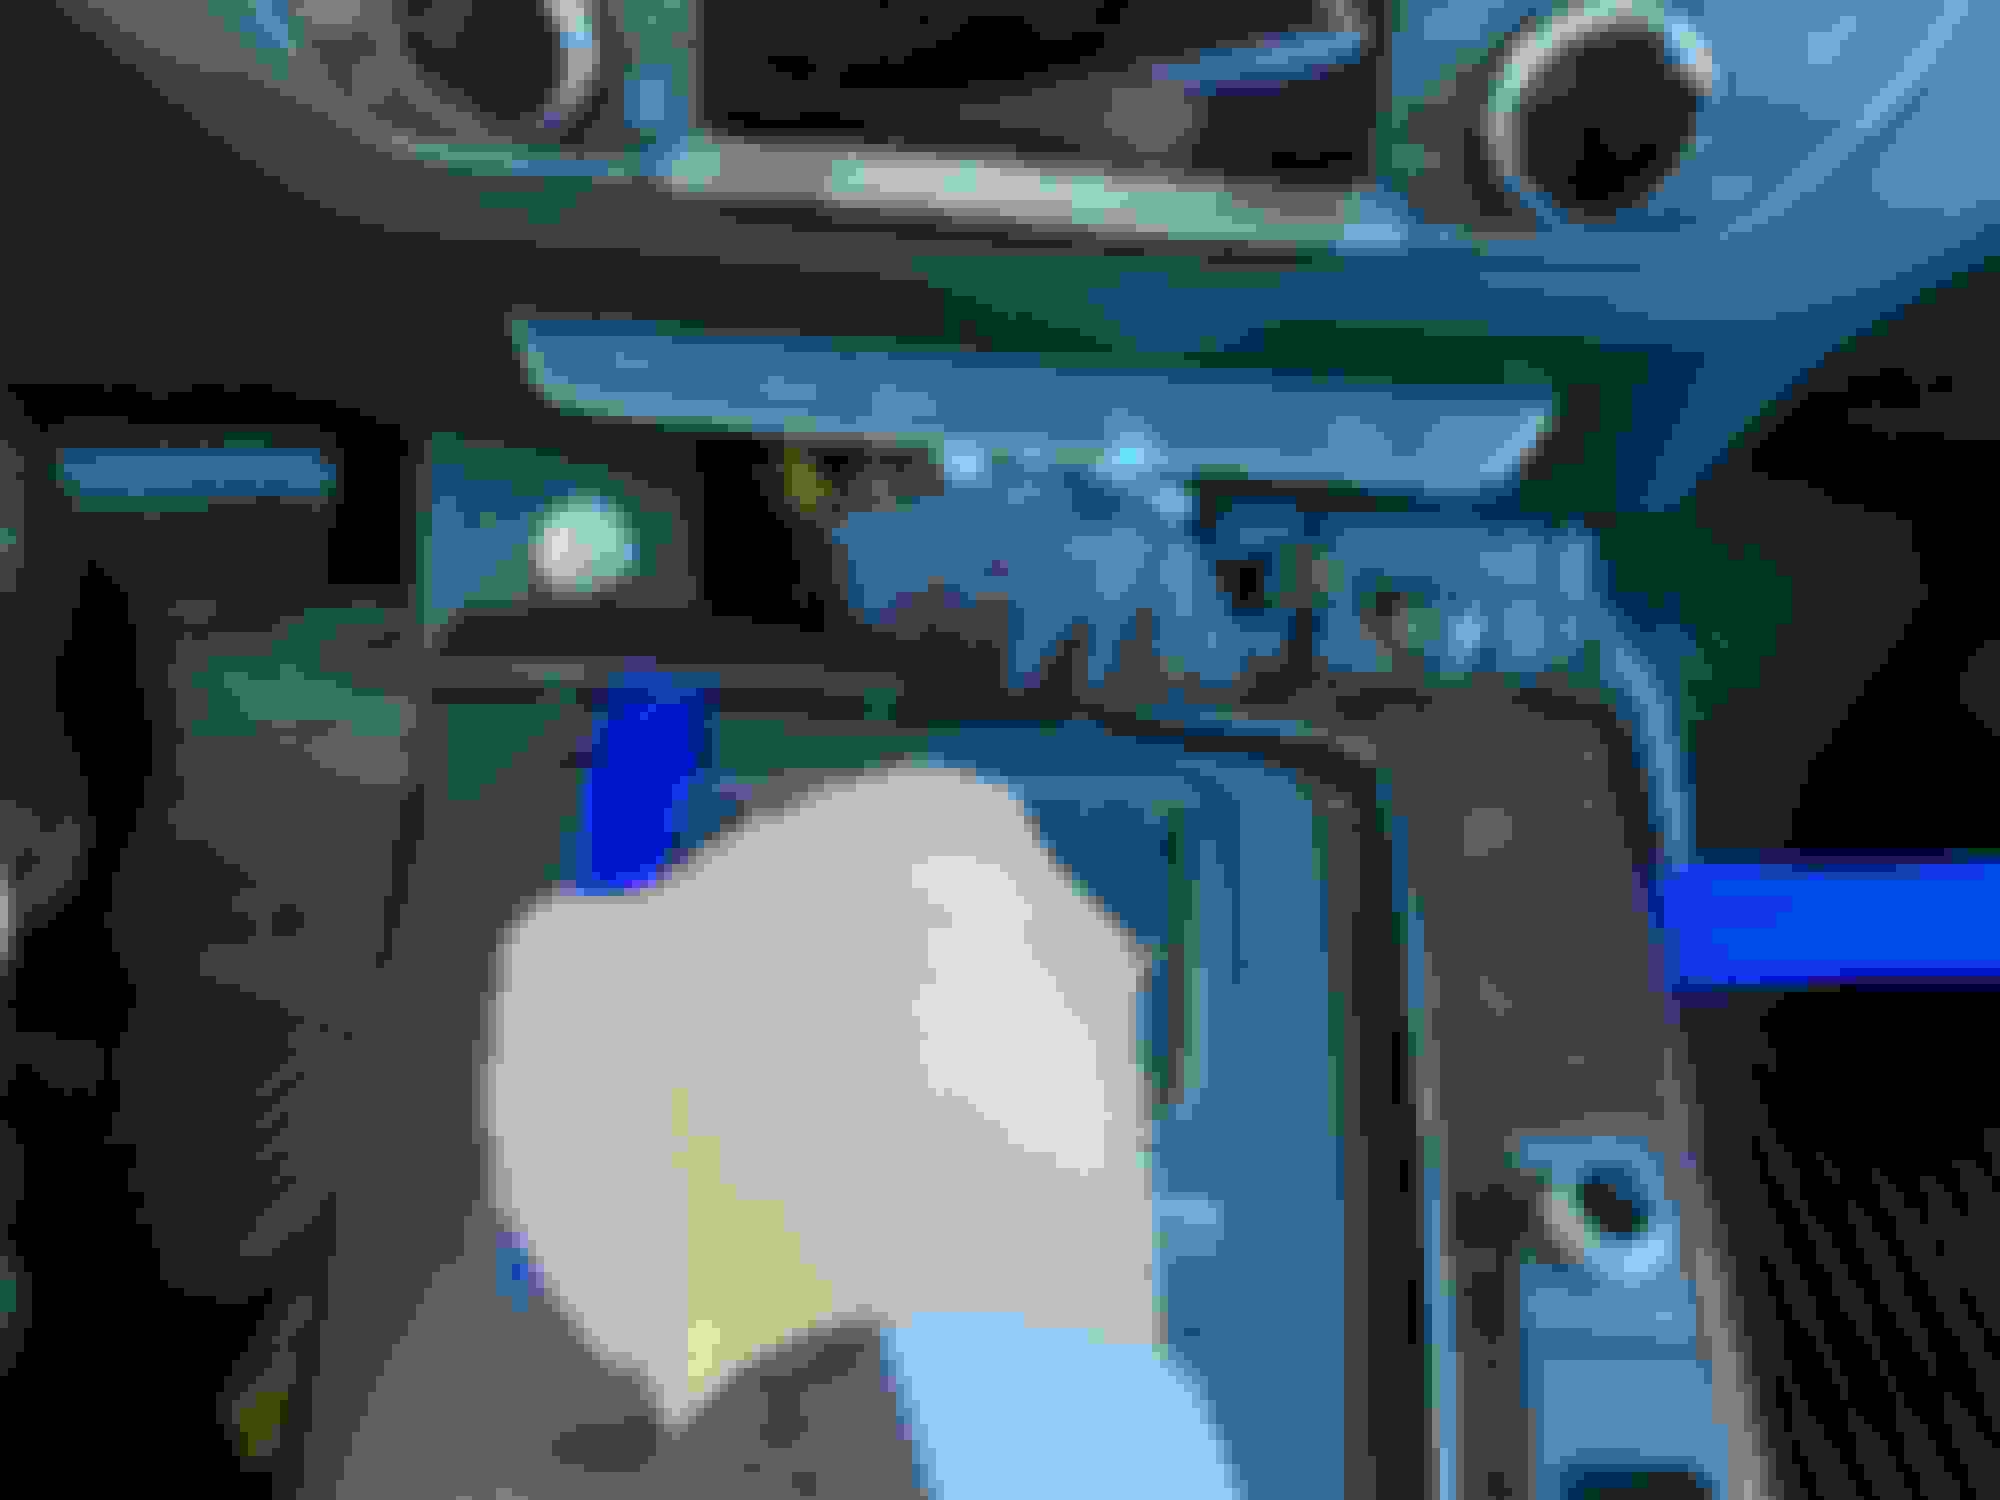
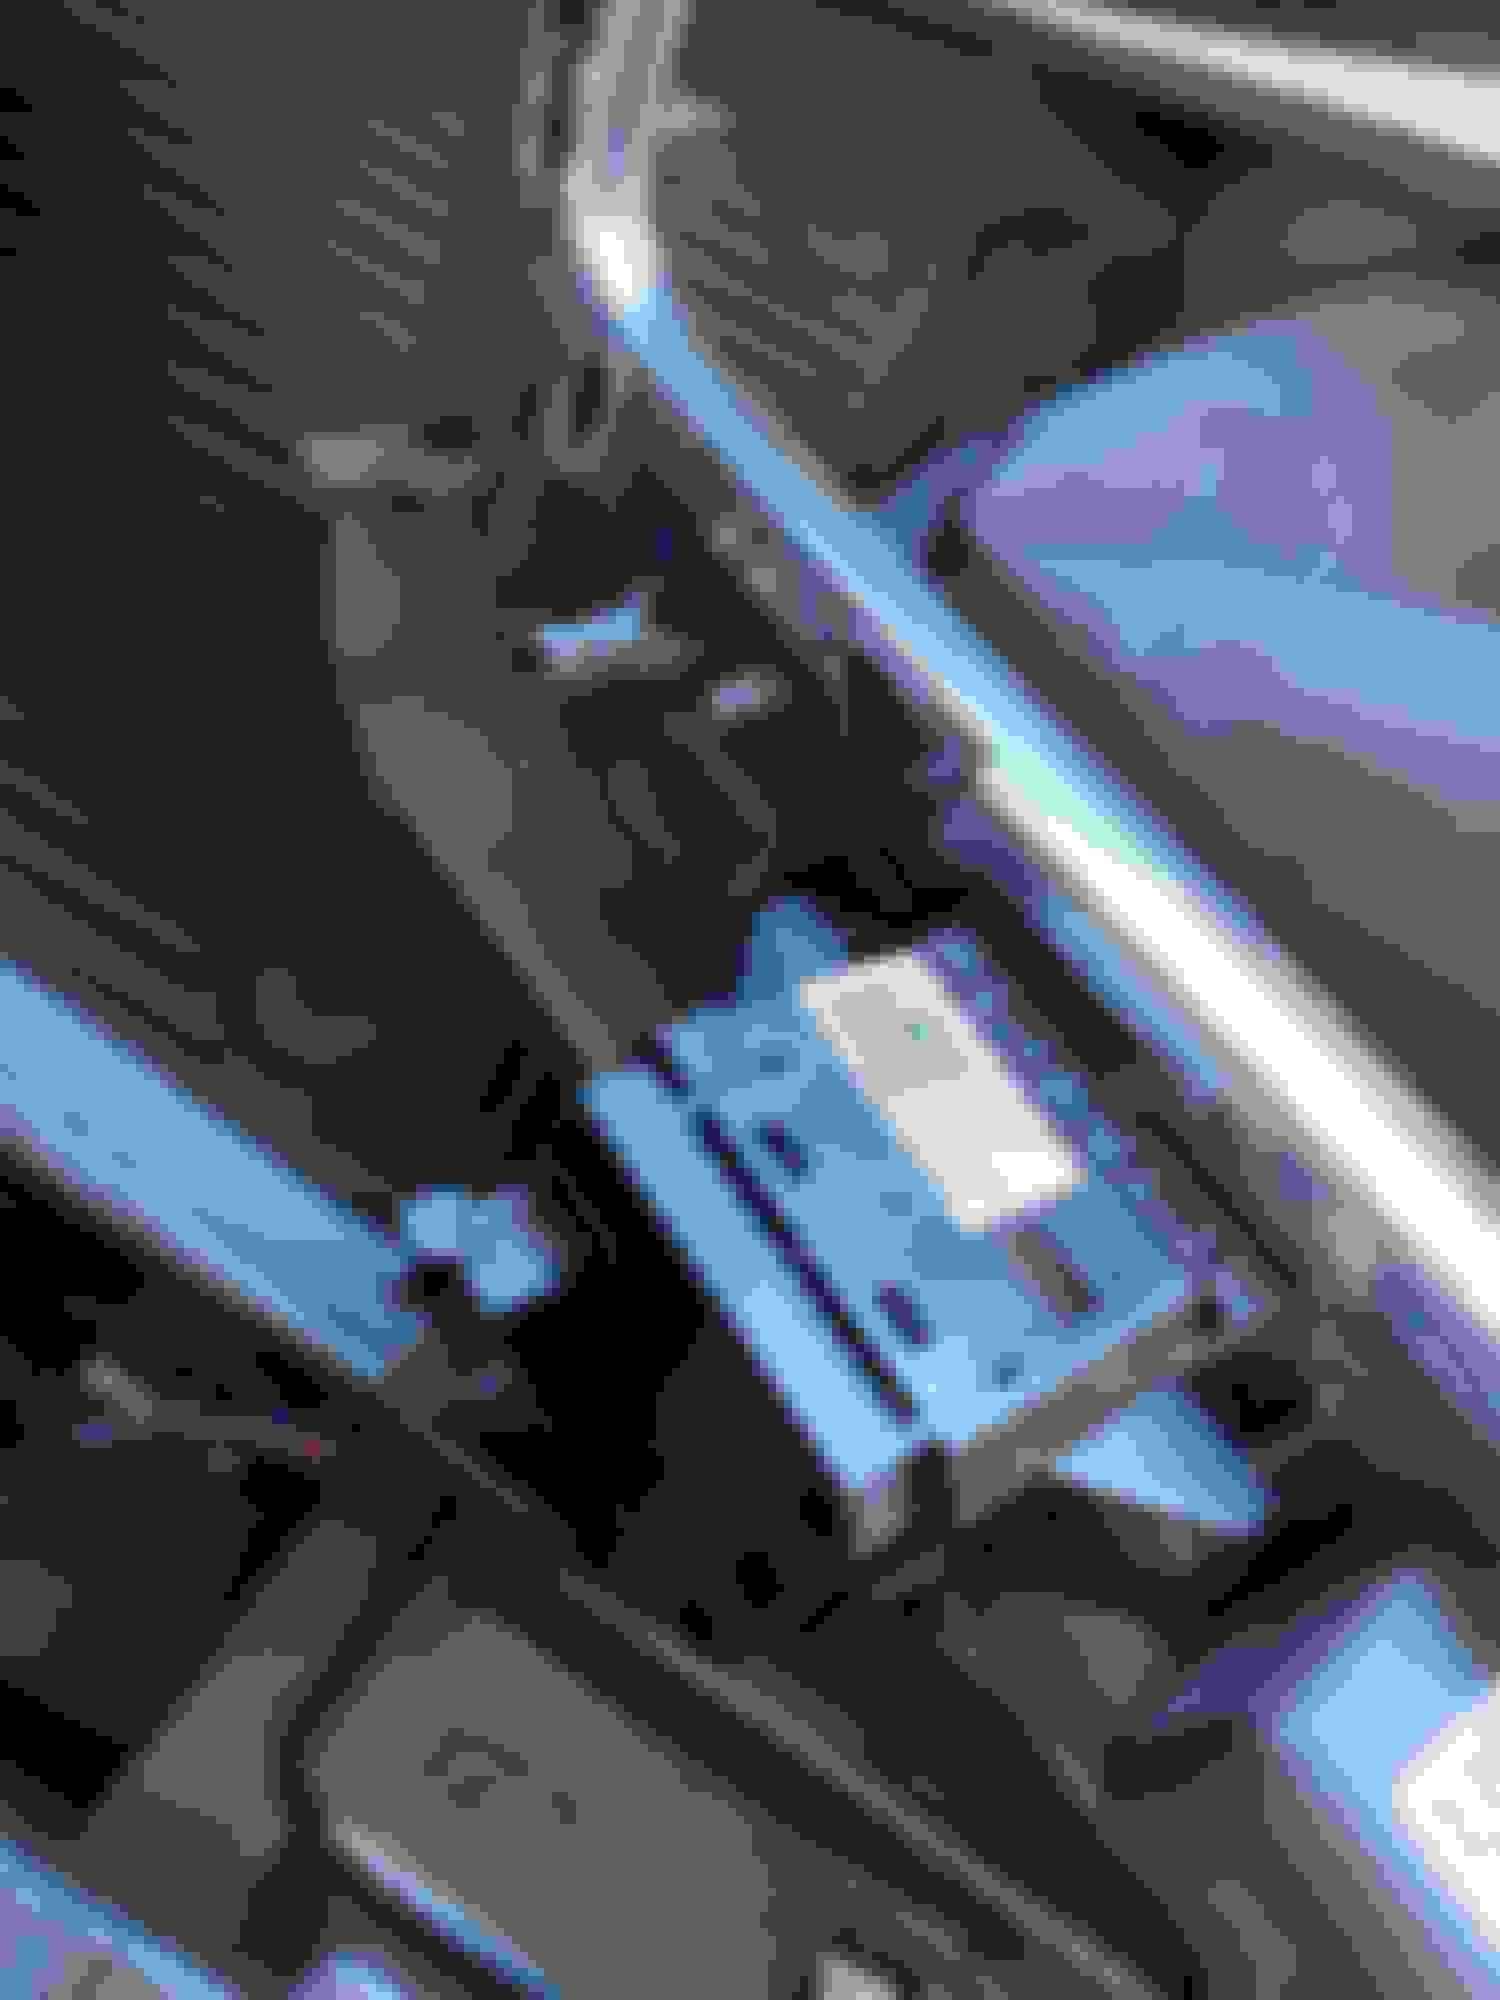
I first tried the tools on my 2017 A4 to remove the center console inlayl since I was turning in the lease last week. It's the same principles for 2018-20 Q5/SQ5. I used one of the flat interior trim removal tools to create space along the right lower corner. The key to getting the Q5 inlay to lift is to place another semi-curved trim removal tool ON TOP of the first one to create a firm enough surface to allow for the release of the clips. The A4 surrounding lower console is a much firmer plastic and does not require that step. Carefully release all the clips around the inlay. Gently nudge and the edge pops up and pretty easy to wiggle out the edges from the clips. You will need to release the small connector from the underside of the volume resostat. If a little tight so I placed a small pointed end of trim removal tool to allow for the release of the connector. Set the console inlay to the side.
Other than that, prepare the surface of the inlays. I used Goo Gone + rubbing alcohol to remove any traces of oil residue.
I unrolled the wrap face down and then, placed the inlays on the flat sheet and traced around the inlays leaving ~ 1/4" extra border so that I could wrap the edges underneath and trim any excess if needed. I peeled off the clear sheet from the front so that I could tell if there were any air bubbles while I was pressing down the wrap (I did not do that on the first one and it did not come out that nice). And then, I peeled the backing off to expose the adhesive. Be very careful (and recommend placing the removed backing face up so that if the adhesive side of the wrap starts to stick, it won't catch any fibers/paper edges/sticky side.
I did make 1 error that is documented in the pictures- when I traced the main design on the white backside of the wrap, I had the inlay facing up- I needed it to be facing downwards. After I trimmed it out, I realized that it was inverted and would be a match for the bottom side. Doh! I had to flip over the inlay and draw the correct outline and trim again.
The most challenging part of wrapping the inlay in the center cutouts. I carefully placed the inlay onto the adhesive side so it would create an outline template on where to cut. I had to use a piece of discarded backing and cut the center hole so that I could fit it around the volume reostat button to make a rough template. It was challenging to get the edges lined up. I used the hair dryer method to soften up the wrap and slow worked with this line every opening and curved surfaces up. The part around the opening that didn't turn out perfect- I would give myself a 95% and I might re-do at another time, but this took much longer than the door panel and dash inlays that I was ready to call it the day..
The ends require a little finesse. I stretched the ends a little and heated it up with hair dryer to make it more pliable and able to wrap the ends around the edges without major folds/wrinkles. I repeated a similar procedure to the other end. You don't want to rush this- otherwise, it won't turn out very presentable IMO.
Lastly, moment of truth, I wiped down the wrapped inlay surface with Goo Gone and rubbing alcohol. Reconnected the reostat connector, popped the console inlay into place and replaced the torx screw.
Happy wrapping!
Update: the day after in daylight, the "defective areas" around the lower part of the opening were glaringly visible so I ended up re-doing the entire console and improved my technique for sizing up the opening better and focusing on the part section first and leaving myself enough overlap on the exposed edges. Patience and repeated use of the hairdryer made this much more presentable- up to 98 or 99%.
Look great. Your tutorial may move some to seriously consider this DYI project....or perhaps swapping out one color inlay for another.
Curious to know what you think would be the the time frame for the removal and replacement for all trim pieces by an Audi service tech swapping one color inlay for another. I had Audi swap out mine after I first bought my Q5 and, if memory serves, was charged $200. A few here got much higher quotes from their dealer. So wondering what would be a rip off price vs one in line with actual labor time.
If I were just swapping one inlay in for another, I could do all 4 doors in 10 minutes. 5 minutes for the center console and probably 10 minutes for the dash inlays.
 12-18-2019, 09:48 PM