Audi A3: How to Replace Ball Joints
When it's time to replace your ball joints, save a lot of cash by doing the job yourself.
This article applies to the Audi A3 (2005-2016).
Replacing the ball joints on your A3 is one of those jobs that makes us cringe. No matter what the make and model of car, if it is more than a couple of weeks old, removing the ball joints can be a real challenge. The specific problem with the A3 is the lack of room or clearance for the top nut to come off of the ball joint. There are various tricks or techniques that you can use to facilitate the removal of the ball joints, and the method outlined here will get you in and out in the shortest time possible while remaining safe and not tearing anything up that you'll need to replace later. Of course, if you don't feel up to the task at hand, you can always call in a pro to do this for you, especially since you are going to need an alignment afterwards anyway. If you are more into saving money, then grab your tools and hit the garage, because this DIY job will save you a bundle of cash.

Materials Needed
- Lug wrench
- Hydraulic floor jack
- Jack stands
- Impact wrench (ideal)
- Large ratchet and socket set
- 30mm 12-point impact socket for axle nut
- Ball joint press
- Axle press (optional)
There are alternate methods to get the old ball joint out, one of which is described in the video at the end, but this write up describes the factory correct method and uses special tools that you'll have to rent or borrow from your local auto parts chain store.
Step 1 – Loosen lugs and lift your car
- Use a lug wrench to break the lugs free on your wheels.
- Jack up the car and place on jack stands for safety.
- Remove the wheels.
- Remove the 30mm 12-point axle nut.
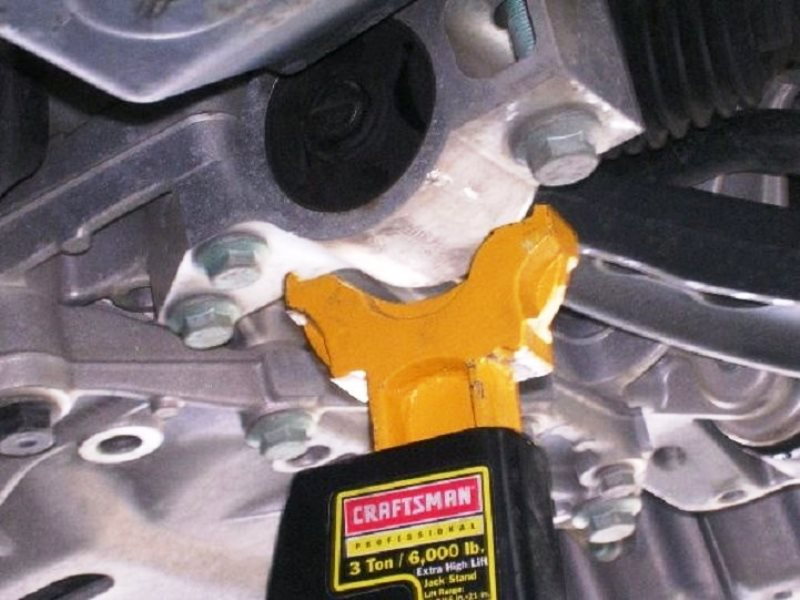
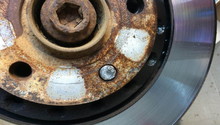
Figure 1. Never work under your car without the use of jack stands in the approved locations. 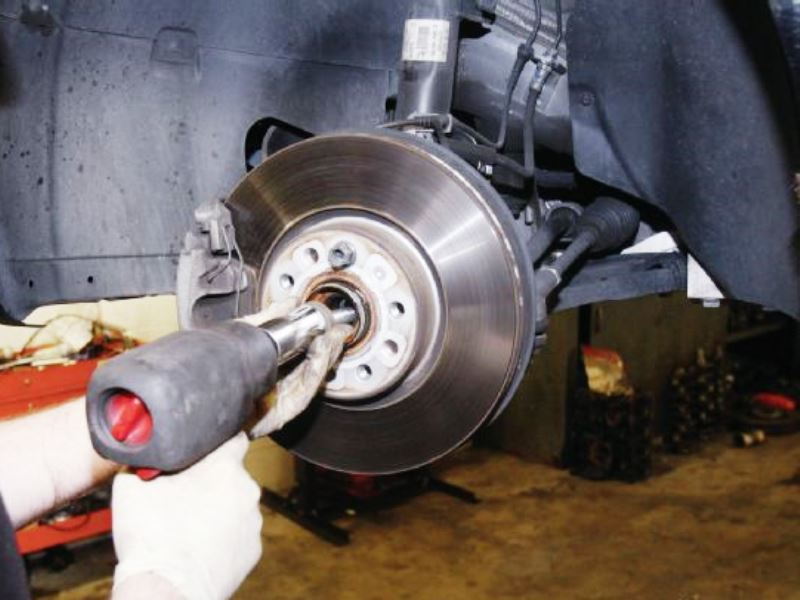
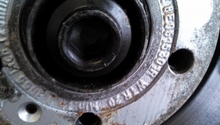
Figure 2. Once the tires are off, remove the 30mm 12pt center axle nut.
Step 2 – Loosen ball joint nut and remove mounting bolts
The hardest part of this job is the design of the front spindle and drive axle/CV joint. There is almost but not quite enough room to get the nut completely off of the ball joint without removing the axle. To make it even more difficult, Audi uses a nylon locking type nut, instead of the more common cotter pin and castle nut, which means that even if you get the nut and ball joint loose, the lock nut won't turn without turning the entire ball joint. Watch the video at the end for a trick to make the job easier, or if you can't get the axle press and ball joint separator.
- Loosen the 18mm upper ball joint nut a good deal, but it doesn't need to be removed at this point.
- Mark the location of the mounting bolts.
- Remove the three 13mm bolts.
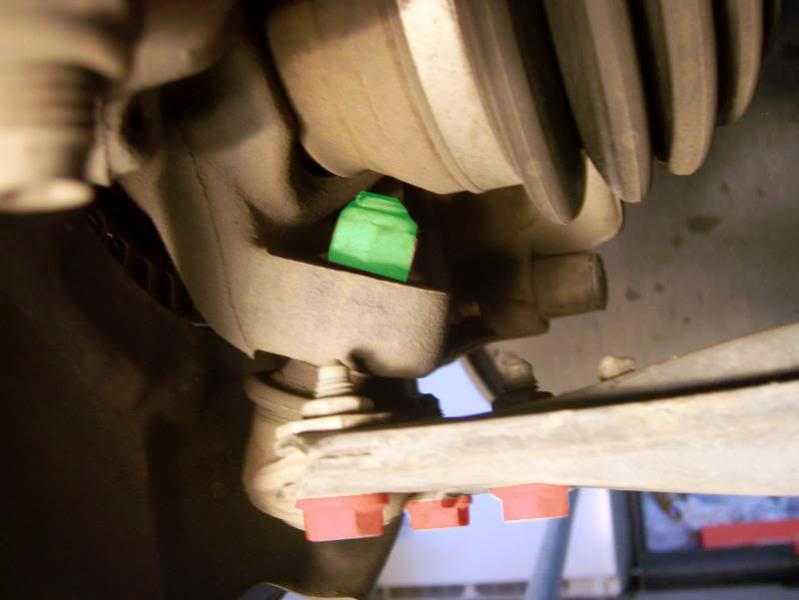
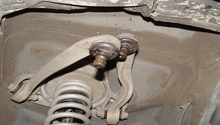
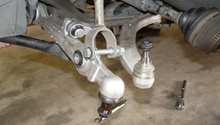
Figure 3. 18mm ball joint nut (green) and 13mm ball joint bolts (red). 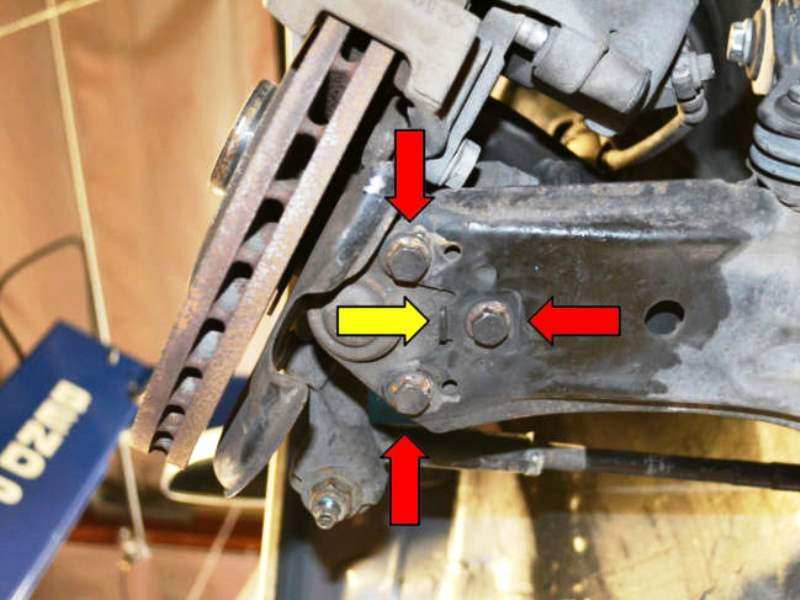
Figure 4. Mark around the heads of the 13mm bolts before loosening them, so your alignment will be close to correct.
Pro Tip
An optional step before removing the lower bolts is to mark their positions on the lower control arm. This will help with getting your alignment close, but it is by no means a way to avoid having an alignment done after your job is finished.
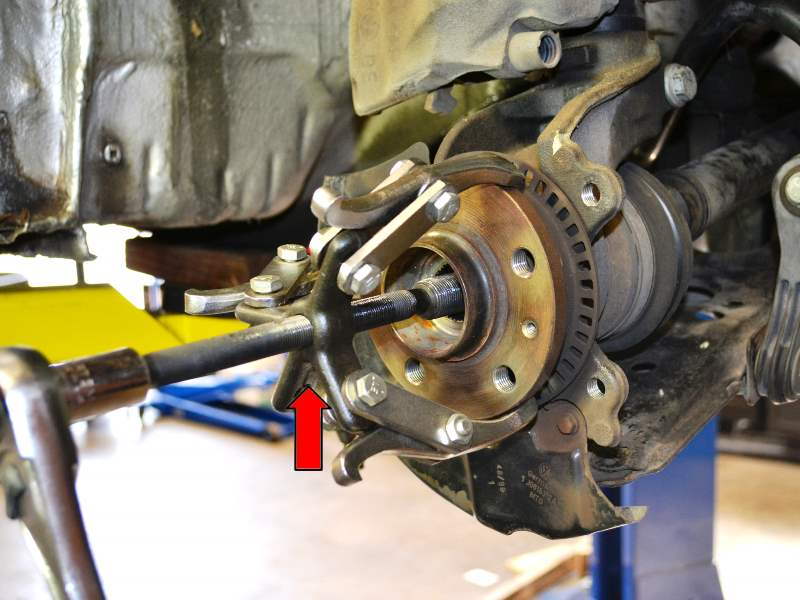
Step 3 – Remove axle from hub
This step involves the use of a special tool, an axle press. This is a simple tool to use and can be rented or borrowed free with a deposit from your local auto parts store.
- Install the axle press onto the hub according to its instructions.
- Remove the axle from the hub.
- This will give you ample working space to remove that top ball joint nut and remove the ball joint.
Step 4 – Press out the ball joint
With the axle out of the hub, you will have plenty of room to work.
- Swing the strut assembly and the axle out of the way.
- You can now remove the upper ball joint nut.
- Use a ball joint press to pop the ball joint out.
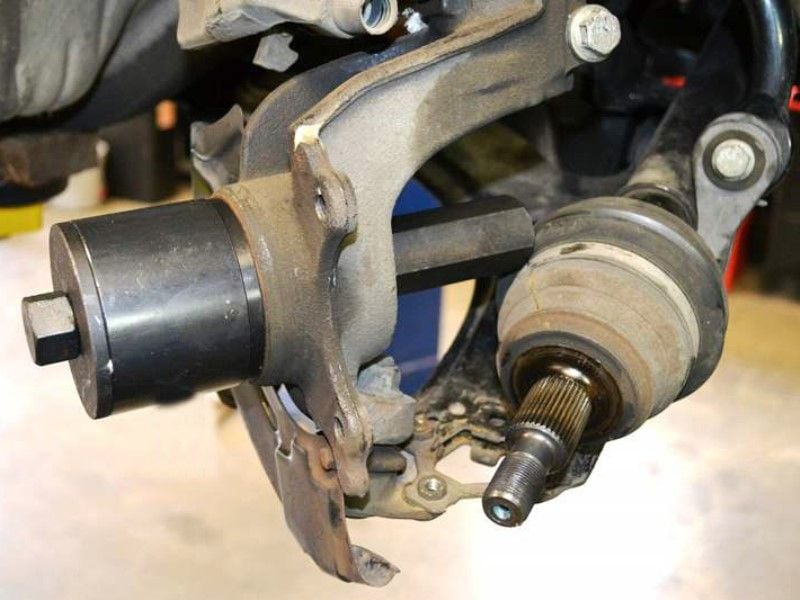
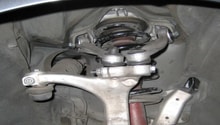
Figure 6. With the axle out, you have much better access to the ball joint. 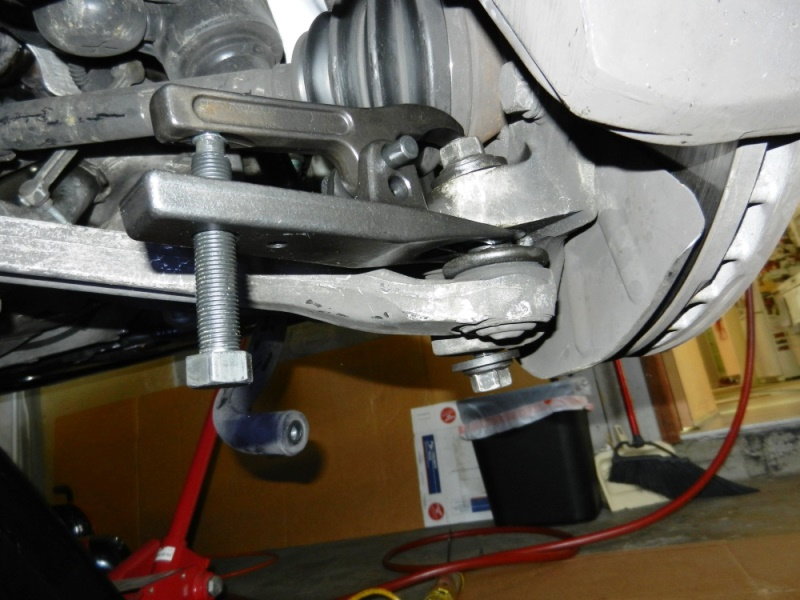
Figure 7. A ball joint press is much easier than using the classic "pickle fork."
Step 5 – Install the new ball joint and reassemble
Insert the new ball joint into position and tighten that top nut. The friction as the ball joint is pulled into the taper of the spindle should hold it in place so it doesn't turn.
- Torque the top nut to spec.
- Insert the axle back into the hub and torque to spec.
- Mount the new ball joint loosely to the lower control arm.
- Line up the bolts to the marked positions.
- Torque the lower ball joint bolts to spec.
- Replace the wheels and lugs.
- Drop your car and tighten the lugs.
- Use your trip to the alignment shop as your test drive.
- If it drives and steers okay, you may be able to skip the alignment, but watch for unusual tire wear.
Related Video: How to Replace Ball Joints
Related Discussion and Sites
- Ball Joint Replacement How to - AudiWorld
- How to Replace a Ball Joint - TDIClub
- A3 Ball Joint - Audi-Sport
- DIY Balljoint Replacement - VWVortex