Audi A4 B7: How to Install Auxillary Input and iPod Interface
Installing a iPod dock is not as hard as you think. Here is how to get the job done in your A4 B7.
This article applies to the Audi A4 B7.
Sometimes we just want to listen to our iPod, especially when enjoying a long drive. Unfortunately, many vehicles do not have phone docks as a standard option, but this shouldn't stop you from being able to enjoy your favorite music. There are kits available that allow you to connect to your music library without the need of replacing the entire head unit. These kits are very easy to use and can be installed by almost anyone, as long as the proper procedures are followed.

Materials Needed
- T25 Torx driver
- MP3/Dock kit
- Wire crimpers
- Zip ties
- Radio keys
- Pick tool
- Screwdriver
- Phillips screwdriver
The kit used in this procedure is the Dension's iGateway GW17V21.
Step 1 – Remove the ashtray and surrounding trim
The dock station is shaped to mount directly onto the stock ashtray slot.
- Remove the ashtray by grabbing it with your fingers and pulling up.
- Remove the two T25 Torx bolts underneath.

Figure 1. Remove the ashtray. 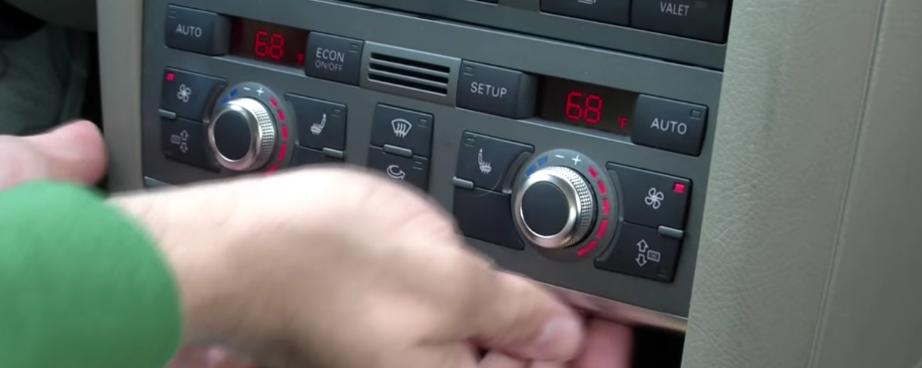
Figure 2. Remove the climate control panel.
- Grab the two slots under the climate control panel and pull it forward.
- Disconnect the climate control panel.
- Remove the additional trim piece under the climate control panel. It's slim and is just held in place by a couple tabs. This will make enough room for you to remove the ashtray pocket.
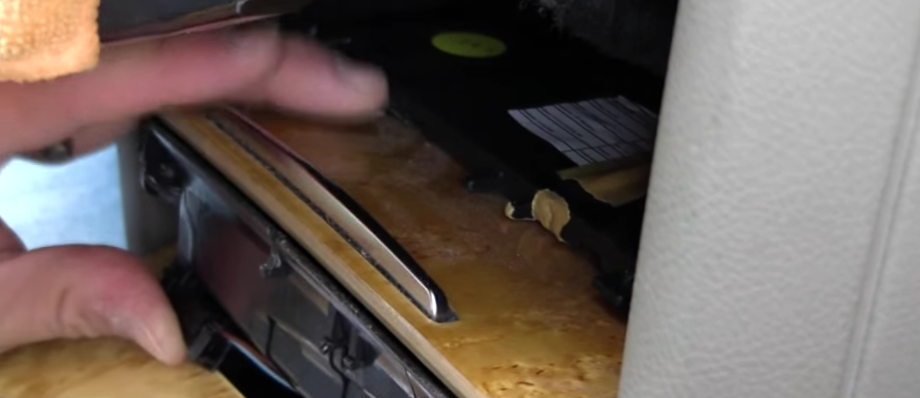
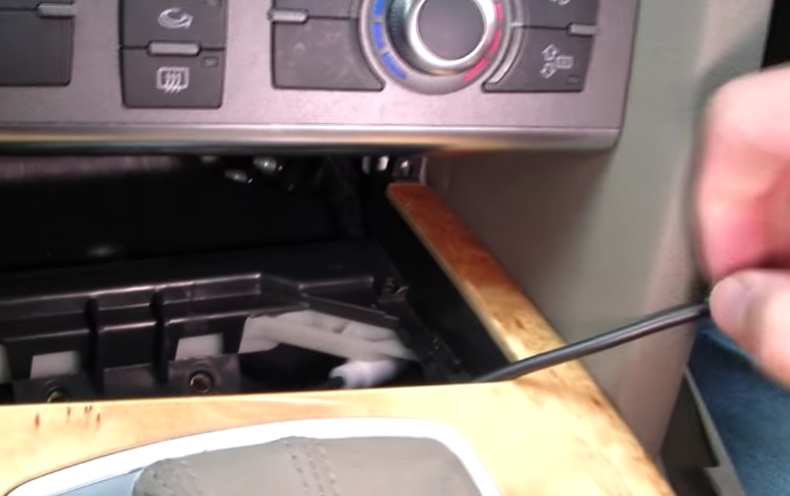
- Loosen the two screws holding the ashtray pocket in place, then pull the release tab located in the middle of the lip.
- Once the tab is released, carefully pull the pocket up and disconnect the wire harness.
Step 2 – Run the iPod cable through the ashtray slot
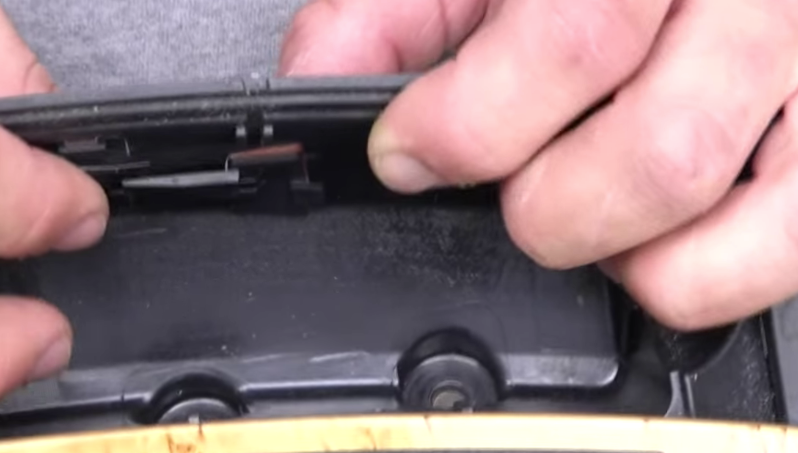
- When you completely remove the pocket from the car, you'll notice to plastic tabs covering some of the slots on the inside.
- Open up the middle table and run the iPod cable through it.
- Bring the ashtray pocket back and run the iPod cable into the center console bezel, underneath the mounting bar.
- Bring it out through the side trim panel, close to the glove compartment.
Step 3 – Run the wires
The box comes with a fused 12v and ground wire harness that you can easily connect to the standard CD changer. First, open your glove compartment and use the radio keys to remove the stock changer from its slot.
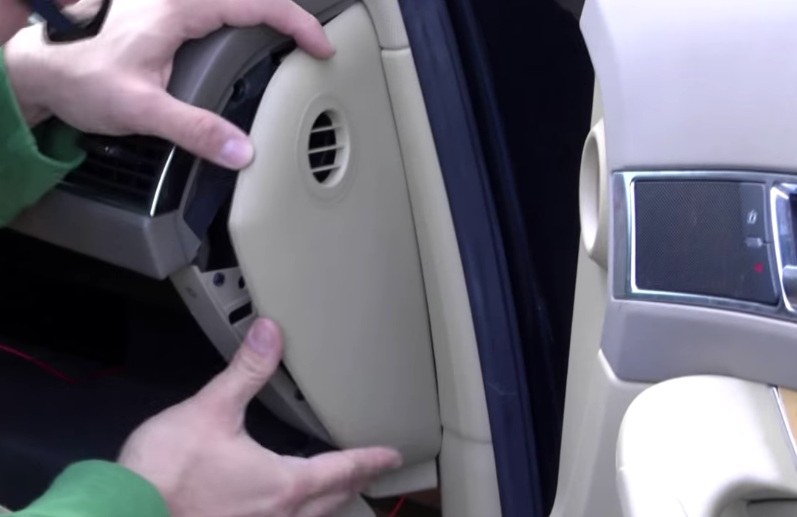
- Remove the radio bezel side trim piece along with the passenger side fuse box cover.
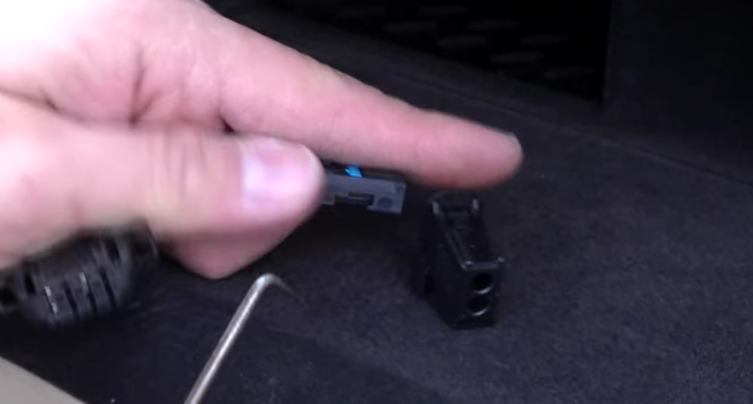
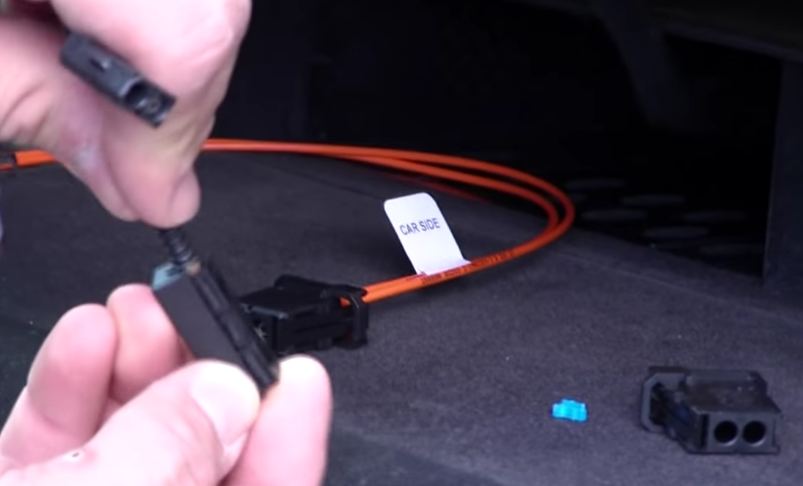
- Remove the stock connector from the CD changer harness.
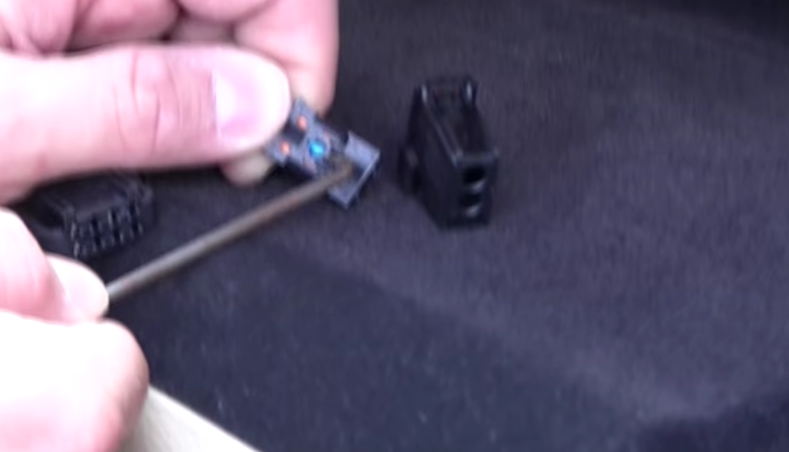
- Use a pick to remove the connector cover, then push the blue lock ring in to release the wire with the arrow moving in the outwards position.
- Run this wire into the supplied Dension harness connector.
- Connect the other Dension wire (with the car side sticker) back into the stock harness connector.
- Install the blue lock ring.
- Install the connector cover.
- Connect a spade connector onto the positive wire and crimp it in place.
- Connect a ring connector onto the negative wire and crimp it in place.
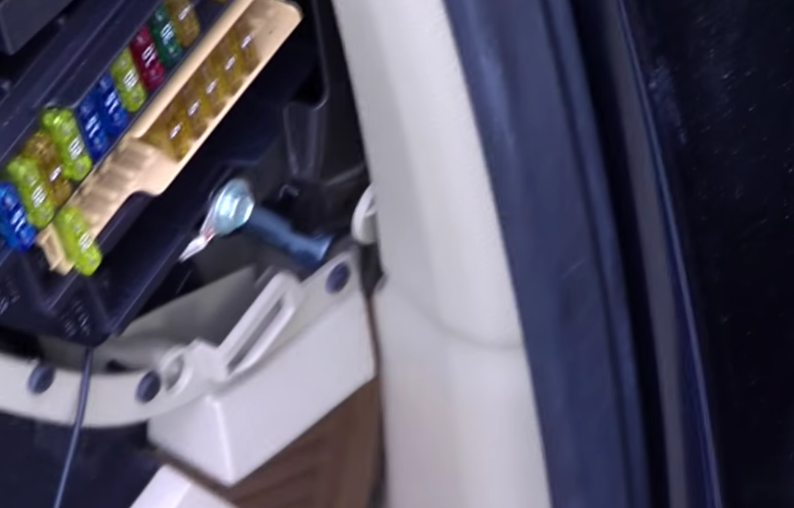
- Mount the ground on the available bolt under the fuse panel (refer to Figure 11).
- Connect the positive wire to the available fuse slot on the panel.

Once you have the positive connection on, install the plastic trim cover over the passenger side fuse panel and center console.
Step 4 – Mount the switcher box
- The AUX cable can mount nicely under the passenger side foot well.
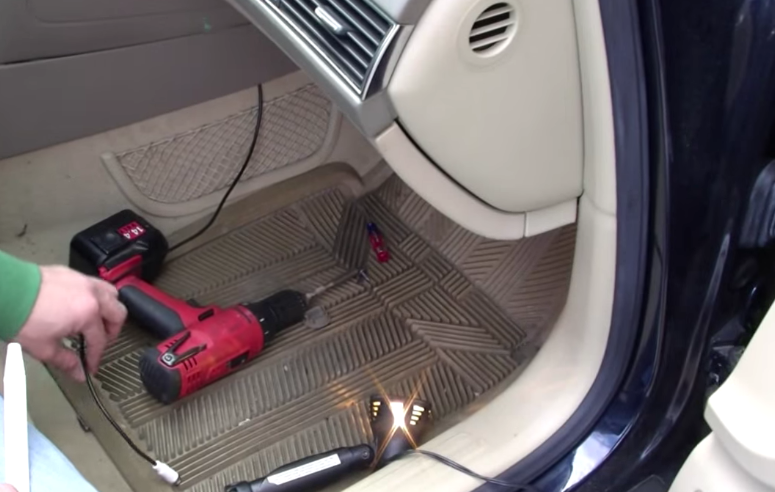
- Use the flathead screwdriver to remove the panel underneath the foot well.
- Then, grab a drill and the hardware from the Dension kit to mount the switcher box onto the panel.
- Make sure you do not over tighten the switch box, as it can crack.
- Run the USB cable and switch box wires back into the rear of the glove box, then install the trim panel back onto the vehicle.
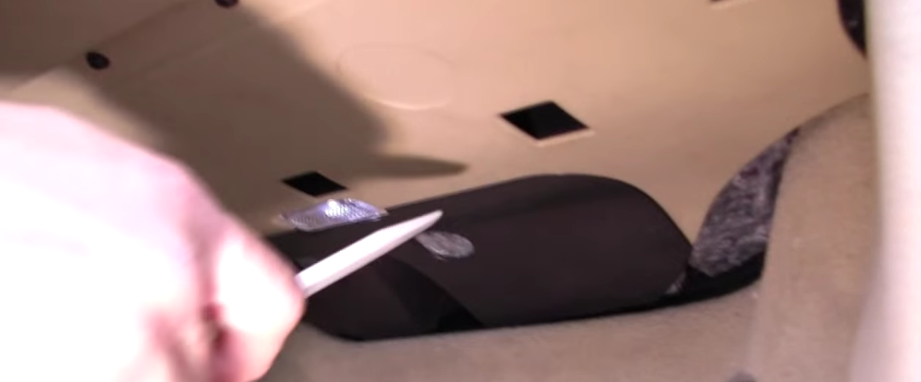
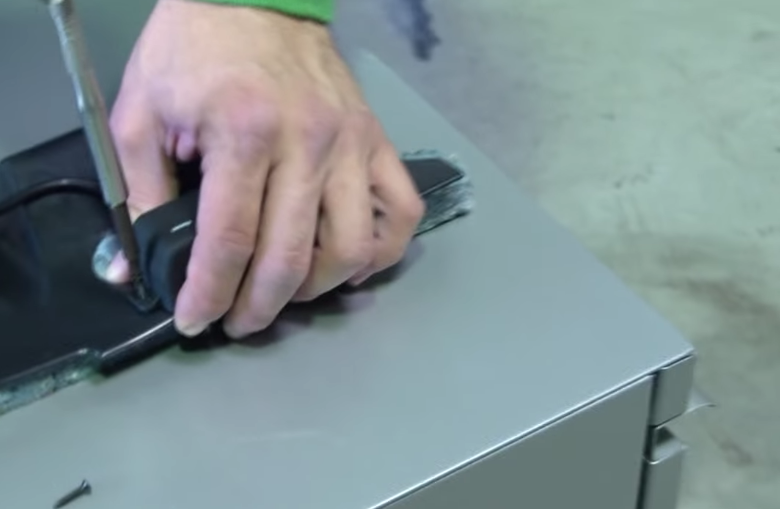
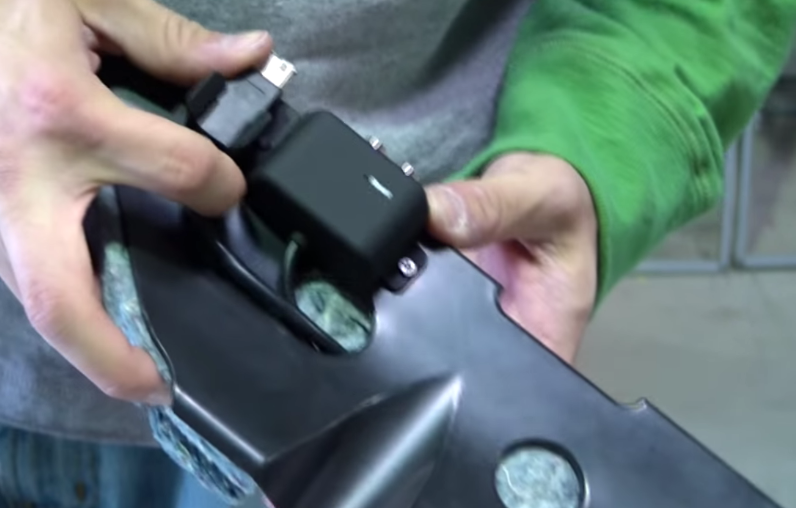
Figure 15. Install the USB cable and run the wires. 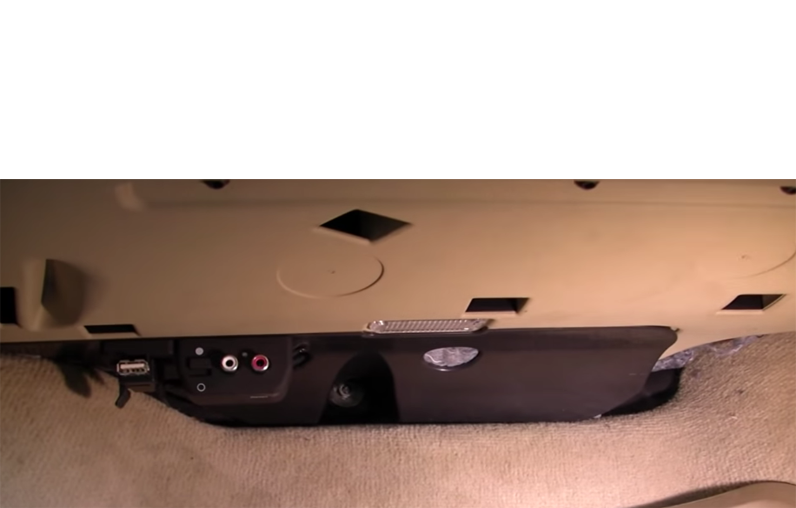
Figure 16. Switcher box panel installed.
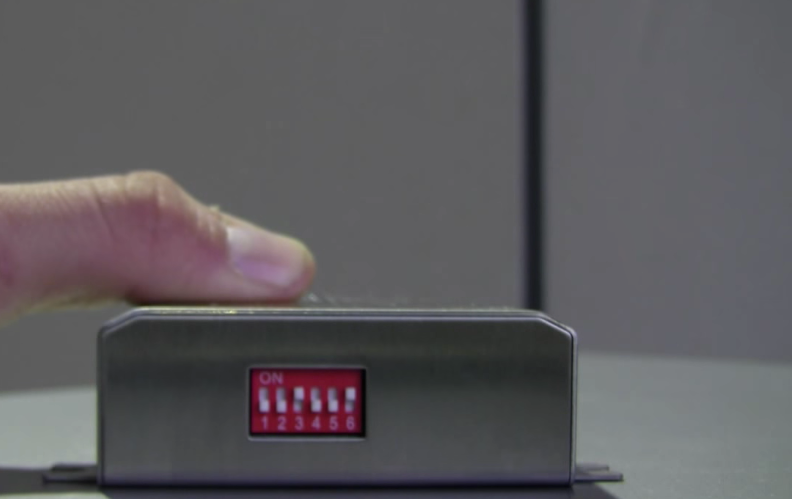
Step 5 – Connect the Dension box
- Grab the main Dension box and connect the switcher box, USB cable, radio plug, and dock station cable.
- Turn the box over and make sure to switch the channels to 3 and 6–each channel refers to how the head unit will read the music. For example, CD 3 refers to channel 3.
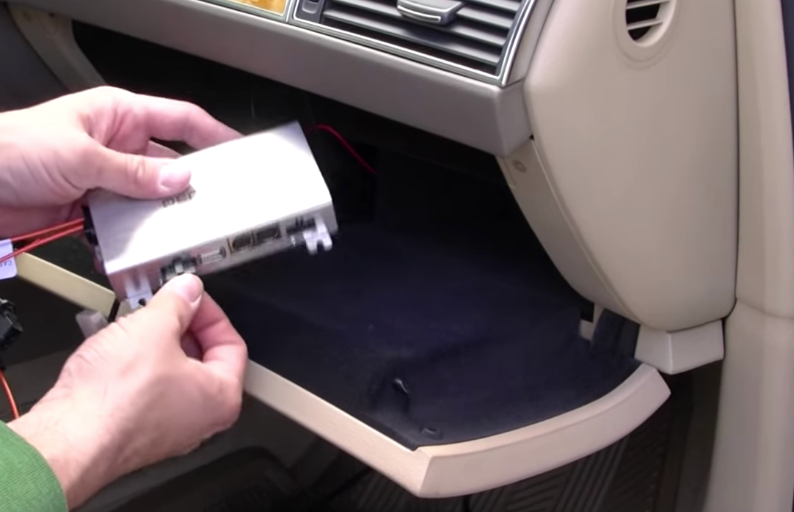
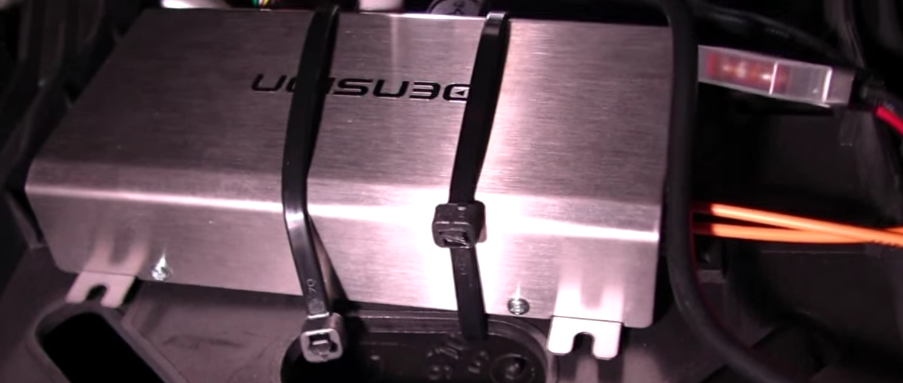
- Mount the Dension box behind the glove box using zip-ties.
- Wrap up and hide the excess wires.
- Connect the wire harness to the CD changer.
- Mount the CD changer.

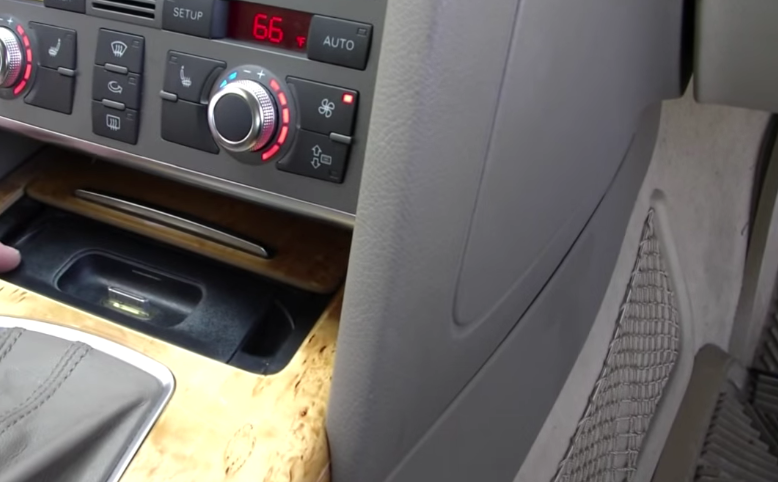
Step 6 – Install the iPod dock
- Carefully slide the pocket back into place.
- Connect its wire clip.
- Tighten the two screws.
- Ready the adhesive strip from the iPod dock and install it on top of the pocket.
- Install the plastic cover.
Related Discussion and Video
- 2005 - 2009 Audi A6 iPod AUX USB Adapter Install Dension - Youtube.com
- Need an Auxillary Input for 2006 a4 Stereo- Audiworld.com