Audi A4 B8: How to Install Subwoofer
This article will walk you through the process of installing a subwoofer in your Audi A4.
This article applies to the Audi A4 B8 (2008-2015).
Stock, factory-installed car stereos have come a long way from the old days, when frail paper cone speakers and tape decks were the norm. Automotive manufacturers used to worry about only one thing when it came to stereo systems, and that was installing the cheapest ones available. Modern cars, especially luxury vehicles like Audi's, generally come with stereos that feature much better sound quality than the cheap stuff provided in the past.
Where you can make a massive improvement, however, is in the bass department. Installing an aftermarket subwoofer in place of the factory B&O unit will give you fuller, stronger, and more precise bass. Here's how to ditch the factory unit and upgrade to something that will blow it away in the sound quality department.

Materials Needed
- T25 Torx bit and driver
- 10" subwoofer
- 4 square ft. roll of Dynamat sound insulation (optional)
- 6" length of 14-16 gauge speaker wire
- (2) quick disconnects
- (3) #8-32" 1/2" machine screws
- Flat head screwdriver
- Trim removal tool or putty knife
- Wire strippers/cutters
Step 1 – Remove the factory subwoofer
- Lower the back seats to gain access to the rear deck lid.
- Remove the Torx screw located on the bottom of the factory subwoofer which is accessible from the trunk.
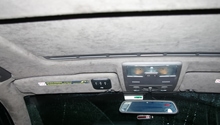
- Remove the D-pillar covers (all the way in the back, right in front of the rear window) by slipping a flat head screwdriver into the notch where the top front cover meets the headliner.
- Carefully pry out all four corners until the pillar comes out.
- Remove the speaker grills by using a screwdriver to pry up around the edges until they pop out.
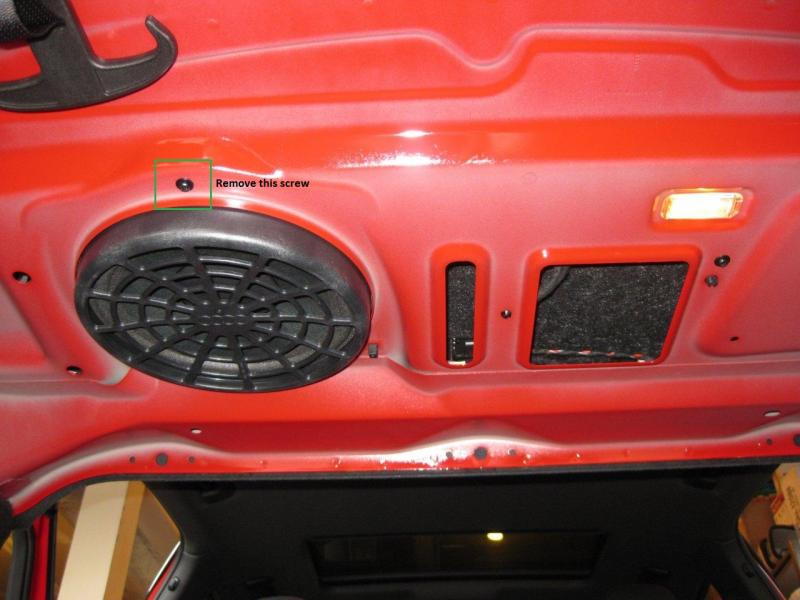
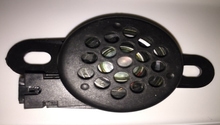
Figure 1. Remove the Torx screw from the bottom of the stock subwoofer. 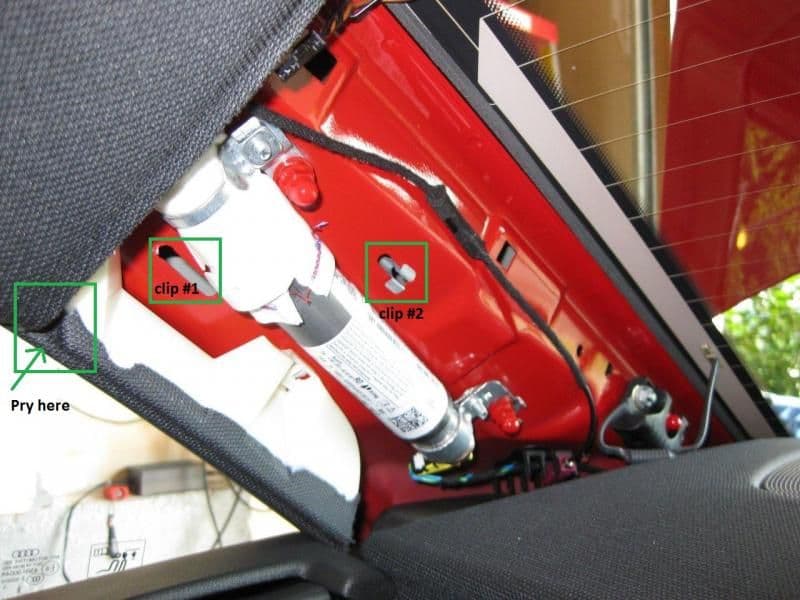
Figure 2. Remove the D-pillar covers. 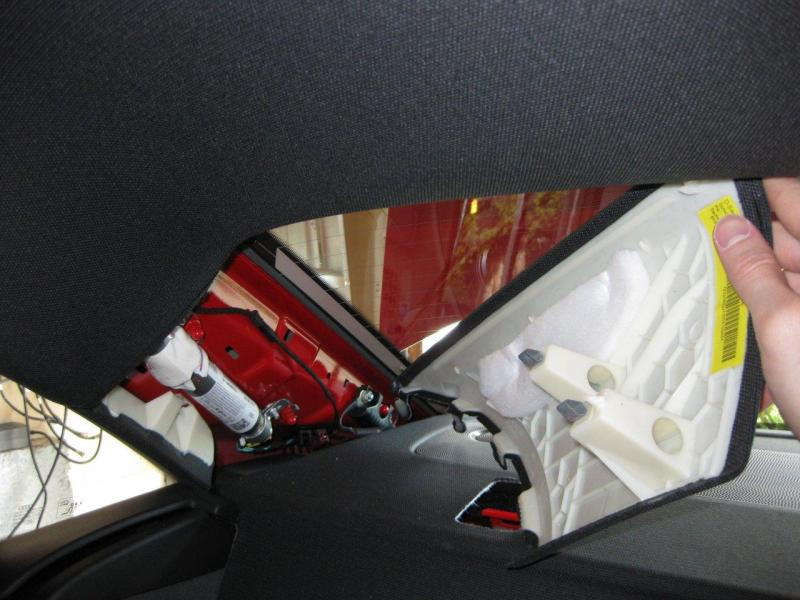
Figure 3. Remove the D-pillar covers. 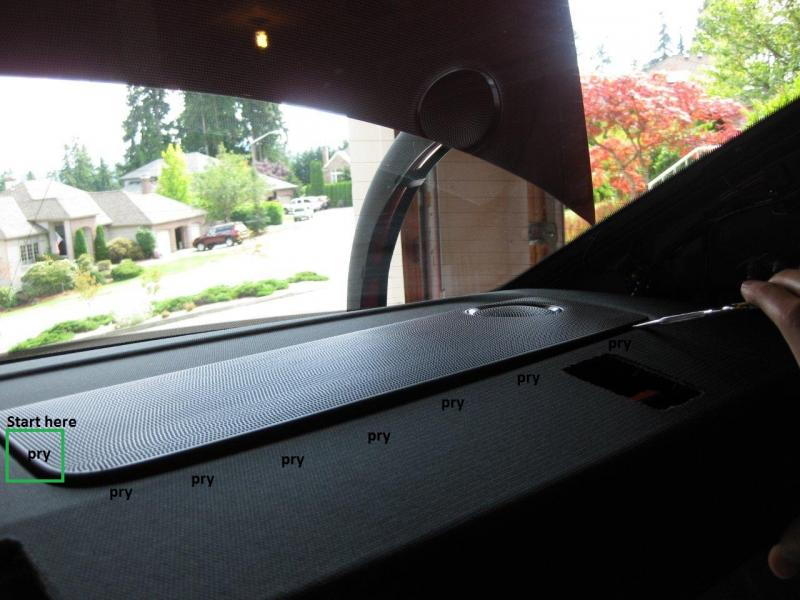
Figure 4. Pry the speaker grills off.
- Remove the speaker wire from the tweeter, then the four Torx screws that hold the deck cover in place.
- Remove the Torx screw under the left speaker grill, and then pry the deck cover off.
- Remove the two Torx screws inside the front of the subwoofer housing, lift the housing out, and disconnect the speaker wire.
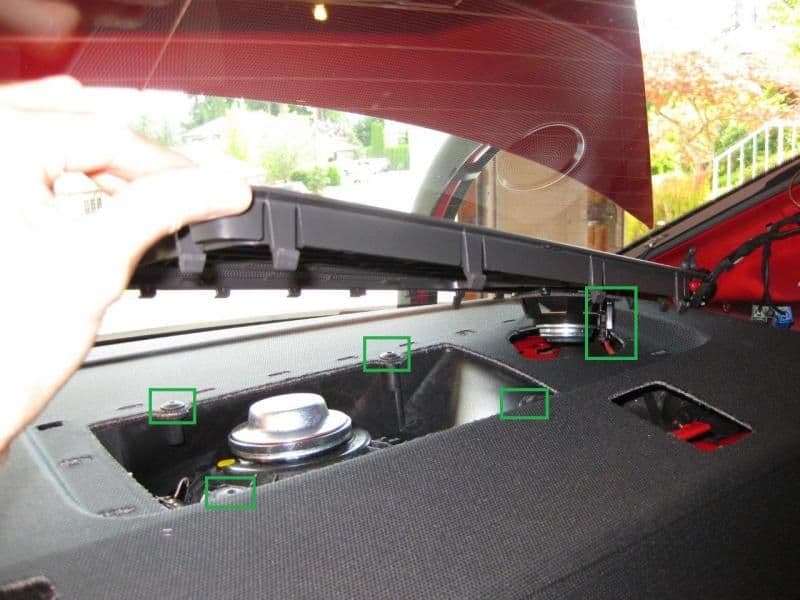
Figure 5. Remove the top Torx screws. 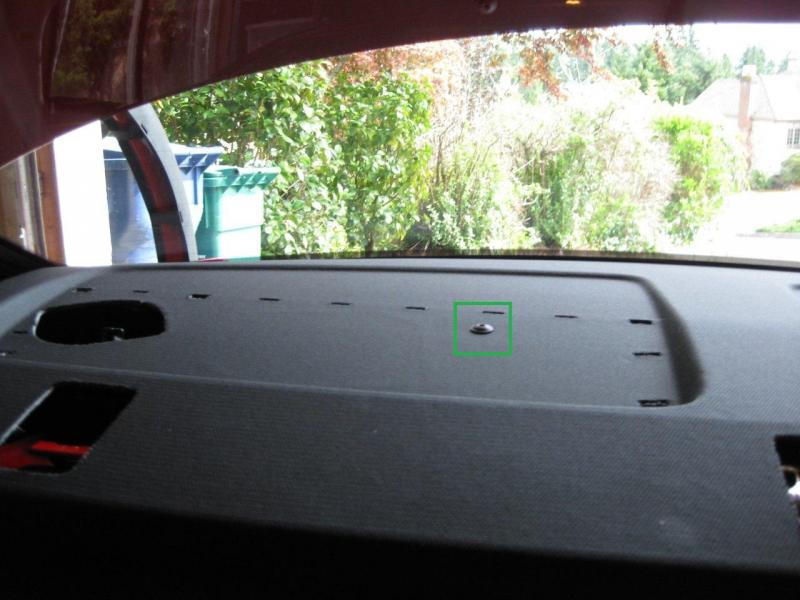
Figure 6. Remove the Torx screw from the top of the left side. 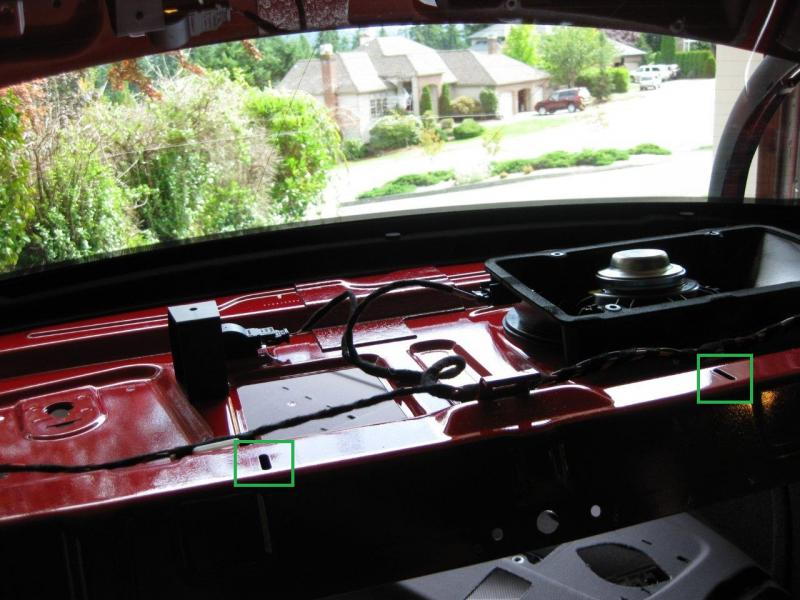
Figure 7. Remove the deck cover. 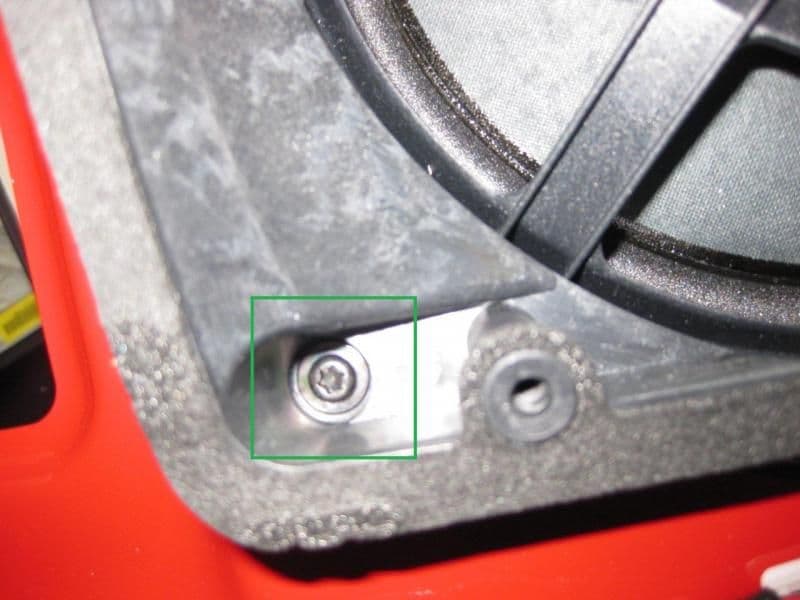
Figure 8. Remove the Torx screws holding the subwoofer in place, then remove the subwoofer.
Step 2 – Install the new subwoofer
- At this point, apply Dynamat to the metal surfaces around the subwoofer opening if you wish. This is optional, but will reduce any potential rattling that might occur with the added bass.
- Slide the subwoofer in place and use the three factory holes and the machine screws to bolt it down.
- Wire the new sub by cutting the factory harness off and splicing it to a length of speaker wire which wires directly into the subwoofer.
- Reinstall the deck cover, speaker wires for the tweeters, and speaker grills.
- Reinstall the D-pillar covers, and the installation is complete!
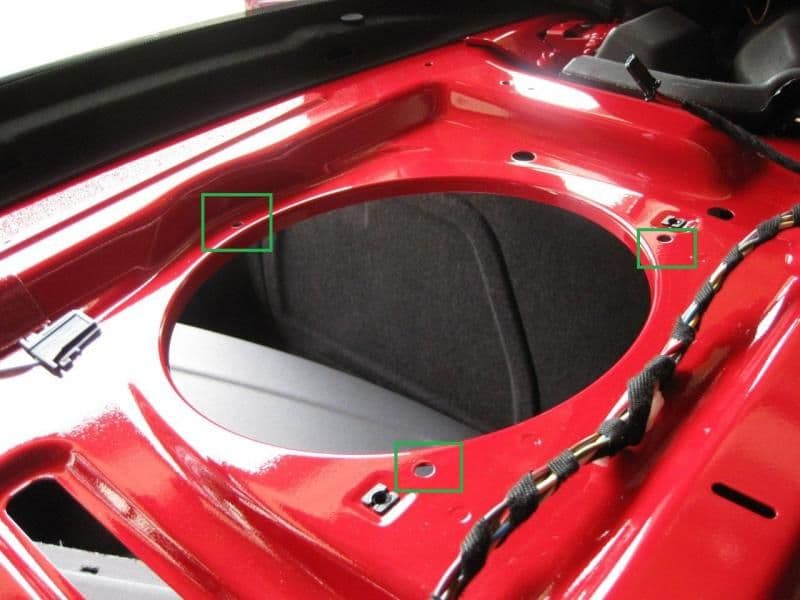
Figure 9. Use the three factory holes to line up the new sub. 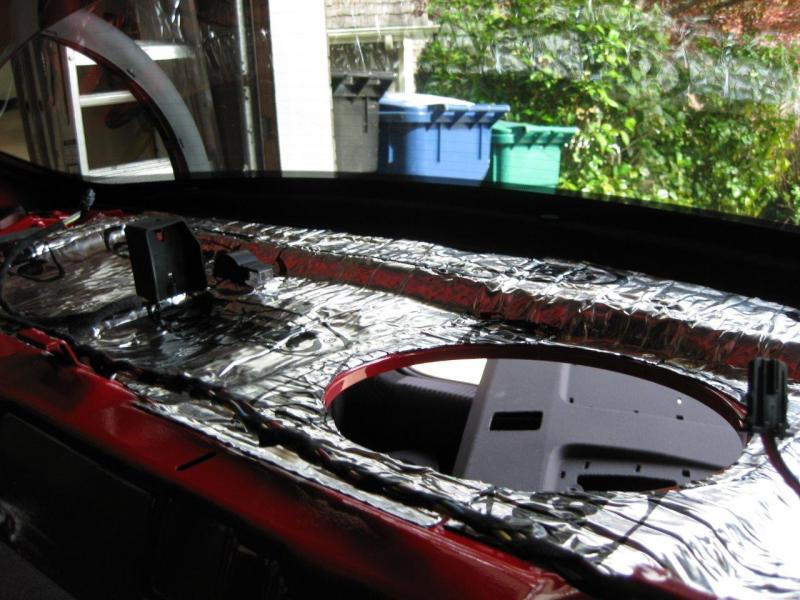
Figure 10. If you wish, install Dynamat or other sound-deadening material. 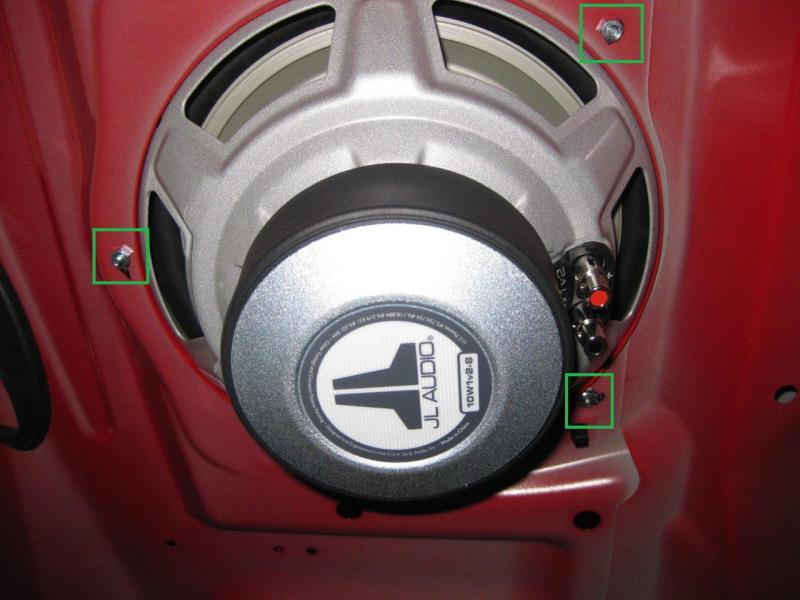
Figure 11. Use bolts to hold down the new sub. 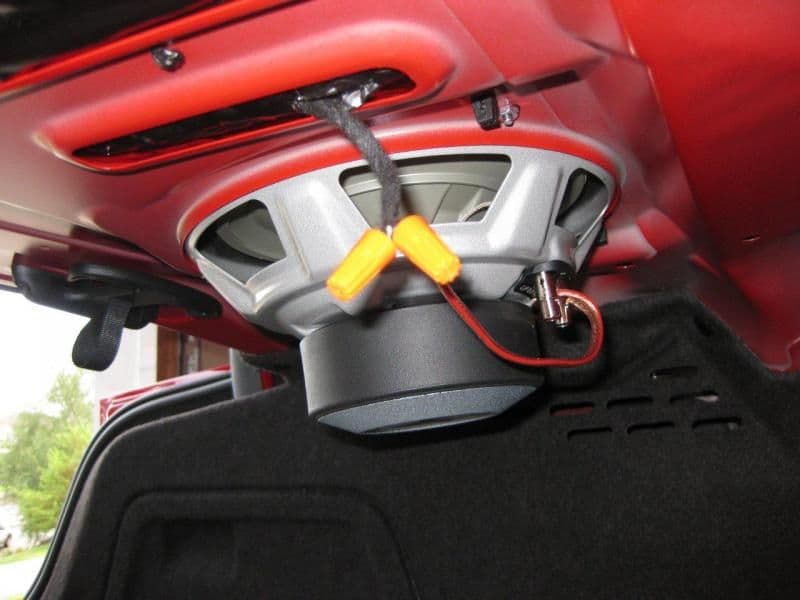
Figure 12. Cut and splice the factory harness.
Related Discussion
- B&O Subwoofer Upgrade Install Guide - AudiWorld.com