Audi A6 C6: How to Replace Brake Master Cylinder
The master cylinder is what pumps the brake fluid through your brake system. If it starts to go bad, you may notice leaking fluid and longer pedal travel.
This article applies to the Audi A6 C6 (2011-2016).
The master cylinder consists of the part where your brake fluid sits and the piston that pumps the fluid through the rest of your brake system, which results in clamping the brake pads over the rotors to stop your Audi A6. If the master cylinder fails completely, you may not get much clamping force at all from the brakes, which is as dangerous as it sounds. More often, one or the other of the piston seals starts to leak slightly, giving you less clamping force, or making you have to press the pedal down further to get the car to stop. Read on to learn how to replace your master cylinder, and restore the excellent braking your car had when new.

Materials Needed
- Turkey baster
- Wrench
- T20 star bit
- Clear hose
- Bottle
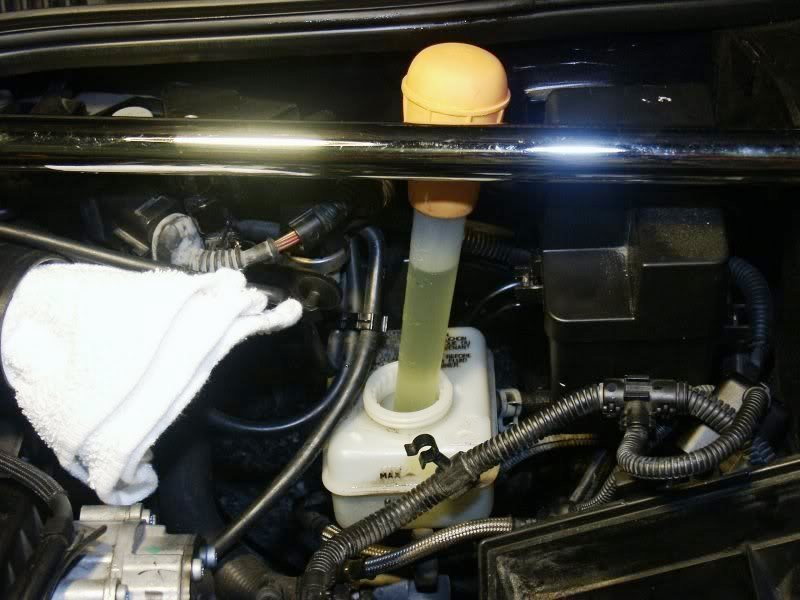
Step 1 – Remove old fluid from master cylinder
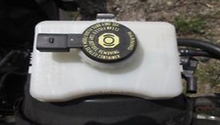
Using your turkey baster, remove as much brake fluid as you can from the master cylinder reservoir . The more you remove, the less mess you will make when you remove the master cylinder.
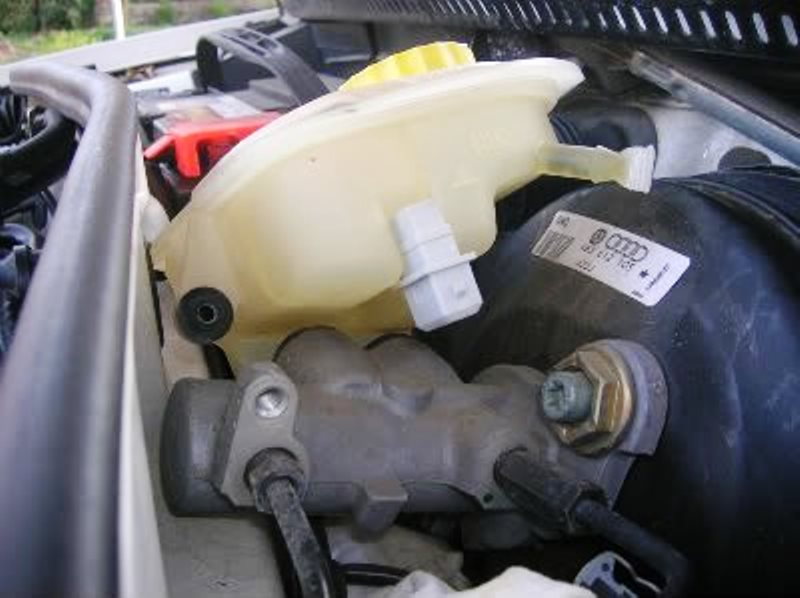
Step 2 – Remove master cylinder connections
Remove the two hard brake lines connected to the master cylinder by using a wrench to remove their fittings, and pull them away. Be careful not to bend these lines any more than you have to, otherwise you may damage them, or have a hard time fitting them back on. Then remove the electrical connection by simply squeezing the plastic tab and pulling the plug out.
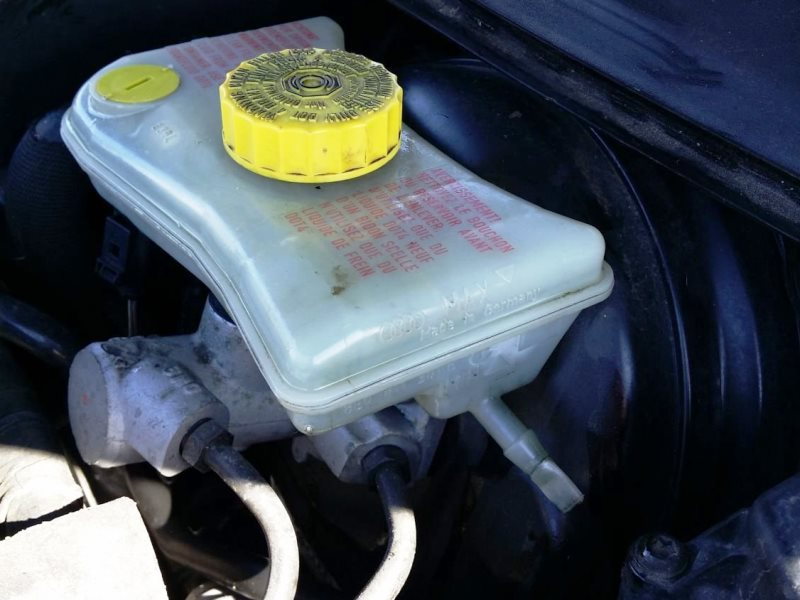
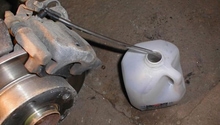
Step 3 – Remove brake fluid reservoir
The brake fluid reservoir is held in place by one bolt, so use your T20 Torx bit to remove that bolt, then remove the reservoir.
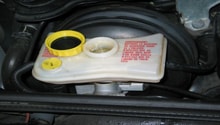
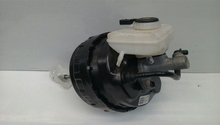
Step 4 – Remove master cylinder
The master cylinder is held in place by two studs with two nuts. Remove the two nuts, then pull the master cylinder off of the brake booster.

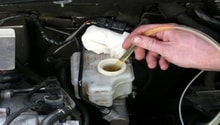
Step 5 – Install new master cylinder
Install the new master cylinder, then tighten the two nuts. Install the two lines, then tighten their nuts. Plug back in the electrical connection, then refill the new master cylinder with fresh fluid until the max line.

Step 6 – Bleed the system
The final step you have to do is bleeding the system for any air. The sequence to bleeding the brakes is starting from the passenger side's rear caliper, moving on to the passenger's front caliper, then the driver side's rear caliper, and ending on the driver side's caliper.
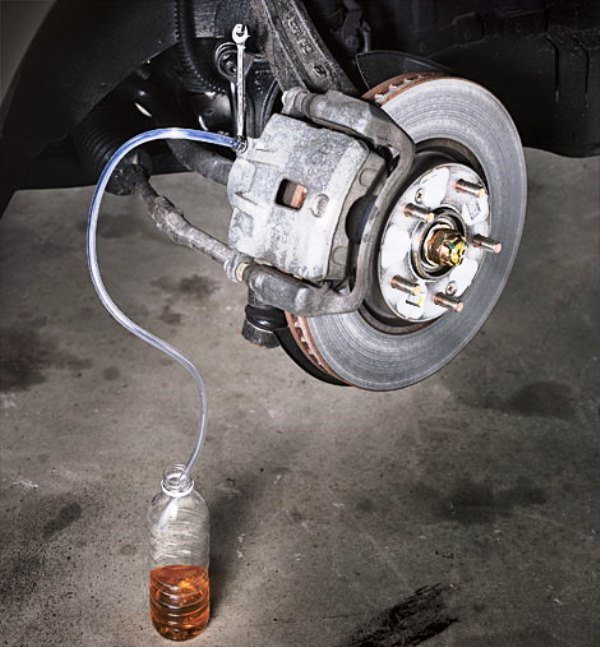
Locate the bleeder screw on the back of each brake caliper, then connect the hose to it. Connect the other end of the hose into a bottle. Have an assistant pump the brake pedal a few times, then keep the pedal pressed down while you loosen the bleeder screw on the caliper using your wrench. Watch the fluid coming out for bubbles and once you see fresh fluid with no bubbles, tighten the bleeder screw. You may have to do the pump and hold process several times before you get all the air, especially with the first caliper. Repeat the process for the rest of the calipers, but be sure to refill the brake fluid reservoir between each caliper, or you may run it dry, suck air, and have to start again.
Related Discussions
- Replace Master Cylinder - AudiWorld
- Replacing the Master Cylinder - AudiWorld
- Flushing and Bleeding the System - AudiWorld