Audi A6 C6: How to Replace Wheel Hub and Bearings
The wheels on your Audi A6 attach to your wheel hubs and rotate freely because of the bearings in the hubs. Read on to learn how to replace these vital components.
This article applies to the Audi A6 C6 (2005-2011).
The wheel bearings in your Audi A6 are what your wheels connect to. They have bearings in them that allow the wheels to rotate freely. If you have bad wheel hubs or bearings, you could face a series of issues, from shaking, grinding noise, death wobbles, to maybe even seeing your wheel next to you on the freeway. Replacing the wheel hubs is one of those procedures that you want to do as fast as possible. A dealership can charge a lot of money for such a procedure; however, this DIY can show you how you can replace it yourself. Read on to learn how to replace the wheel hub and bearings on your Audi A6.

Materials Needed
- Jack and jack stands
- Tire iron
- Socket with long ratchet
- Phillips screwdriver
- Rubber mallet
- Wheel hub and bearing
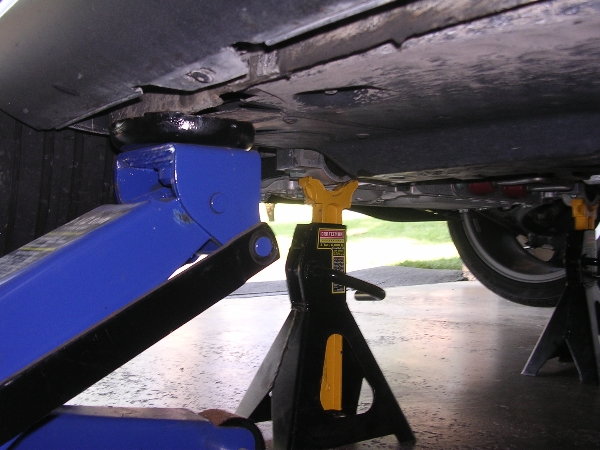
Step 1 – Jack up car
Loosen the lug nuts on the wheel you will be removing, then jack up your car. Secure the car with jack stands, then remove the wheel.
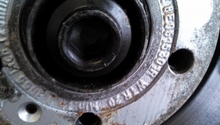
Step 2 – Remove axle nut
Remove the nut located in the center of your hub. Use a long ratchet because it won't come off too easily.
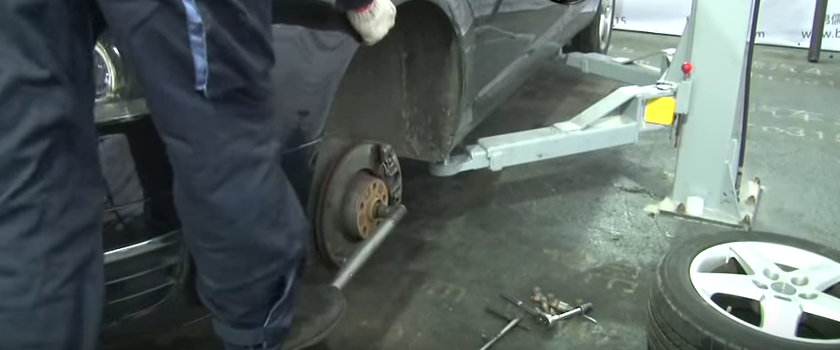
Figure 2. Remove center nut. 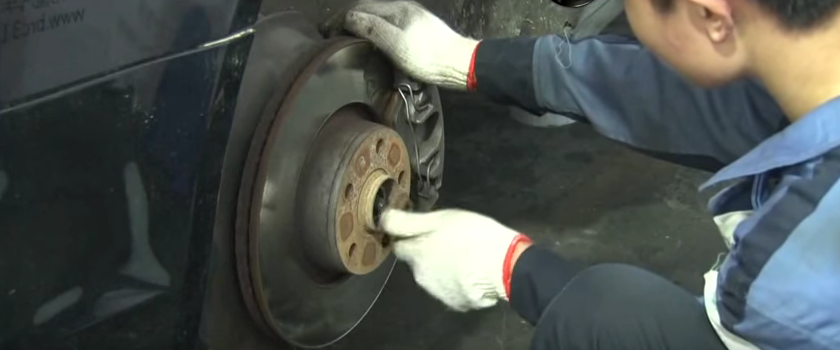
Figure 3. Remove center nut.
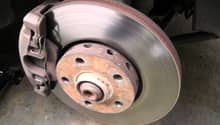
Step 3 – Remove caliper and rotor
Remove the caliper by removing the two rear bolts on the back of it, then place it somewhere safe. Don't let it hang from the brake lines. Remove the two bolts on the back of the brake rotor, then remove the Phillips screw from the front of the hub to finally free the rotor. Then use your rubber mallet to tap it in the center a few times; once it comes loose, pull it straight out.
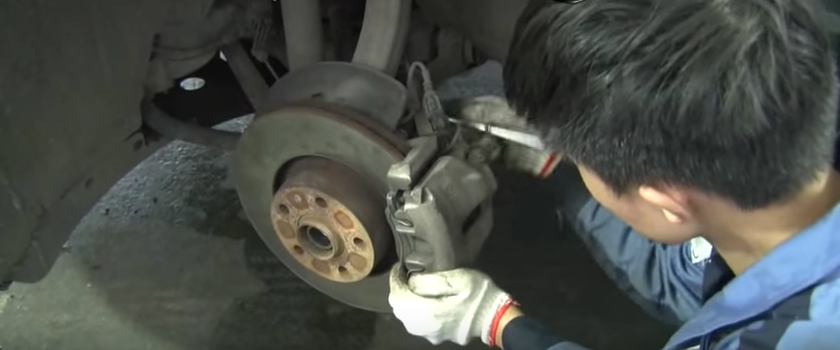
Figure 4. Remove caliper. 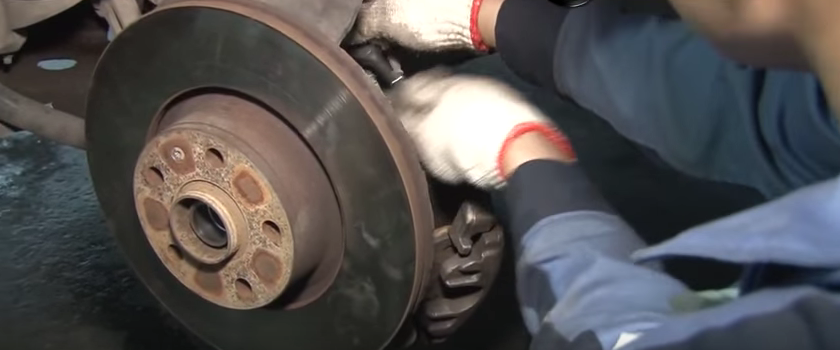
Figure 5. Remove rotor.
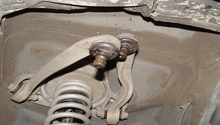
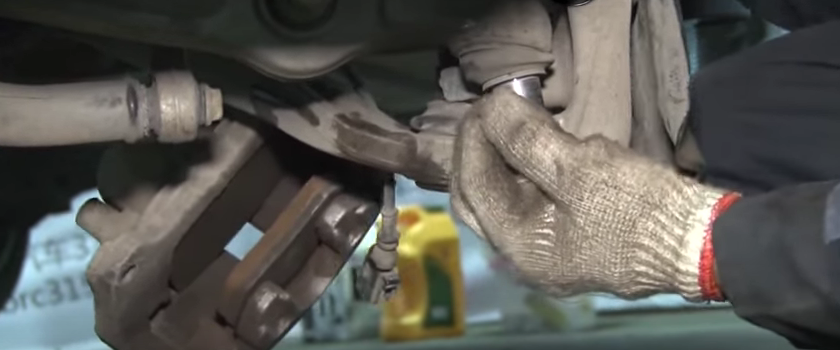
Step 4 – Remove ball joint
You don't have to remove the whole ball joint, you just need to loosen it and get it out of the way; this will make room for the axle to get free. From the bottom, remove the nut, then pull the arm down to free the axle. Push the axle down away from the hub.
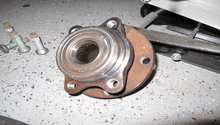
Step 5 – Remove hub and bearings
Remove the four bolts holding the hub in place; you can access them from the rear. Tap the hub with a rubber mallet to get it to come loose. Once loose, pull it straight out.

Step 6 – Install new hub
Installation is the reverse of removal.
- Install the new hub and bearings in place, then tighten the rear bolts.
- Push the axle back in place, then tighten the ball joint underneath it in place.
- Install brake rotor and caliper in place.
- Tighten the center axle nut in place.
- Install the wheel and lower the vehicle back down.
Related Discussion
- Replacing Wheel Hub and Bearings - Audiworld.com