Audi Q5: How to Replace Tail Light Bulb
Don't get hit with a fix-it ticket and take care of the blown out bulb.
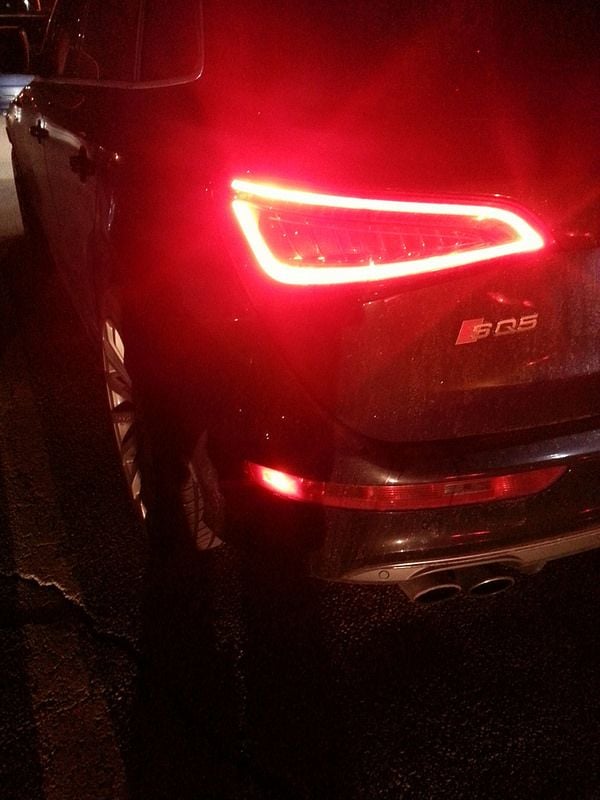
This article applies to the Audi Q5 (2009-Present).
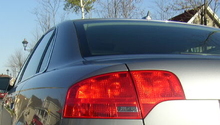
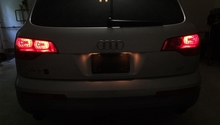
Tail lights and their bulbs are as important to the safety of you, your passengers and other drivers around you as good brakes are. Every now and then you will receive an indicator on your dashboard or instrument cluster indicating you have a light out. It's important to address this sooner rather than later, mainly for safety reasons. But, a secondary and equally important reason is to avoid having to pay a fine for receiving a traffic ticket for not addressing this issue sooner. A combination of bulbs are arranged on a circuit board that connects to the harness that plugs into the housing of the actual tail light. Turning the headlight switch on in any mode should illuminate the "parking" lights. Pressing on the brake pedal turns on the "brake lights." Using your indicators, lights up the turn signal bulb. Some vehicles even come with a "rear" fog light. This is used to illuminate the side of the vehicle that could be in a driver's blind spot during heavy fog where traffic following from behind can easily miss. For most vehicles, it is the same process to remove and replace faulty or burned out bulbs.

Materials Needed
- Various socket wrenches
- Anti-static gloves
- New bulbs
- Flat tip screwdriver
- Phillips screwdriver
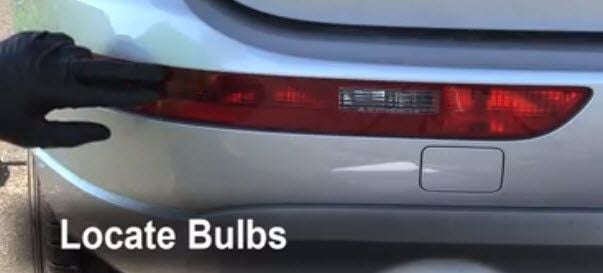
Step 1 – Locate the bulbs
Before delving into this, it's wise to determine which bulb(s) will need replacing.
- Have a friend turn on the headlight switch and observe all light panels on rear of vehicle.
- Have a friend press the brakes and observe which brake lights illuminate.
- Have a friend turn on the hazard lights while you confirm both turn signal indicators illuminate.
- Have a friend place the vehicle in reverse while you confirm both reverse light indicators illuminate.
Pro Tip
Knowing which bulbs you will need to replace ahead of time will save you time in determining what panels to access and such.
Step 2 – Remove covers or panels
Once you have located the bulbs needing replacement, the associated panel or cover can be removed.
- Depress clips to remove covers or coerce with flat tip screwdriver.
- Remove the Phillips head screws.
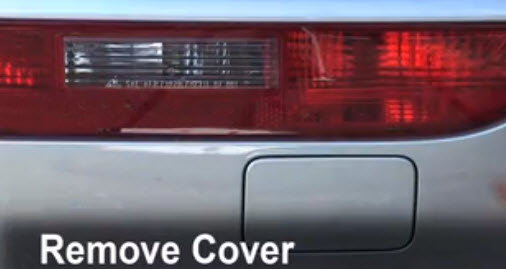
Figure 2. Remove the cover. 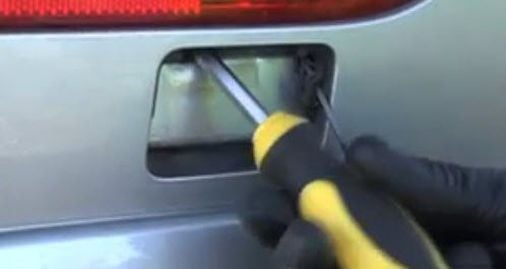
Figure 3. Put that Phillips screwdriver to work.
Pro Tip
Often you can unplug the harness from the backside of the tail light housing ahead of time to gain better access to screws.
Step 3 – Swap out the bulbs
Now that covers have been removed and harnesses unplugged, the bulb "trays" should be exposed, allowing you to replace the bulbs.
- Remove the bulb housing.
- Twist the burnt bulb out of its socket.
- Replace with new bulb by twisting it in opposite direction of removal.
Figure 4. Take a look at the backside of the light cover. 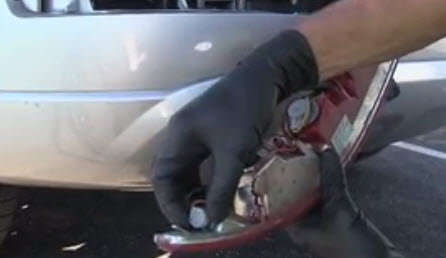
Figure 5. Remove the appropriate bulb.
Pro Tip
You can use a panel puller or non-marring pry tool to pry the housing away from the body for easy removal.
Step 4 – Test lights
Now that all the necessary bulbs have been replaced, it's time to put it together and test.
- Reinstall the tail light housing.
- Reinstall the cover or panel.
- Plug the harness back in.
- Test all the lights.
Related Discussion, Site, and Video
- VIDEO: Tail Light Change - CarCareKiosk.com
- AudiWorld: Lower Rear Tail Light Replacement - AudiwWorld.com
- Sylvania: Bulb Replacement Guide - Sylvania.com