Audi Q5: How to Replace Your Headlight Bulbs
Why put off replacing the headlight bulb? It isn't going to fix itself, and there is no reason to take it in and pay a dealer to fix it for you.
This article applies to the Audi Q5 (2009-present).
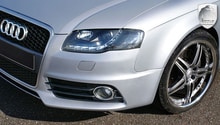
Your vehicle's headlights are extremely important when it comes to the safety of you, your passenger and other drivers around you. Should you have a blown headlamp bulb, you will want to learn how to replace them. Every car manufacturer designs their cars differently and for that matter, some bulbs are more easily accessible than others. While the actual bulb replacement is usually plug and play, accessing the compartments or headlight housing can be more of a task than you first anticipate. If your headlamp bulbs are not out, this is still a good opportunity to upgrade your bulbs to something brighter, such as xenons.

Materials Needed
- Socket wrench with various sockets
- Screwdrivers
- Rivet puller
- T30 Torx socket
Step 1 – Remove plastic rivets
A plastic filler panel covers the headlights and much of the rest of the front of the car; it is held on by plastic rivets, but it can be easily removed.
- Press down on center of rivet.
- Use puller tool to pry and remove rivets.
- Remove plastic panel.
- To reuse rivets, pop center back outward till it projects through the head.
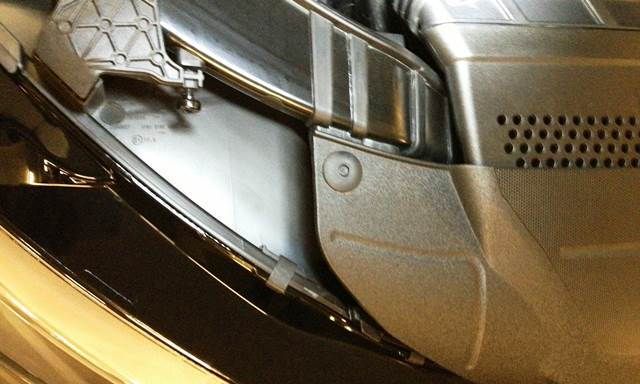
Figure 1. Press the center of the rivet in to release. 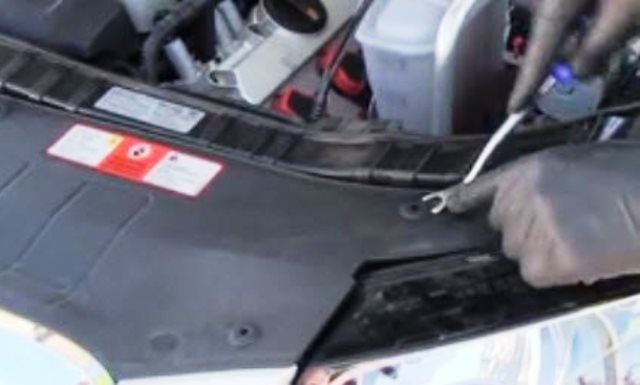
Figure 2. Pry the rivet out carefully so you can reuse it.
Pro Tip
You can use two small flat head screwdrivers to pry the rivet out as well.
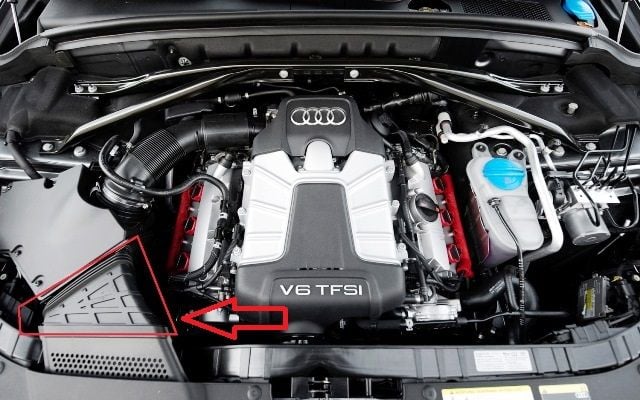
Step 2 – Remove air filter assembly
On the passenger side, the air filter intake assembly blocks access to the headlight housing, but it is easily removed.
- Use screwdriver or pry tool to pry plastic assembly apart.
- There may be more plastic rivets holding it in place, depending on motor.
- Remove the air filter intake assembly by pulling it up and out.
- Next, undo the clamps and clips, then remove the entire airbox assembly.
Pro Tip
Sometimes the fasteners are affixed with hose clamps that are tightened by Phillips screws or nuts and bolts. They often are holding a clip together to keep the pieces tight and connected.
Step 3 – Remove housing bolts
The headlight housings are held in place by three screws, so use a Torx bit to remove them.
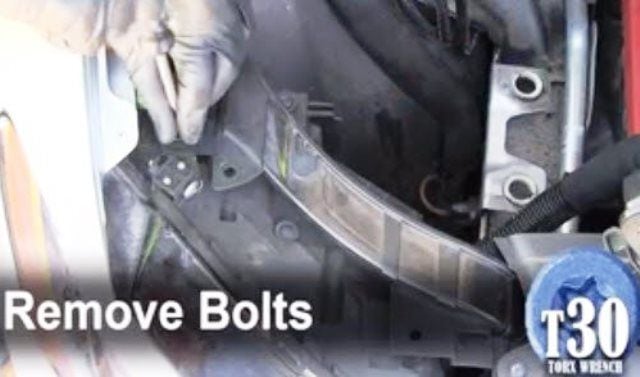
Figure 4. There are two torx screws at the front of the assembly. 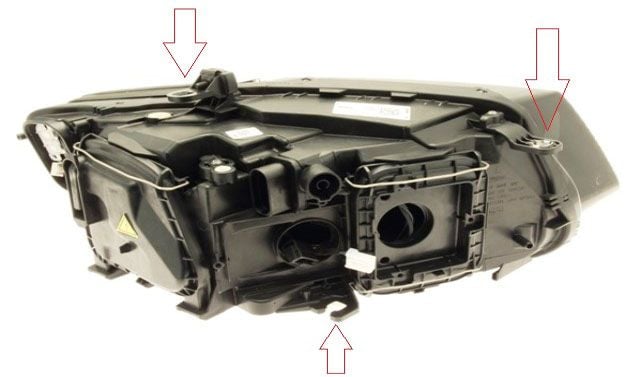
Figure 5. The location of the three screws is indicated by the red arrows. 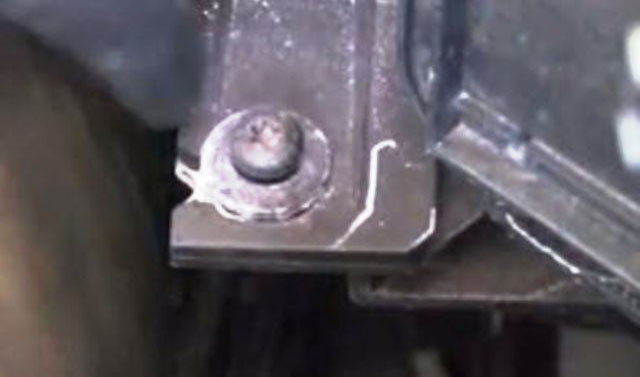
Figure 6. The third screw, at the rear, and lower down.
Pro Tip
It is important to have the right tool on hand because you can risk stripping or marring the bolts holding the headlights in.
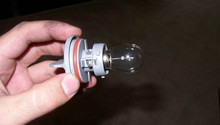
Step 4 – Replace bulbs
With the screws removed, the entire headlight assembly will slide out toward the front of the car.
- Move the bulb housing forward, just enough to access the rear of the assembly.
- Release the spring clip holding the access panels closed.
- Wiggle the bulb to get it loose.
- Remove the bulb by pulling it straight out.
- Replace with new bulb.
- Put everything back the way it was originally.
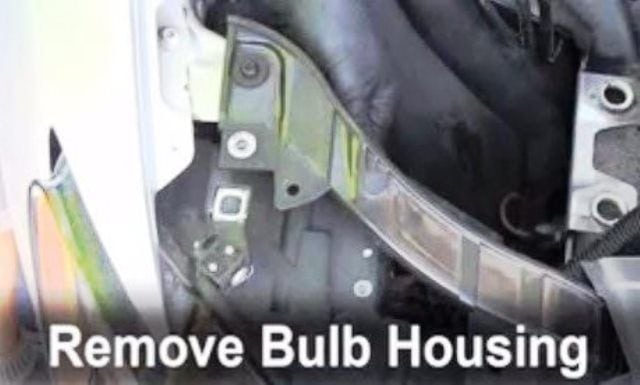
Figure 7. Slide housing forward out of the car. 
Figure 8. Release the spring clip to access the bulbs. 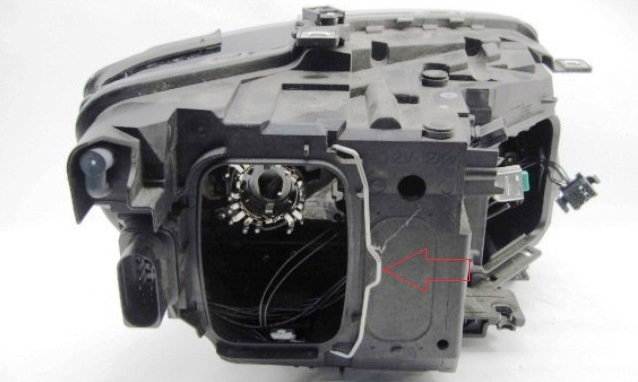
Figure 9. Headlight housing with both bulb access panels removed.
Pro Tip
The headlight on the opposite side of the car, without the air cleaner intake, will be much easier to access.
Step 5 – Test lights
Now that everything has been replaced, it's time to button her up and test it all out.
- Reinstall access panels on headlight housings.
- Slide housing back into the opening.
- Reinstall bolts after pushing headlight housings back into original positions.
- Close the hood and secure.
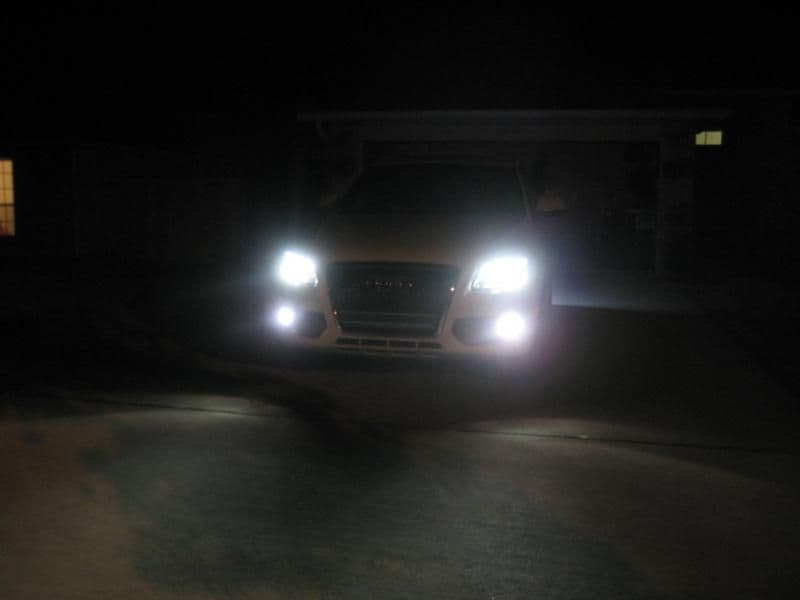
- Turn headlights on and ensure they are working as expected.
Pro Tip
If either of the lights do not turn on, check the harnesses connected on the back side of the housings to ensure they are not loose, and make sure you haven't blown a fuse.
Related Discussions and Site
- Video: Replacing Headlight Bulbs - CarCareKiosk.com
- Q5 Headlight Bulb Replacement - AudiWorld.com
- Xenon Bulb Information - AudiWorld.com