| Tech Article Title |
Author |
Date |
| Headliner Removal and Replacement |
Boston Driver |
2007 |
Moonroof shade removal
As previously mentioned, a metal frame that goes around the top edge of
the moonroof's opening secures the headliner, so that must be removed.
This is easiest done from the top, so it is best to remove the glass
moonroof panel and the sunshade at the same time.
First, tilt the moonroof up, and look for these plastic rail caps (just above the greasy track):

Once the rail caps are off, remove the three torx bolts that were
hidden on each side. With the bolts removed, simply lift out the glass
panel (carefully) and set aside.

Now from the top, look for the two Philips head screws on each side
that secure the shade to the rail tabs. Remove these screws (2 per
side). With the screws removed, simply lift out the shade panel:

Now you have easy access to remove the metal frame that secures the
headliner around the moonroof opening. I found a plastic putty knife
worked well here:

Headliner removal
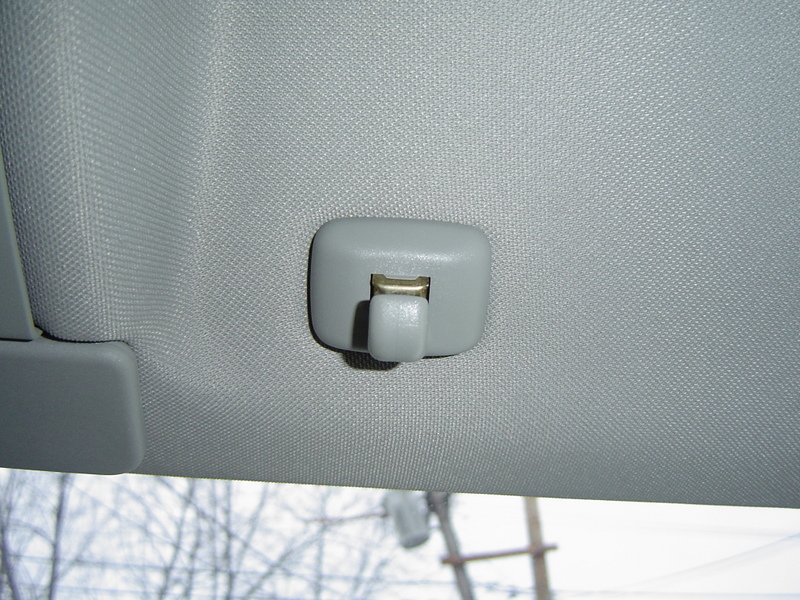
Time to get at the parts that secure the front of the headliner near
the sunroof controls, etc. First remove the sun visor clips. I used a
pry tool between the base of the clip and the headliner...and it was a
PITA to remove!

I also took this opportunity to remove the rearview mirror. This is the
only picture I had, of the wiring harness hidden under the trim.
Disconnect this wire:

Then remove the mirror by grabbing the neck with a padded set of pliers
(or using hands) and rotating the neck 90 degrees counterclockwise to
remove from the windshield peg. Should then simply come off.
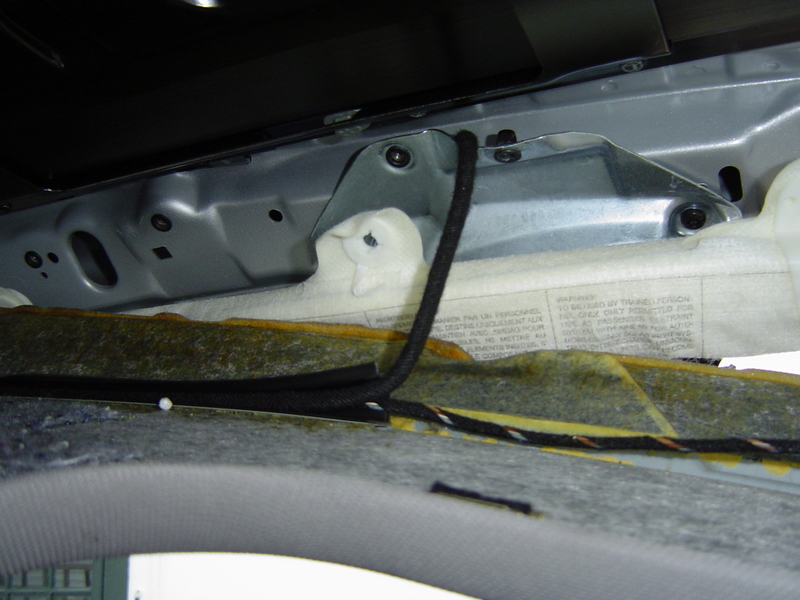
Then, remove the overhead done light and sunroof control panel to get
at these screws. Sorry no pics of this, but the dome light comes out
easily with a plastic pry tool at the center of the rearward edge where
there is a slight indentation in the plastic surround trim. Also,
remove the rear dome light over the rear seat. Remove these screws from
up front:

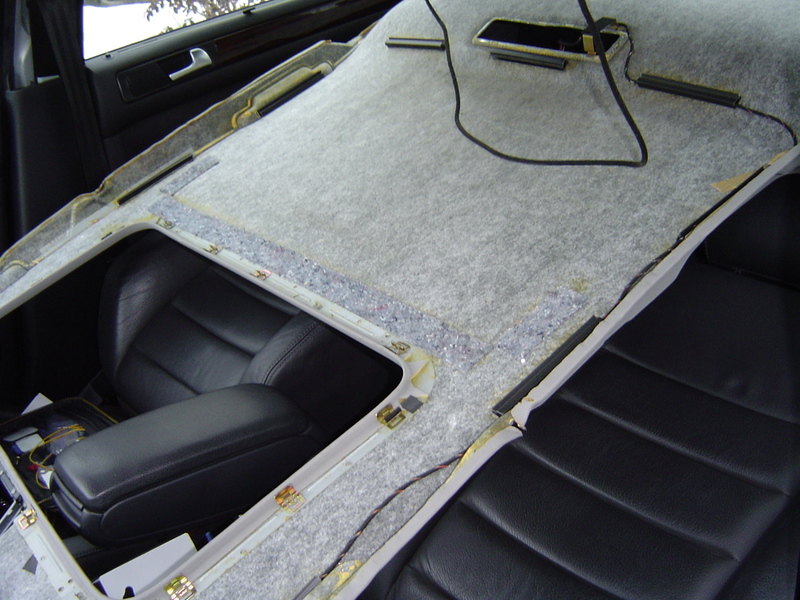
The headliner is now free, except for the rear edge that curves up into
the metal frame of the roof. First, fold down the rear seats so that
the panel can slide into the trunk area for removal from the car. Also,
recline the front seats all the way back. Now, slide the headliner back
½" to release from the rear edge and voila...the headliner is now loose
and it should just drop down. Careful, there are a few wire harnesses
that run along the side that must be removed:

There is also a black loop that holds up the rear of the headliner,
seen here dangling down, but comes out of the 3 black wire guides just
forward of the rear dome light opening:
With the headliner resting on the seats, I took a few pics of the wires
to make sure I knew how to re-route the wires in the new headliner:


Now, just slide the headliner panel out of the trunk, and you are DONE!

Installation is reverse of the removal process. Slide in the new panel
through the trunk, have a friend ready to help you hold and secure the
headliner after you finish replacing the wire harnesses etc. Helps to
have extra hands here. Just work backwards from the removal
instructions, and voila!
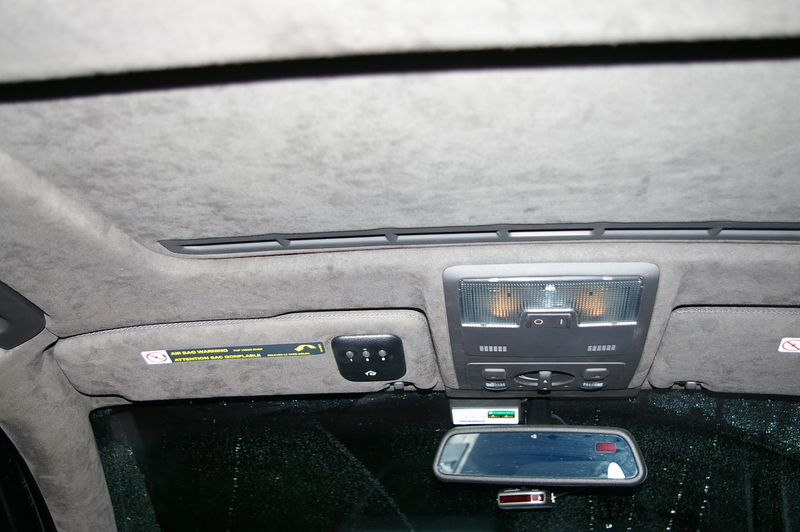
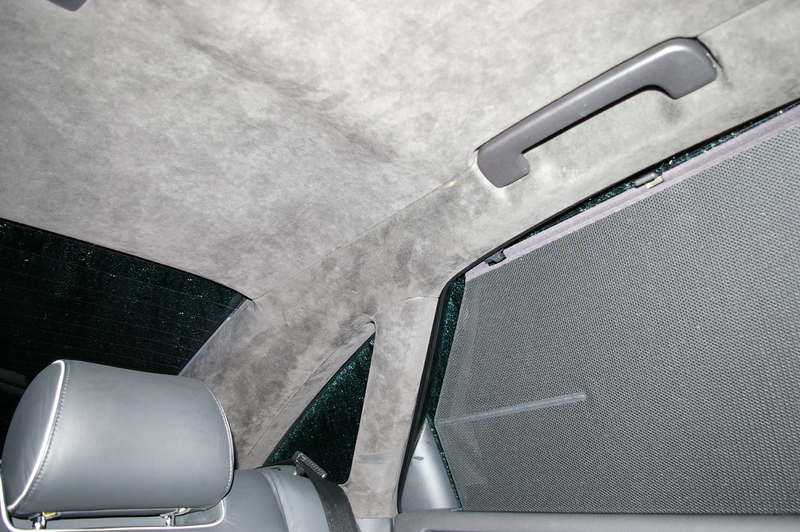
The end result of all that hard work...(sorry for the rainy pics, and the flash makes it looks lighter than it really is):
|